
How To Create A DIY Branch Ladder With FREE Items From Your Backyard
**This post contains affiliate links for your convenience. I may earn a small commission if you make a purchase from these links.**
Welcome to our latest DIY project that will inspire you to transform ordinary backyard items into stunning and functional pieces for your home.
Have you ever googled how much it costs to buy a branch or stick ladder? Just for fun…I challenge you to do it! You will be shocked to see how much they are selling for online.
I made this in 20 minutes using items I already had in my backyard. And you can too!
Follow along to learn How To Create A DIY Branch Ladder With FREE Items From Your Backyard!

Want to see more of my Fall Home Decor DIY videos? Watch Here
Below is a list of the items you will need to recreate this project:
(2) 4 ft branches
(3)13 in branches
Pencil
Measuring Tape
Sandpaper (optional)
*Product can be purchased directly through my website [www.juliesdesignsandsigns.com]
First, select your branches from your very own yard.
I used a cordless hand saw to cut the branches down.
You will want to cut enough pieces to create (2) 4ft branches and (3)13in branches.

Using your miter saw cut (2) branches to 4ft in length.

Then, cut (3) branches to 13in in length.
These will be used to create the rungs of your ladder.

Next, take your 4 ft pieces and mark every 1 foot along each branch.
This will be where you place your ladder rungs. This 4 ft ladder will have three rungs.


Next, lay the (2) 4 ft branches parallel to each other.
Then, place the (3) shorter branches on top of where you made the markings.

Using a cordless brad nailer, nail the 13 in branches into the 4 ft long branches. (see image)

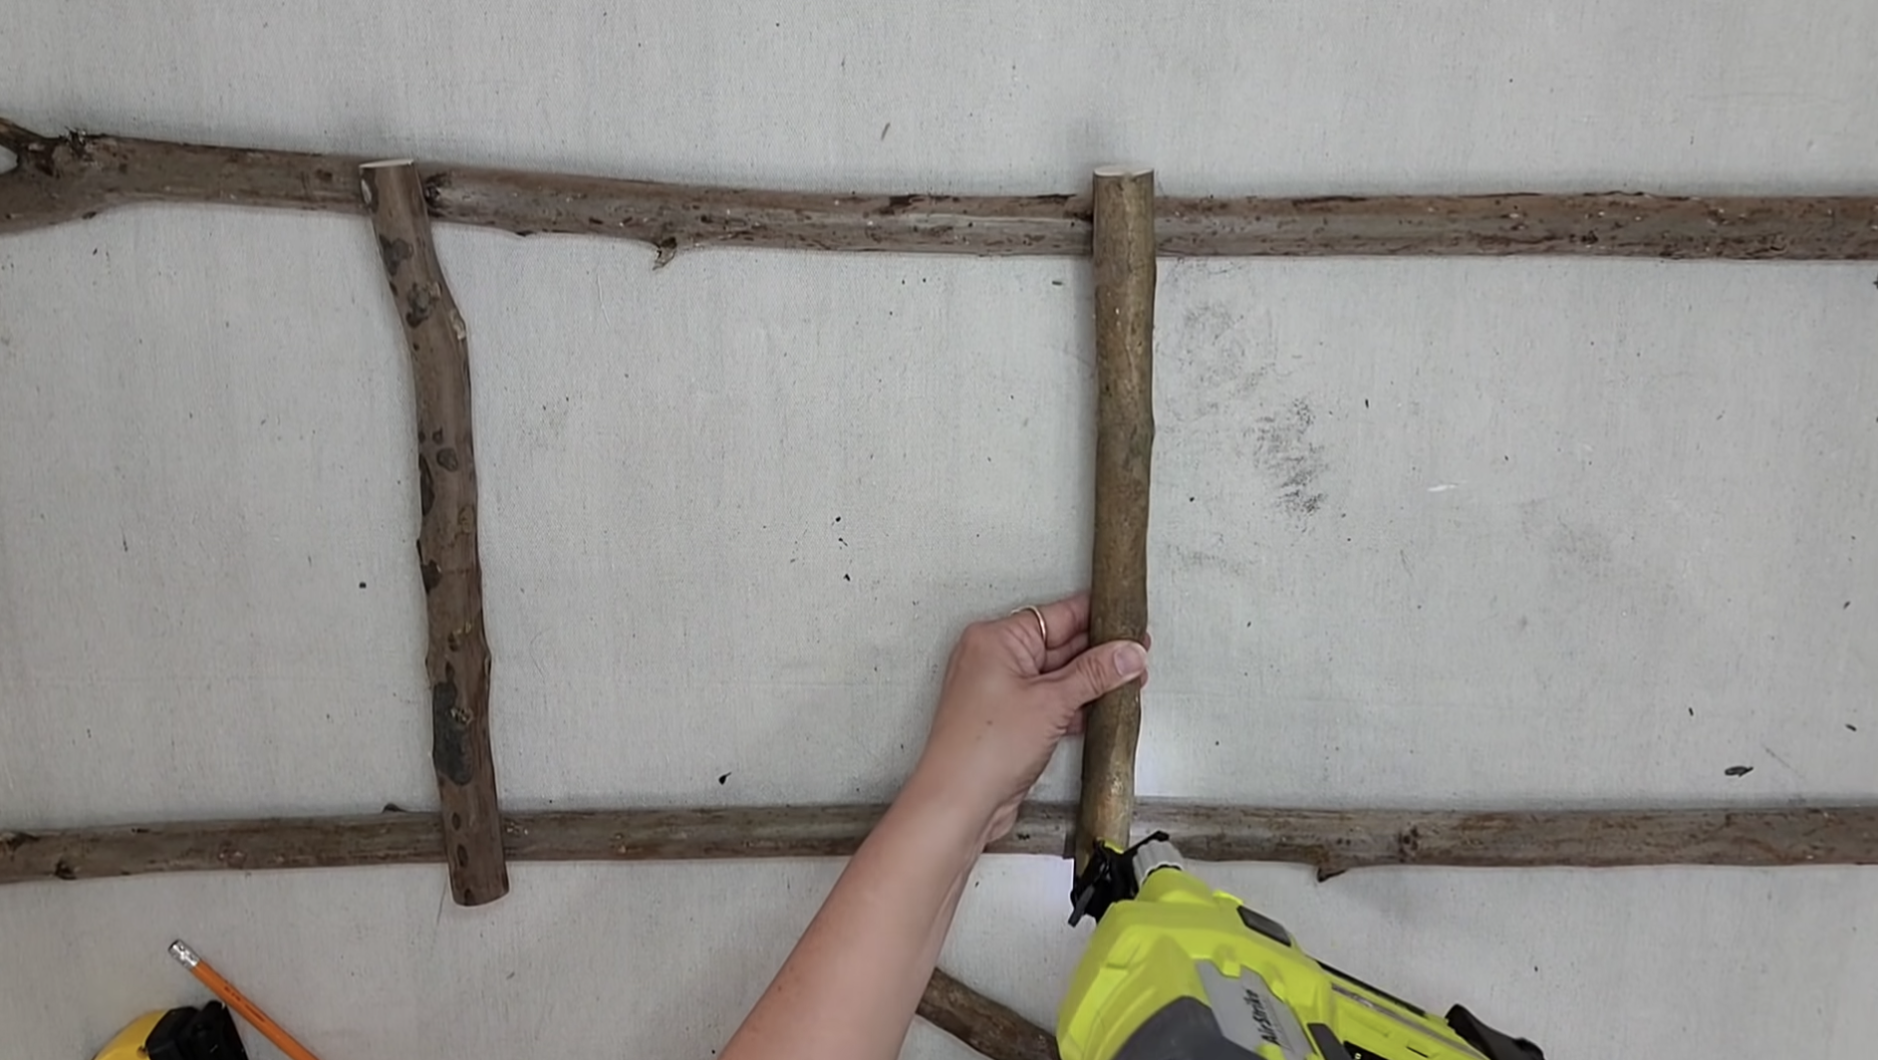
Once you have nailed in all 3 branches to one side, flip over your ladder and repeat the same process with your cordless brad nailer on the other side.


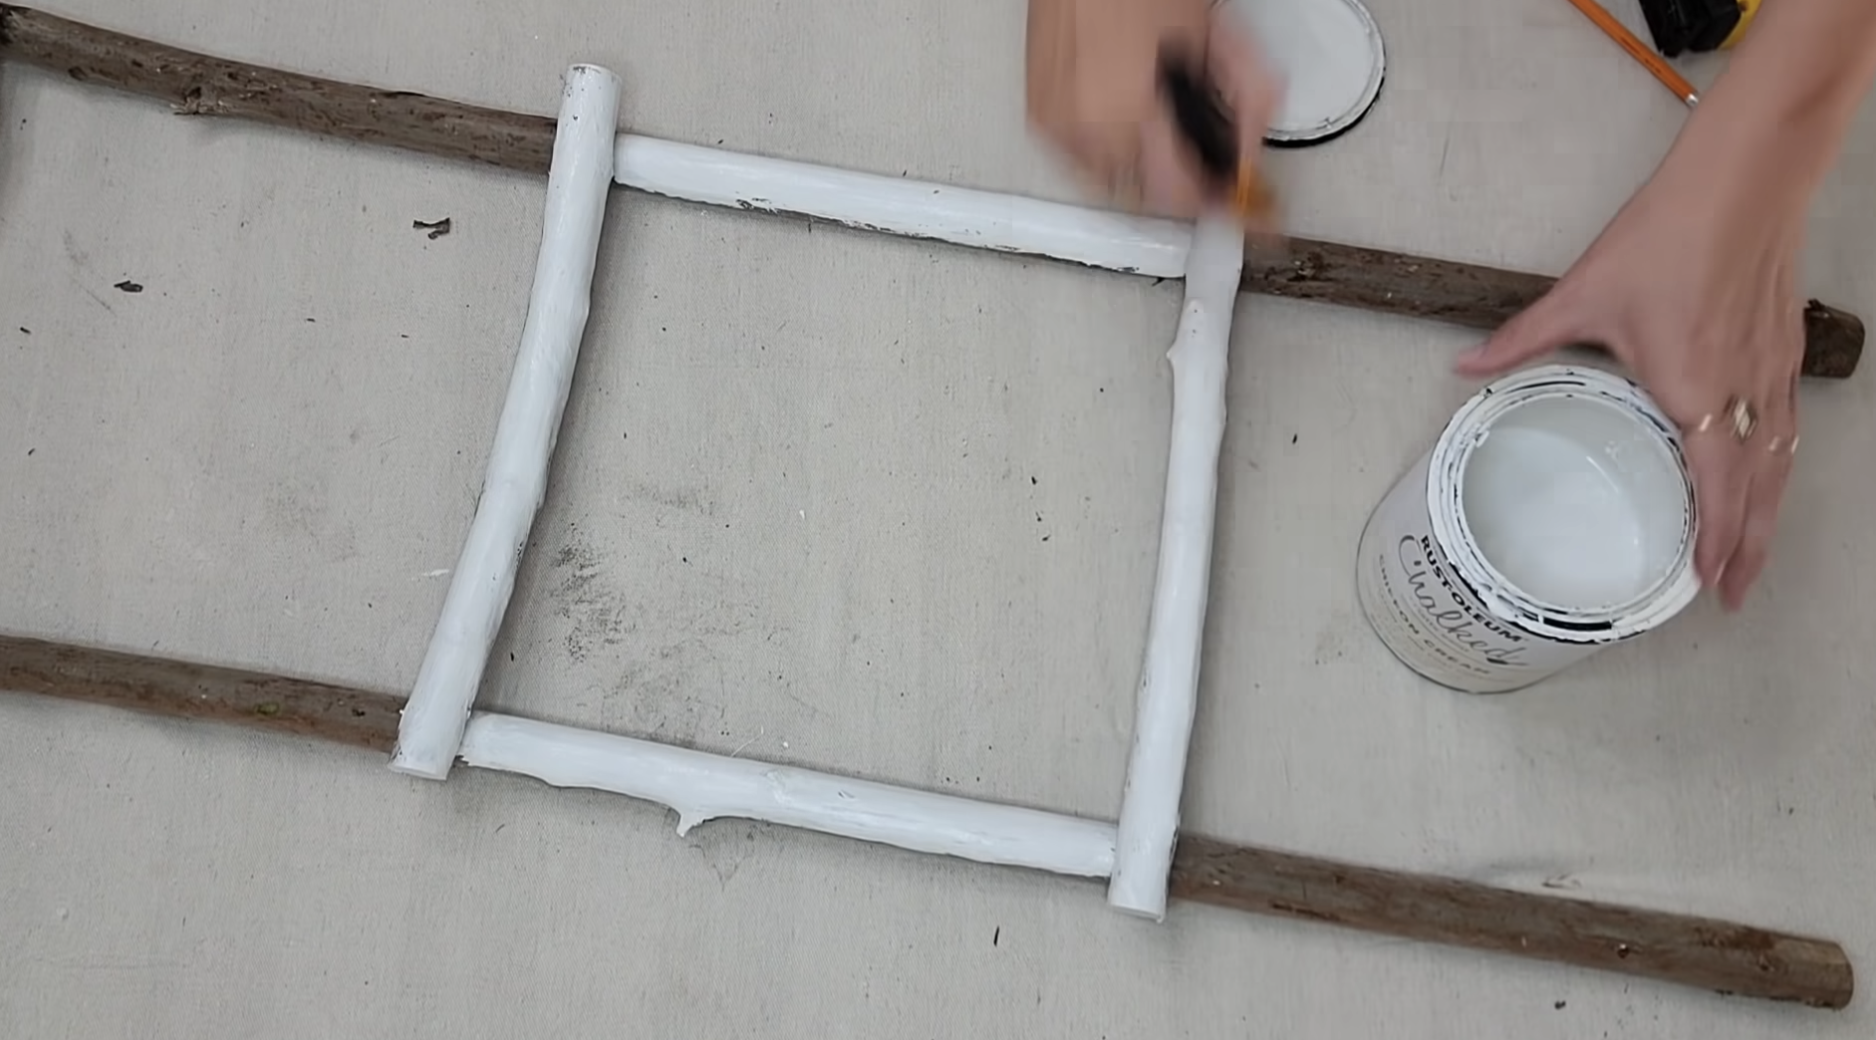
Based on my decor style, the natural branches are slightly too rustic, so I chose to chalk paint my ladder.
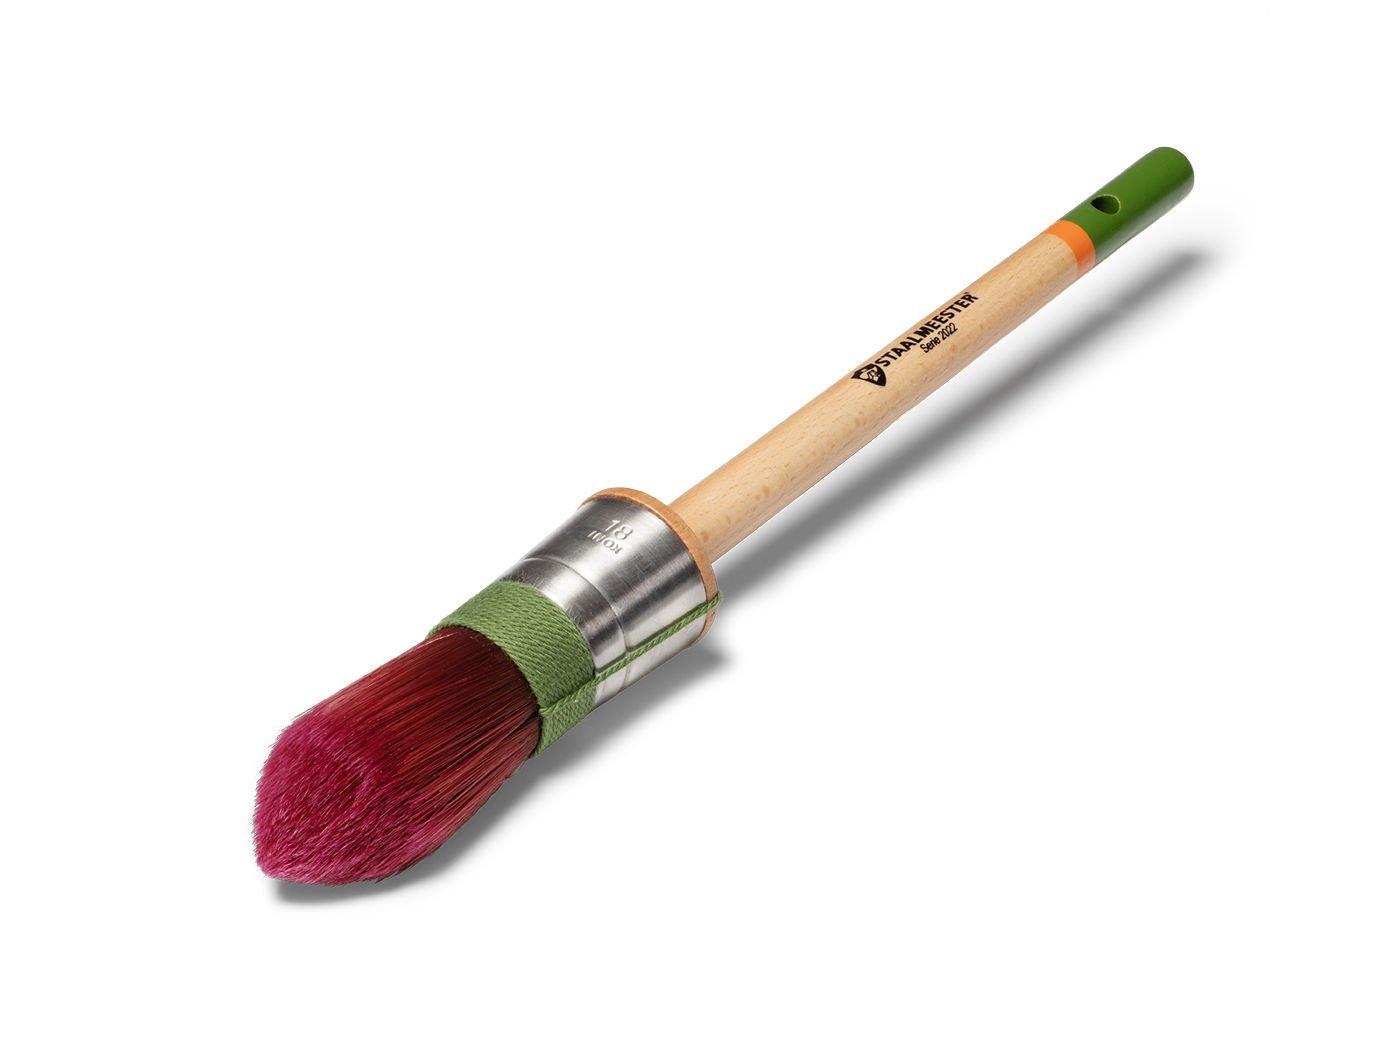
In my example, I am using Dixie Belle Chalk Paint in color Cotton and a STAALMEESTER Pointed Sash to paint the entire ladder.
Are you interested in painting your ladder a different color? Check out our Dixie Belle Chalk Paint color options and select a color that matches your fall home decor style!

Paint the entire front side of the ladder.
Flip it over and paint the entire backside.
After the paint is dry, you can use sandpaper to lightlydistress the paint.
And that’s it! This simple & easy DIY project is a must for this fall!
Plus, you can repaint and decorate your ladder as the seasons change.
Are you ready to try it for yourself? Leave a comment and let me know what you think of this DIY project!

As always, subscribe to my YouTube channel so you never miss one of my DIY videos.
You can watch me create this project and many others like it here: https://youtu.be/lJmnSpZ_Hok
Click the image to shop

Don’t forget to join the Colors of the Month Club to receive (4) sample Fusion Paint colors picked by me that are perfect for the current season! → Click here to learn more
Like what you see? Be sure to join our mailing list for weekly DIY Ideas, thrift flips, new product alerts, video announcements, live events & more!
DISCLAIMER: This blog post may contain affiliate links. If you purchase a product or service with the links provided I may receive a small commission. There is no additional cost to you. Thank you for supporting my blog so I can continue to provide you with free content each week!