
How To Thrift Flip A Rusty Flour Sifter Into A Simple & Unique Antique Home Decor Piece
**This post contains affiliate links for your convenience. I may earn a small commission if you make a purchase from these links.**
In a world constantly chasing the shiny and new, there's an undeniable charm in reviving forgotten treasures and turning them into something extraordinary. Welcome to a world where creativity knows no bounds, where a rusty relic can find new life as a stunning piece of home decor. If you're ready to embark on a journey of thrift-flipping magic, we've got just the project for you: breathing new life into a rusty flour sifter and watching it evolve into a simple yet utterly unique addition to your living space.
Inspired by my recent YouTube video, I will guide you step-by-step through creating a simple & unique thrifted piece that will impress your guests and perfectly pair with your home's vintage style.
So, gather your crafting tools, and let's get started on this DIY project.

Want to see more of my Home Decor DIY videos? Watch Here
Follow along to learn How To Thrift Flip A Rusty Flour Sifter Into A Simple & Unique Antique Home Decor Piece.
Below is a list of the items you will need to recreate this project:
Thrifted Flour Sifter
Corn Starch
Rolling Pin
Ziplock Bag (optional)
*Product can be purchased directly through my website [www.juliesdesignsandsigns.com]
In this video, I am going to be using a rusty flour sifter and IOD Air Dry Clay to create a new antique home decor piece.
This sifter was actually new when I bought it so I put some toilet bowl cleaner on it and left it out in the sun. This process caused the sifter to rust on its own.

First, place some cornstarch on your workspace so the clay does not stick.
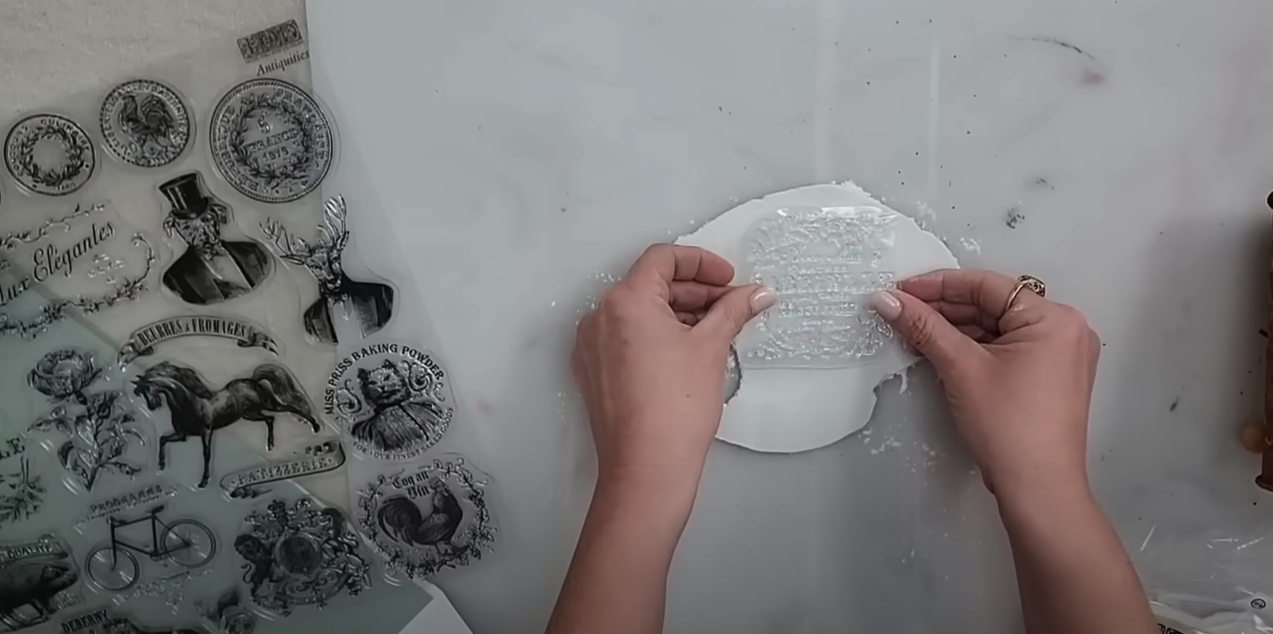
Next, roll out your IOD Air Dry Clay so that it is large enough to lay your stamp flat onto the clay.

I will be using the Antiquities Stamps from IOD for this project.

Once you select your stamp, push it into the rolled-out clay.
Use your rolling pin to ensure it is evenly pushed into the clay.

Before you pick up your stamp, use an Exacto Knife to cup around the edge of the stamp.

Using your hands, remove the excess clay from around the stamp.

DIY Tip: Place your IOD Air Dry Clay in a ziplock bag with a wet wipe so the clay remains nice and moist for future projects.

Now you can pull up the stamp, which should leave a beautiful impression on your clay.

Look at that beautiful impression that the stamp left!
I love using the IOD Stamp collection because not only can you use ink with these stamps, but as you can see, you can also create clay impressions!

While the clay is still wet, add gorilla glue to the back of your clay piece.

Next, place the clay piece onto the side of the flour sifter.
Gluing the clay piece to the sifter before the clay dries will allow the clay to attach to the curvature of the sifter easily.

As you can see below, I moved my stamp up to cover the logo on the top of the sifter.
Next, if you notice any glue drips onto the sifter, you can wipe it off with a wet wipe.

Now you will want to let the clay dry for a few hours.

Once the clay dries, it is time to bring the two pieces together to look like one cohesive piece.
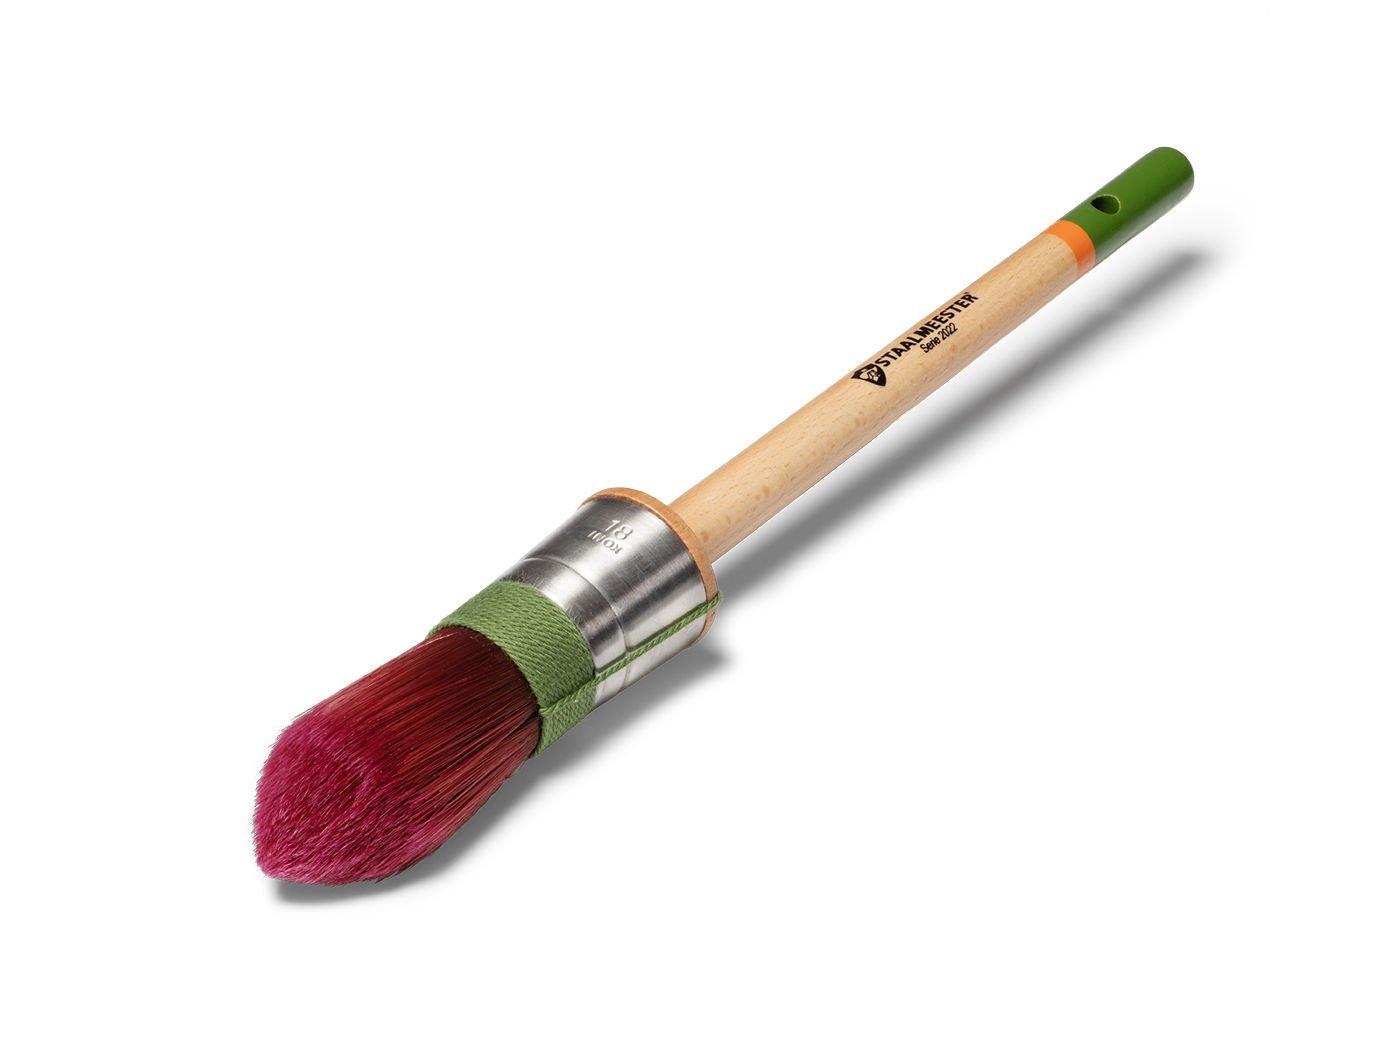
Next, you will need your Fusion Antiquing Glaze and STAALMEESTER Pointed Sash Brush.

Brush the Fusion Antiquing Glaze all over the flour sifter and clay piece.

Once you have covered the entire flour sifter with Antiquing Glaze, grab a dry paper towel.

Use the dry paper towel to stipple the Antiquing Glaze.
Do not wipe the glaze off.
When you stipple it off it will leave a rusty texture on the piece!

Are you ready to thrift-flip a rusty flour sifter into a brand-new home decor piece yourself?
Comment below and let us know your thoughts on this thrift flip DIY project!

As always, subscribe to my YouTube channel so you never miss one of my DIY videos.
You can watch me create this project and many others like it here: https://youtu.be/lJmnSpZ_Hok
Click the image to shop


Don’t forget to join the Colors of the Month Club to receive (4) sample Fusion Paint colors picked by me that are perfect for the current season! → Click here to learn more
Like what you see? Be sure to join our mailing list for weekly DIY Ideas, thrift flips, new product alerts, video announcements, live events & more!
DISCLAIMER: This blog post may contain affiliate links. If you purchase a product or service with the links provided I may receive a small commission. There is no additional cost to you. Thank you for supporting my blog so I can continue to provide you with free content each week!