
How To Create A Brown Paper Bag Floral Hanger | DIY Fall Home Decor Inspiration
**This post contains affiliate links for your convenience. I may earn a small commission if you make a purchase from these links.**
Most people have a brown paper bag laying around the house so this will be a quick and easy DIY!
Follow along to learn How To Create A Brown Paper Bag Floral Hanger.
Want to see more of my Fall DIY inspiration videos? Watch Here

Below is a list of the items you will need to recreate this project:
Brown Paper Bag
Low Gauge Craft Wire
Wire Cutters
*Product can be purchased directly through my website [www.juliesdesignsandsigns.com]
Let’s get started!

You are going to start by finding a brown paper bag.
To embellish the brown paper bag for fall, I am going to use the IOD Letterpress Stamp and the IOD Alphabellies Stamp.
If you do not have these two stamps, I highly recommend them! The letterpress stamp comes with 3 different fonts. The stamps are small so they are perfect for all types of purposes.
The alphabellies stamps are meant to be used with all IOD stamps. I love to use floral embellishments to put around my type.

I started by finding the letters to spell out FALL and arrange them on the brown paper bag.
I did not have 2 L’s so I am using a T as a placeholder.

Once you like the arrangement you will take your IOD Thin Mount and lay it on top of the stamp letters.

Flip over the IOD Thin Mount so that you are looking at the underside of your letters.
I am using the IOD Stone Gray Ink and pressing it into the stamp letters.
This color ink does appear translucent on the stamp but you can trust me that it does show up on the paper bag.

Next, you will flip over the IOD Thin Mount and line up your letters in the center of your paper bag.
REMINDER: don’t forget to remove the placeholder T!

Press the IOD Thin Mount into the paper bag and run your hands over each letter to ensure the ink transfers evenly.
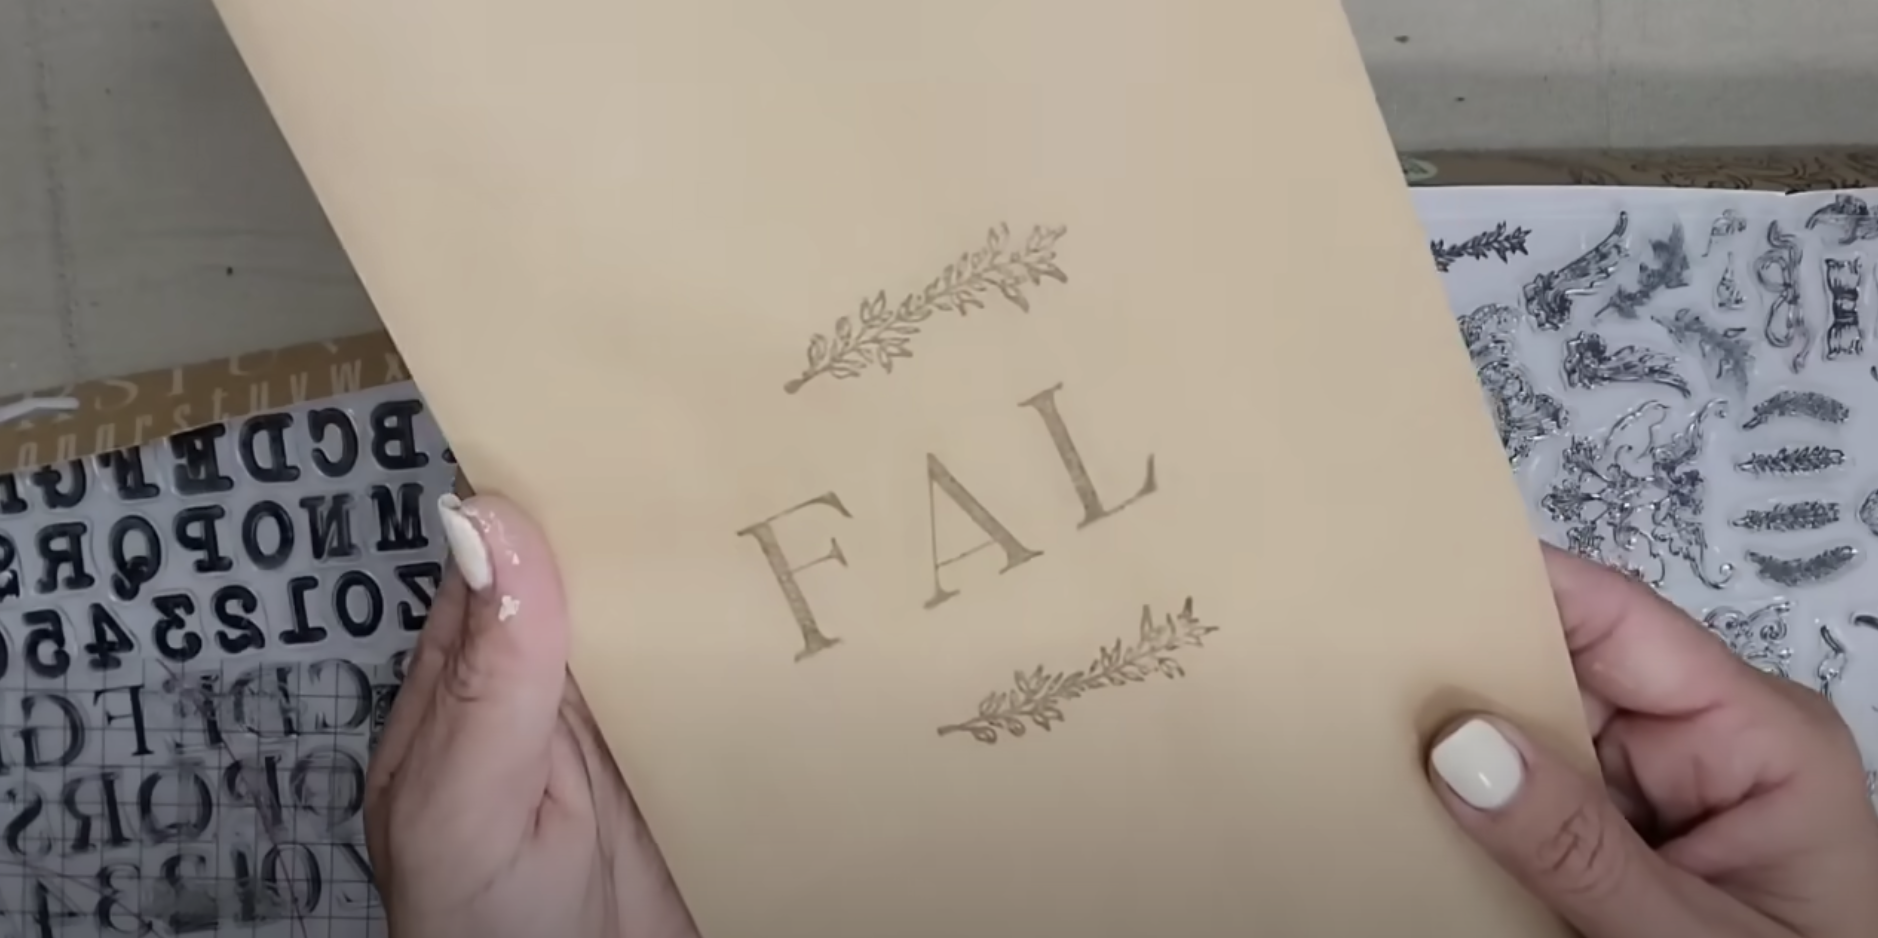
Look at how cute this stamp comes out!
And don’t worry, next, I am going to add on the final L.

Use a wet wipe to clean the ink off of your stamps.
Remove each stamp from the IOD Thin Mount and set it aside.

You will want to leave the L attached to the IOD Thin Mount and repeat the same steps as above.

Once again, press the IOD Stone Gray ink into your L stamp.

You will want to evenly line up the L with the rest of the letters and then press the stamp onto the paper.

Look at how cute this stamp comes out!

For this next step, I recommend using a low gauge craft wire.
I thrifted this roll of wire from the Goodwill bins because I knew I would want to use it for so many different projects.

For the next steps, I recommend watching this video so you can watch my hands as they cute and bend the wire → https://www.youtube.com/watch?v=bMlHB7BuW5A&t=44s (start at the 2-minute mark of the video)


Your wire should end up looking similar to the above image.

Next, you will take your brown paper bag and open it up.
You will bend the opening of the brown paper bag around the wire.
The bag will begin to rip and that is alright!

Then you will take your hot glue gun and glue the folds into place.

After you glue the paper bag around the wire you can start to figure out what you have around your house that you would like to display in your brown paper bag holder.


As you can see, I wanted to go with a rustic fall look so I am very happy with how the brown paper bag holder turned out.
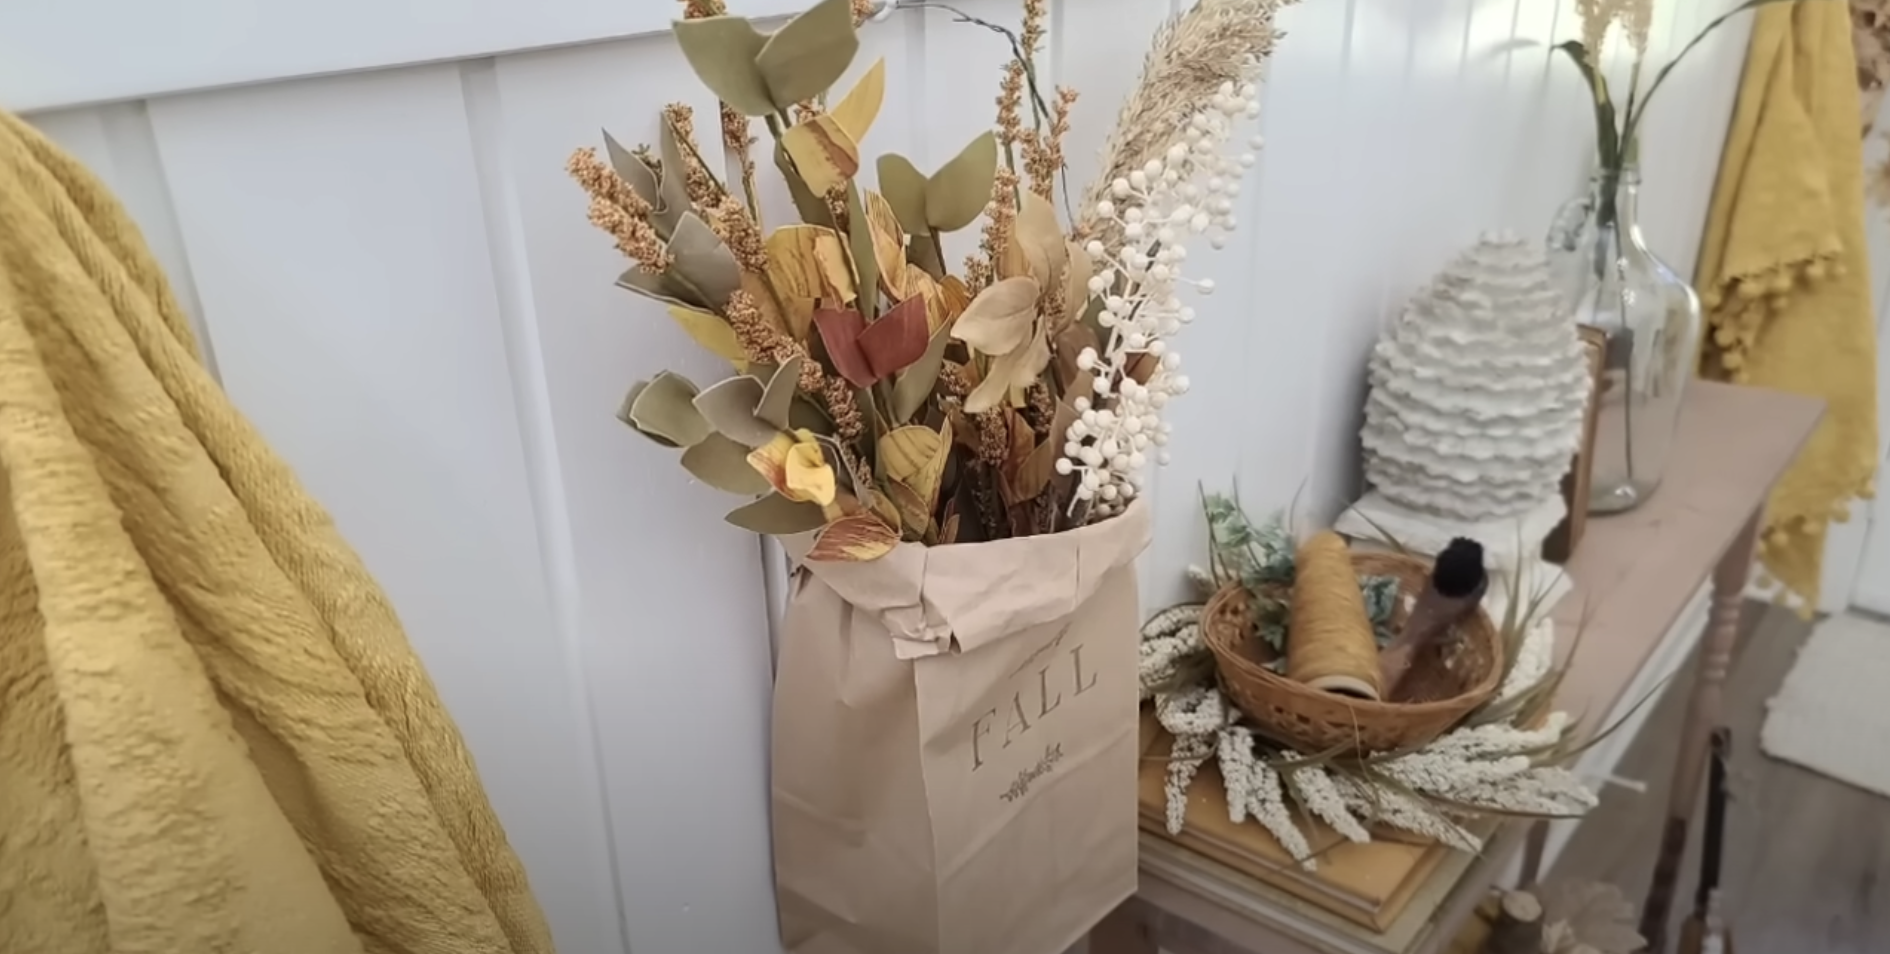
The possibilities are endless for this project. I hope you can use this as inspiration to find things around your house that can be upcycled into a beautiful home decor piece for fall!
Are you ready to try it for yourself? Be sure to comment below and share your final product!
As always, subscribe to my YouTube channel so you never miss one of my DIY videos.
You can watch me create this project and many others like it here: https://youtu.be/bMlHB7BuW5A
Click the image to shop


Don’t forget to join the Colors of the Month Club to receive (4) sample Fusion Paint colors picked by me that are perfect for the current season! → Click here to learn more
Like what you see? Be sure to join our mailing list for weekly DIY Ideas, thrift flips, new product alerts, video announcements, live events & more!
DISCLAIMER: This blog post may contain affiliate links. If you purchase a product or service with the links provided I may receive a small commission. There is no additional cost to you. Thank you for supporting my blog so I can continue to provide you with free content each week!