
How To DIY A Fall Hanging Tapestry
**This post contains affiliate links for your convenience. I may earn a small commission if you make a purchase from these links.**
If you love simple, clean fall vibes, you will love this project!
Want to see more of my Fall Home Decor DIY videos? Watch Here

Below is a list of the items you will need to recreate this project:
Drop Cloth Fabric
(2) Branches From Your Yard
Twine
Tea Bags
Bowl of Water
*Product can be purchased directly through my website [www.juliesdesignsandsigns.com]
Let’s get started!
Cut a piece of drop cloth into a rectangle.
You can choose how large you would like your hanging tapestry to be.

Next, grab your IOD Retro Stamp and spell out the word FALL.
Note: there is only one L so you will need to reuse that stamp.
I laid out the letters and used an E as a placeholder for my second L.

Next, flip over your thin mount and ink up your letters with IOD Black Ink.

Reminder: You do not need to put ink on the E.
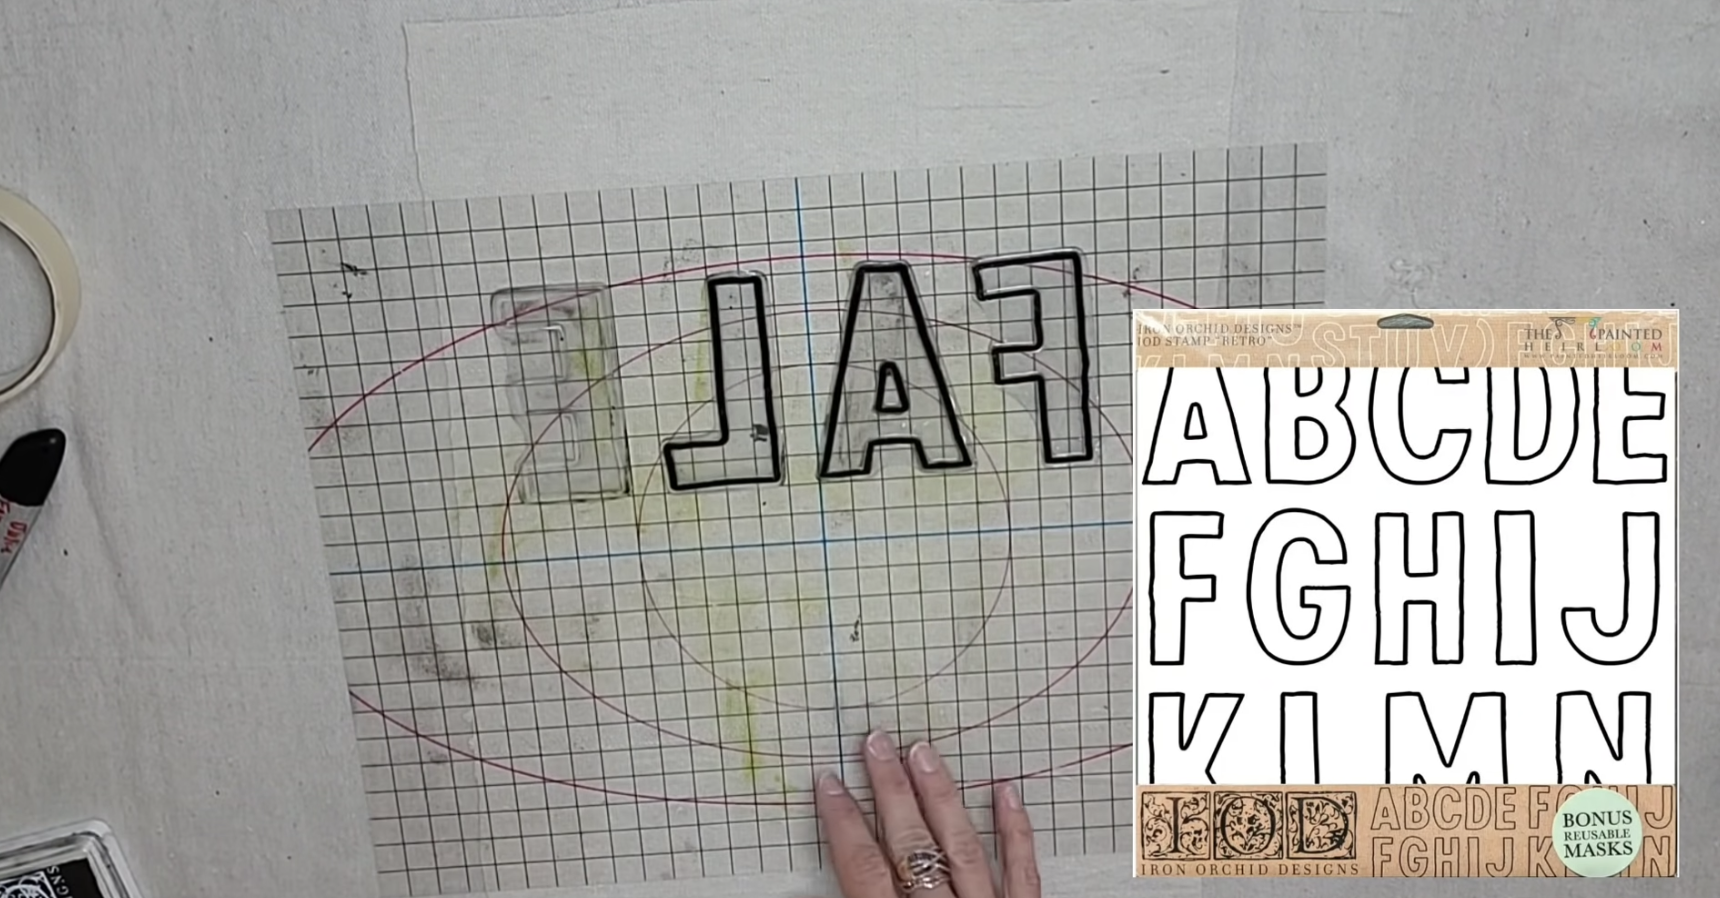
Once you have ink on your stamps, flip over your thin mount and press it into the drop cloth.
Make sure you leave room above and below for your other words.


Next, ink up your L again and place it next to the other L to complete the word FALL.

Perfect!

For my tapestry, I chose to spell ‘It’s Fall Yall!’
For the IT’S and the YALL, I used the IOD Typesetting Stamp.

I started by laying out the letters that spell ITS where I would want them to be placed above FALL.
Lay the thin mount down onto the stamp letters and then flip the thin mount over.
Using the IOD Black Ink again, ink up the stamp letters.

Flip the thin mount over and press it into the drop cloth above the word FALL.


Next, using the IOD Typesetting Stamp, lay out the stamp letters for YALL.
You will repeat the same process as above.
Note: there is only one L, so you will need to reuse that stamp.


You will use the end of the J to create the apostrophe for the IT’S and the Y’ALL.
DIY Tip: The end of the IOD Typesetting Stamp ‘J’ makes a perfect apostrophe or comma if you need to create one for any type projects.
You can watch this video starting at 4:36 to see how I use the J to make the apostrophe.

Once the ink is dry you can start assembling your tapestry!
I wanted to make my fabric a little darker, so I went ahead and tea-dyed the drop cloth.
In a bowl of water, I added a few tea bags.

Make sure you remove the tea bags before you place your fabric into the bowl.
Soak the fabric in the tea for a minute or two and then lay your fabric out to dry.

Once the fabric is dry, you can finish assembling your tapestry.
Place a glue line along the top of your cloth using your hot glue gun.

Next, press down one of your branches along the glue line so that the glue adheres to the branch.
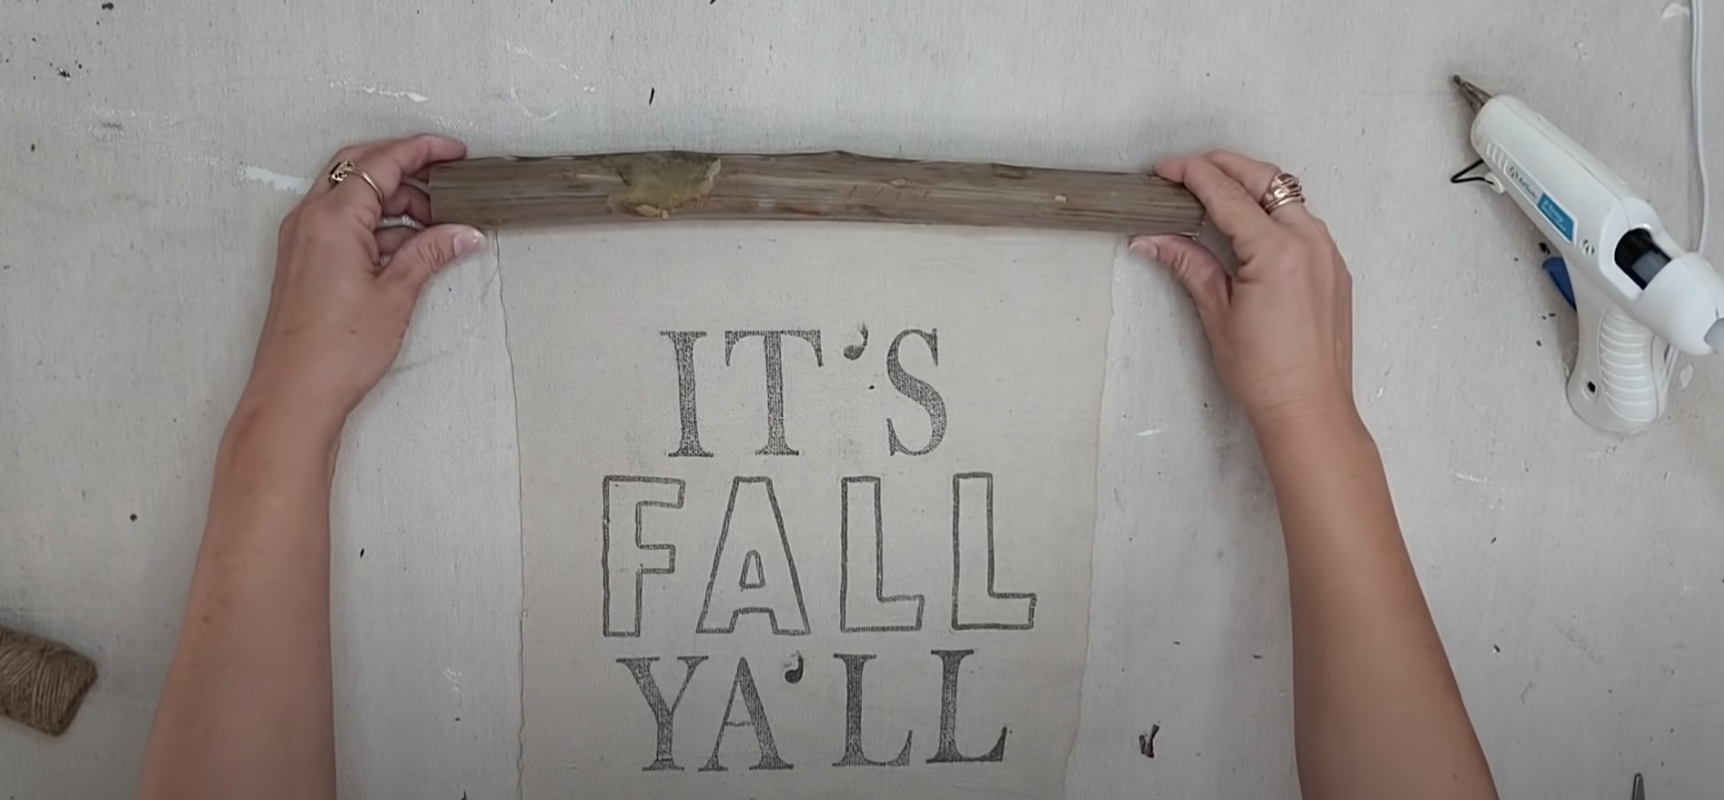
Next, you will repeat that process on the bottom of the fabric.


Once the glue has dried, wrap jute twine around the top branch to create a hanger.

As you can see in the image below, I wrapped the twine around one side of the branch, left some twine loose, and then wrapped the other side.
This creates a way for us to hang our tapestry.

As an optional last step, you can add faux fall leaves or fall embellishments to the tapestry to complete the look.
Are you ready to try it for yourself? Leave a comment and let me know what you think of this DIY project!

As always, subscribe to my YouTube channel so you never miss one of my DIY videos.
You can watch me create this project and many others like it here: https://youtu.be/lJmnSpZ_Hok
Click the image to shop


Don’t forget to join the Colors of the Month Club to receive (4) sample Fusion Paint colors picked by me that are perfect for the current season! → Click here to learn more
Like what you see? Be sure to join our mailing list for weekly DIY Ideas, thrift flips, new product alerts, video announcements, live events & more!
DISCLAIMER: This blog post may contain affiliate links. If you purchase a product or service with the links provided I may receive a small commission. There is no additional cost to you. Thank you for supporting my blog so I can continue to provide you with free content each week!