
How To Upcycle an Old Pumpkin with a Faux Cement Paint Technique | DIY Fall Decorations
**This post contains affiliate links for your convenience. I may earn a small commission if you make a purchase from these links.**
It is time to start dreaming up your home decor for this fall. I highly recommend adding this quick & easy thrift-flipped pumpkin project to your decoration design plans! Your guests will leave wondering if your pumpkin was purchased at a high-end home goods store. You’ll be the only one who knows it was a budget-friendly DIY.
Want to see more of my Fall Home Decor DIY videos? Watch Here

Below is a list of the items you will need to recreate this project:
Thrifted Pumpkin
Pencil
Chip Brush
Mixing Bowl (for paint)
Paper Towel or Dry Rag
*Product can be purchased directly through my website [www.juliesdesignsandsigns.com]
One of the great things about fall decor is that once you have a pumpkin in your decor stash - you have a pumpkin for life!
You can DIY your pumpkin year after year to fit in with your current style for fall.
Follow the below steps to up-cycle a basic white pumpkin into a beautiful high-end faux cement-painted pumpkin.

First, grab a pencil and hand draw some vines and little leaves all over your pumpkin.

Next, use your hot glue gun to trace over all of the vines that you made with your pencil.
You can fill in the leaves if you would like. In my example, you can see that I decided to only trace the outline.
TIP: We are going for a handmade look so don’t worry if you feel like your lines are a bit shaky.

Once you have traced all of your lines, you will create your painting mixture.
In a bowl, mix Fusion Fresco and Fusion Mineral Paint in the color Little Lamb. If you do not have Fusion Fresco, you can also use Dixie Bell Sea Spray to achieve the same look.
The recipe measurements are up to you. The more Fusion Fresco you use, the more textured it will be.
You get to decide how textured you want your paint to be.


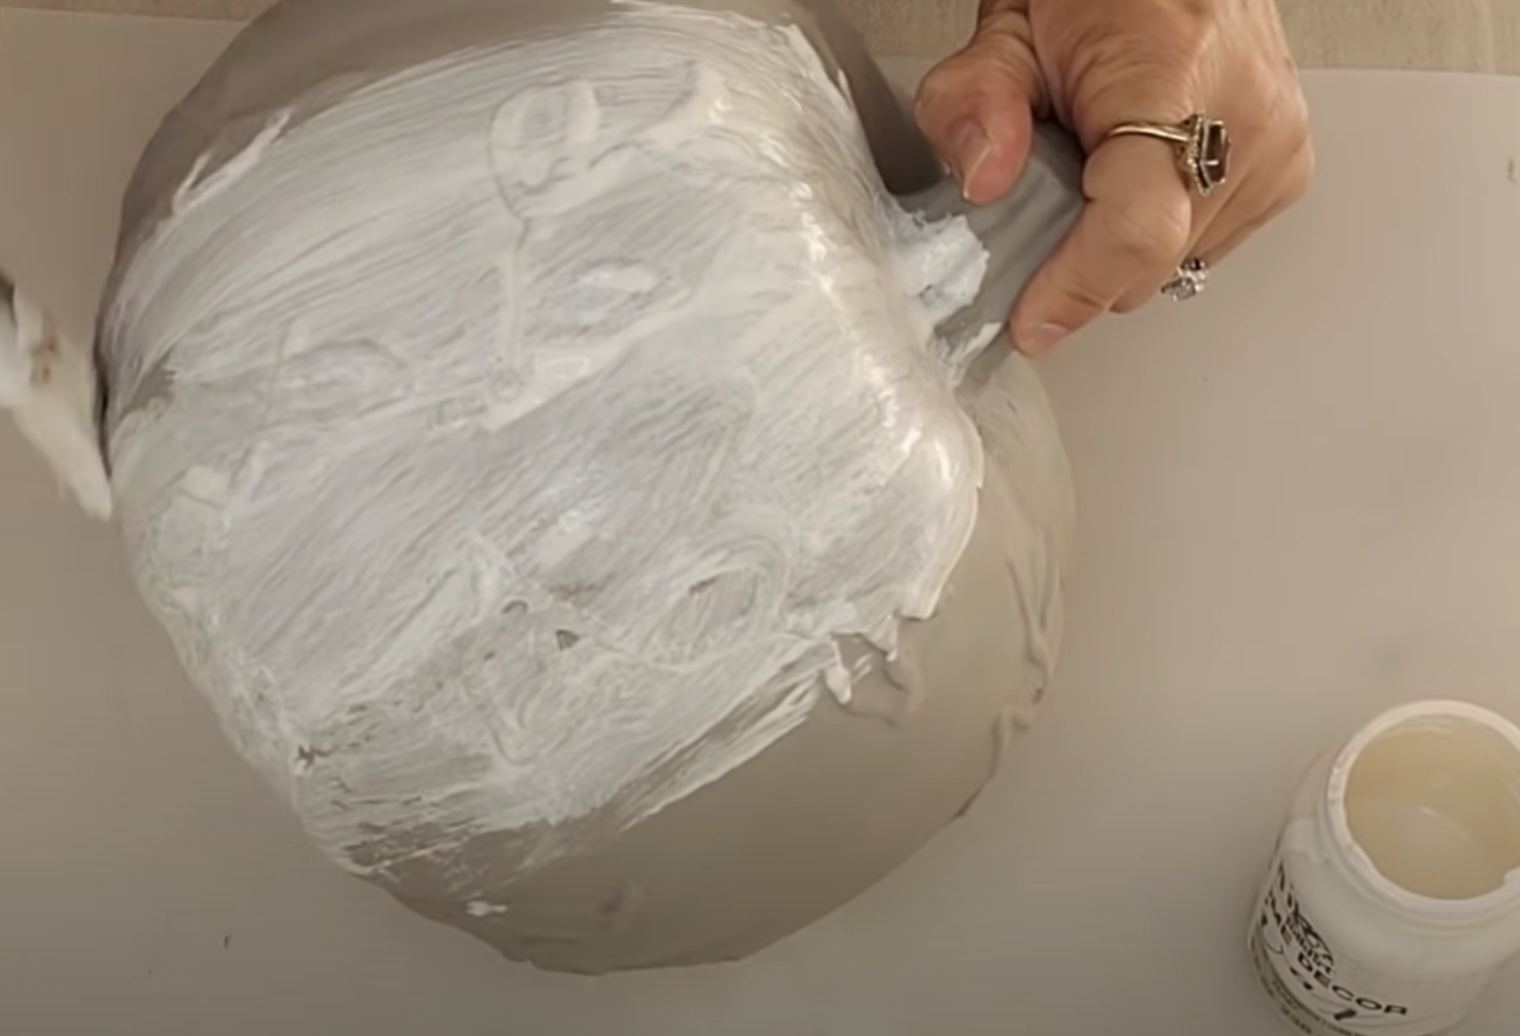
Using a chip brush, apply your paint mixture over the entire pumpkin.
I like to use a chip brush because it adds even more texture.
If you feel like your pumpkin has imperfections, don’t worry! This painting technique will hide all of those imperfections.
I recommend doing 2 coats of the paint mixture. You will paint one coat and let it dry. Then paint on your second coat.

Once the paint dries, use your Staalmeester Round Wax Brush to add white wax to the entire surface of the pumpkin.
I recommend using Dixie Bell White Wax.
DIY Fun Fact: When you add white wax to gray paint, it makes the product look like cement.
Once you have covered the entire pumpkin, take a paper towel and wipe off the wax.

It is as easy as that!
I chose the leaf pattern because this matches my style of fall decor. However, you can get creative! I recommend using whatever type of design you would like to match your fall decor style.
Do you have an old pumpkin sitting with the rest of your fall decor? It’s time to upcycle it!

Are you ready to try it for yourself? Be sure to comment below and share your final product!
As always, subscribe to my YouTube channel so you never miss one of my DIY videos.
You can watch me create this project and many others like it here: https://youtu.be/bMlHB7BuW5A
Click the image to shop


Don’t forget to join the Colors of the Month Club to receive (4) sample Fusion Paint colors picked by me that are perfect for the current season! → Click here to learn more
Like what you see? Be sure to join our mailing list for weekly DIY Ideas, thrift flips, new product alerts, video announcements, live events & more!
DISCLAIMER: This blog post may contain affiliate links. If you purchase a product or service with the links provided I may receive a small commission. There is no additional cost to you. Thank you for supporting my blog so I can continue to provide you with free content each week!