How To Use IOD Paint Inlays To Thrift Flip A Vintage Wooden Tote
**This post contains affiliate links for your convenience. I may earn a small commission if you make a purchase from these links.**
If you're a DIY enthusiast with an eye for detail and a passion for preserving the past, you're about to dive into a project that combines the charm of thrift flipping with the elegance of IOD paint inlays.
In this blog, I am going to share my style of thrift flipping, where a classic wooden tote takes center stage.
Inspired by my recent YouTube video, I'll introduce you to the magic of IOD (Iron Orchid Designs) paint inlays, a technique that effortlessly combines vintage aesthetics with contemporary flair.
Let's get started on this exciting thrift-flipping project!
Want to see more of my Home Decor DIY videos? Watch Here
Follow along to learn How To Use IOD Paint Inlays To Thrift Flip A Vintage Wooden Tote.
Below is a list of the items you will need to recreate this project:
Thrifted Wooden Tote
Sand Paper
*Product can be purchased directly through my website [www.juliesdesignsandsigns.com]
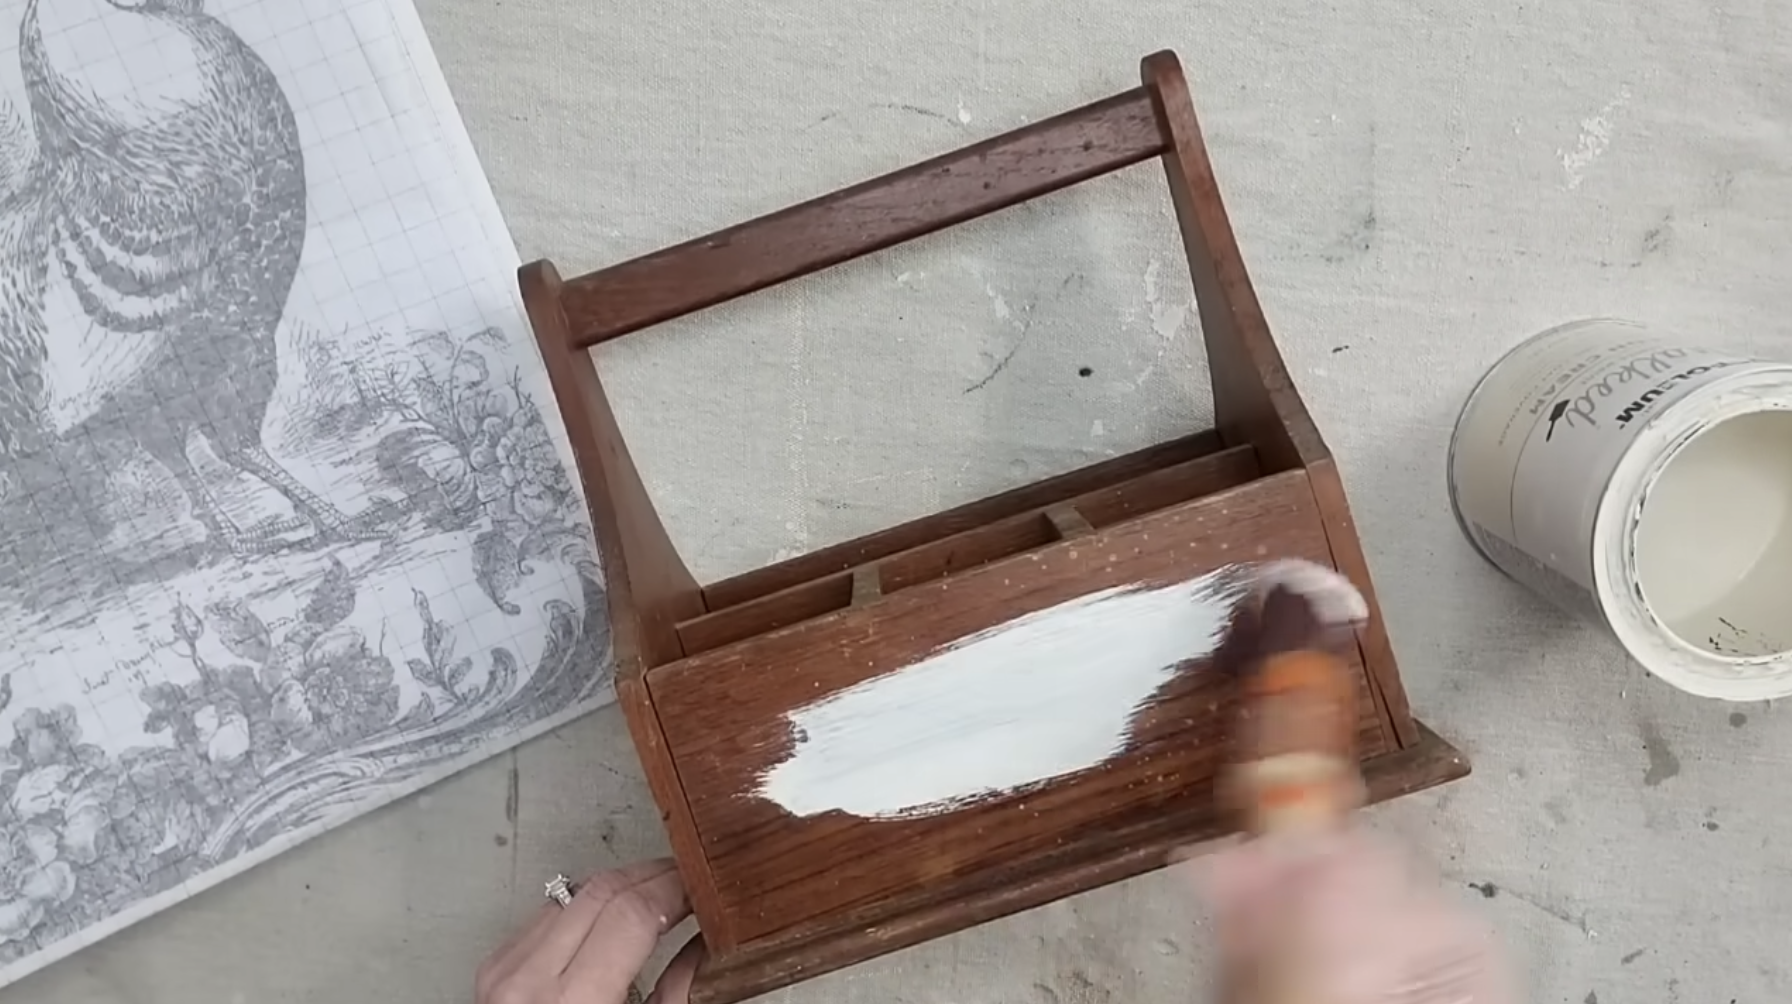
I thrifted this wooden tote and I really like the wood color, however, the back piece is a little bit damaged.
To DIY this piece, I am going to paint over the front and back with chalk paint to cover the damage.
For this project, I decided to use Dixie Belle Chalk Paint.
You need to use chalk or mineral-based paint for the Paint Inlays to work.
Fusion paint would not work because the paint has a built-in sealer. You need paint that is water soluble.
I decided to use Dixie Belle Chalk Paint in the color Drop Cloth.
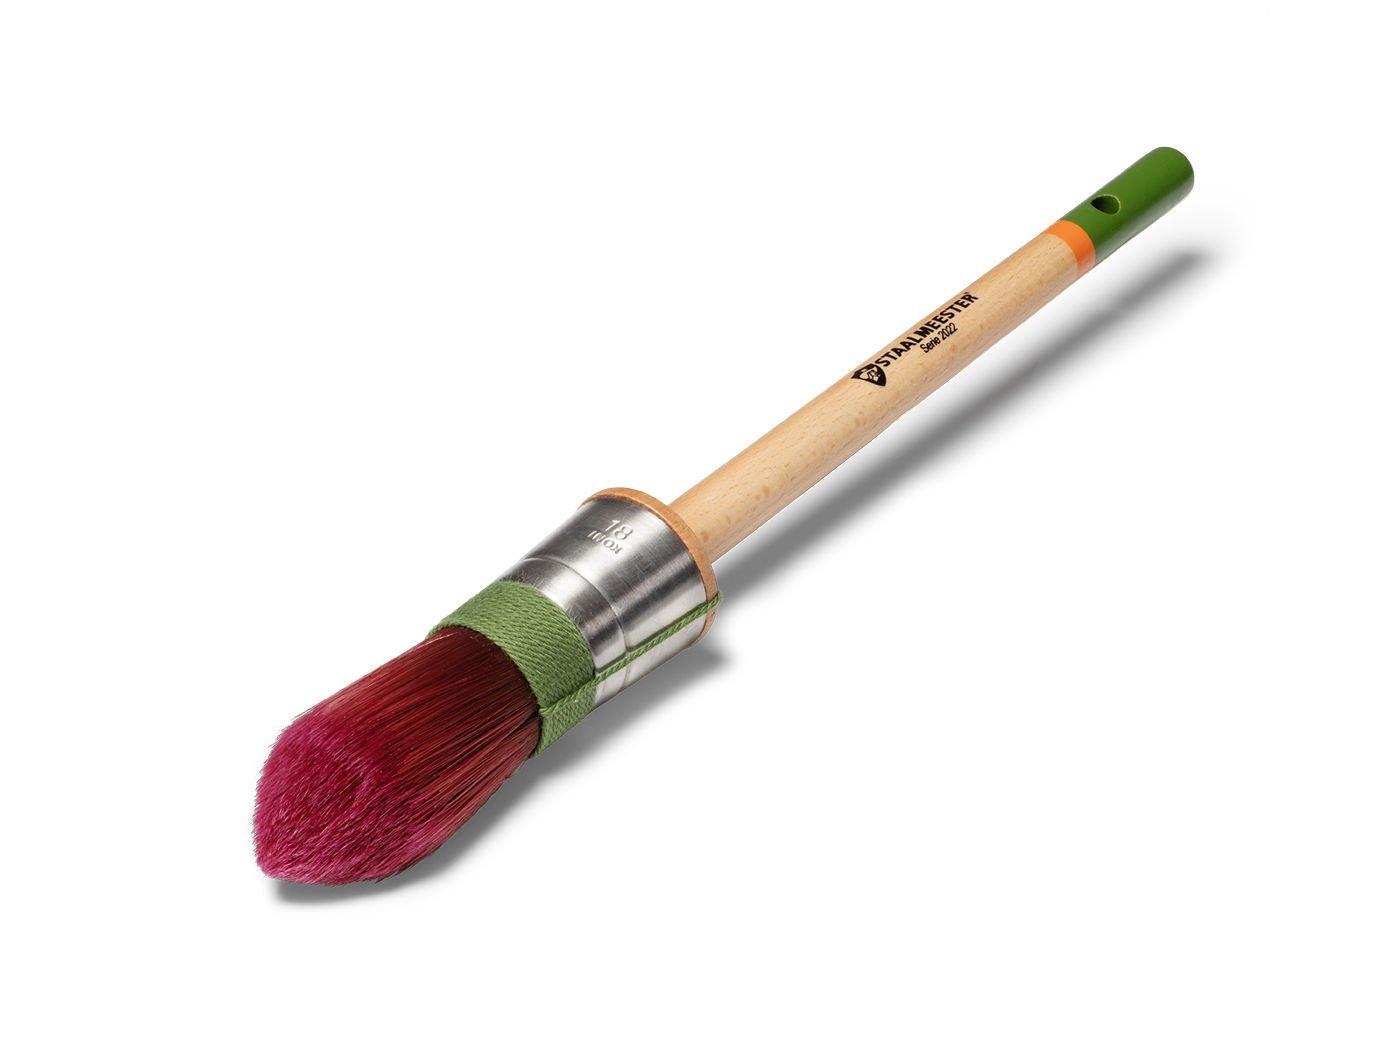
Using a STAALMEESTER Painted Sash Brush I painted one coat of chalk paint on either side of the wooden tote.
While the chalk paint is drying you are going to pick out your paint inlay.
This beautiful image of a rooster is a part of the IOD Melange Paint Inlays.
I am going to use the floral design at the top of this page.
Using your scissors, cut out the floral from the top of this image.
Then apply your second layer of chalk paint to one side of your wooden tote.
While the second layer is still wet, place the paint inlay on top.
Place it exactly where you want it and then use an IOD Brayer to evenly apply the inlay.
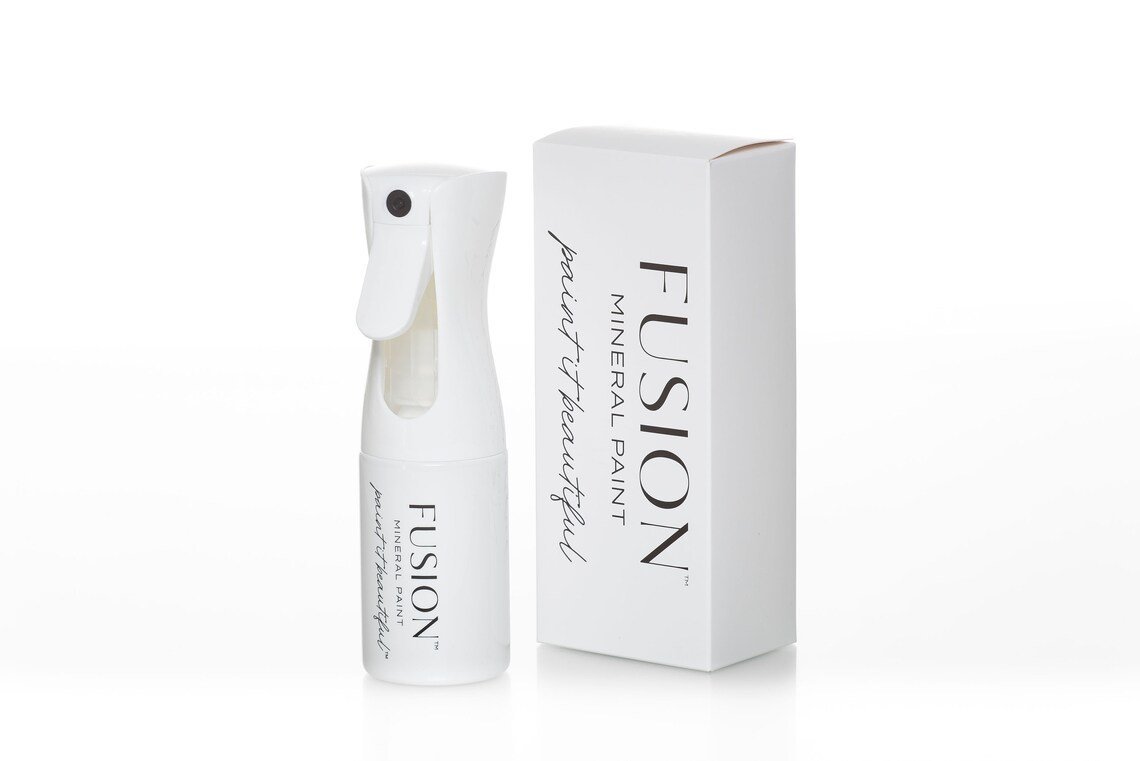
Next, use the Fusion Mineral Paint Continuous Spray Mister to mist over the paint inlay.
You do not want to spray too much - just a mist.
Then, let it dry!
Once it is dry, you are going to mist it again.
After 30 seconds, pull up the paint inlay.
You can reuse a paint inlay so don’t throw away the piece that you just used.
Next, apply a second coat of chalk paint to the other side of the wooden tote.
While the paint is still wet, lay the inlay on top.
Since the inlay is still wet, you do not need to mist the inlay again.
Once again, let the inlay completely dry.
After it dries, mist the inlay one last time.
Wait 30 seconds and then lift the inlay off of the wooden tote.
Do not worry if you see imperfections in the paint. Imperfections will add to the overall distressed and aged look that we are trying to achieve.
To help achieve an aged look, take a piece of sandpaper and lightly distress the edges.
The combination of the real wood, the cloth drop paint color, and the black-lined design came together beautifully for this project!
What do you think? Isn’t this beautiful!
We have so many IOD Paint Inlay options on the website! You can check them out here: IOD Paint Inlays
As always, subscribe to my YouTube channel so you never miss one of my DIY videos.
You can watch me create this project and many others like it here: https://youtu.be/lJmnSpZ_Hok
Click the image to shop
Don’t forget to join the Colors of the Month Club to receive (4) sample Fusion Paint colors picked by me that are perfect for the current season! → Click here to learn more
Like what you see? Be sure to join our mailing list for weekly DIY Ideas, thrift flips, new product alerts, video announcements, live events & more!
DISCLAIMER: This blog post may contain affiliate links. If you purchase a product or service with the links provided I may receive a small commission. There is no additional cost to you. Thank you for supporting my blog so I can continue to provide you with free content each week!


