
How To Create No Sew Fabric Pumpkins For Fall | Quick & Easy DIY
**This post contains affiliate links for your convenience. I may earn a small commission if you make a purchase from these links.**
Are you looking for a quick & easy fall home decor DIY? You may even have all the necessary items to create this in your home already!
Today, I will show you how to turn thrifted fabric into beautiful fall pumpkins.
Follow along to learn How To Create No Sew Fabric Pumpkins For Fall!

Below is a list of the items you will need to recreate this project:
Thrifted blanket in a fall color
Scrap paper
Masking tape
Scissors
Pillow stuffing
Sandpaper
Branch (for pumpkin stem)
Jute twine
Decorative burlap leaves
*Product can be purchased directly through my website [www.juliesdesignsandsigns.com]
Let’s get started!
I am getting ready to decorate my bedroom for Fall, so I want to make my own DIY fabric pumpkins.
I started by thrifting this mustard-colored blanket.

First, you will need a blank piece of white paper.
Fold the piece of paper in half.
Using a pencil, draw a semi-oval starting on the folded edge.
Then, cut along the pencil line so that you have a paper stencil.

Unfold the paper stencil and apply tape to the back.
This will help hold the stencil in place while you cut the fabric.

Next, lay the stencil down on the fabric and use your scissors to cut around the edges of the stencil.

You can use this pattern to create all different sizes of pumpkins.
The size of your pumpkin is based on two different factors:
The size of your pattern.
How many fabric pieces you use per pumpkin.
To create larger pumpkins, you will cut out 8 pieces.
To create smaller pumpkins, you will cut out 5 pieces.
For this example, I am showing you how to create a larger pumpkin so I cut out 8 pieces of fabric.

Once you have your pieces cut out, you will want to grab your hot glue gun.
Take 1 of your pieces of fabric and add glue to one side of the fabric. (see the image below)
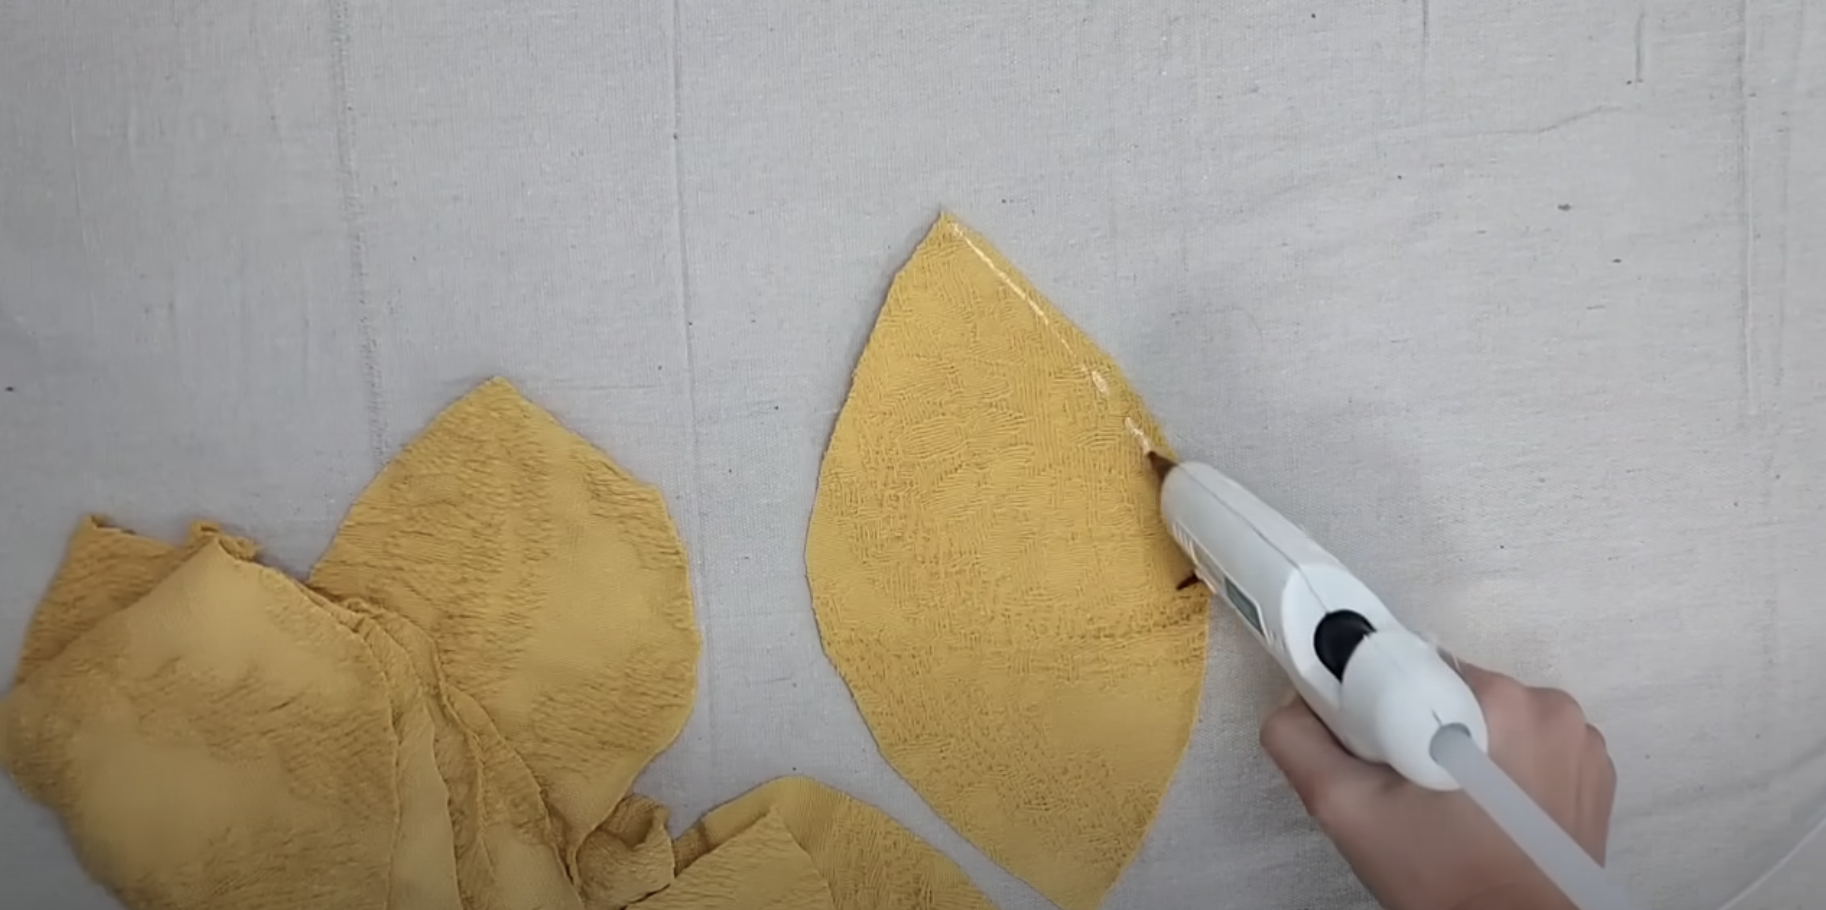
Next, lay a second piece of fabric right on top of the first and allow the glue to dry.
Tip: Make sure the side of your fabric you want to see on your pumpkin faces up toward you!

Once the glue dries, open the fabric pieces and lay them flat on your table.
Grab your hot glue gun and once again, apply glue on one side of your fabric just like you did the first time.

You are going to continue this process until all 8 pieces are attached to one another.

In the below image, you will see how the fabric should look once you have glued all 8 pieces together.
Finally, it is time to start giving our pumpkin its shape.
You will add one last glue line on the edge of your fabric piece.

Then, fold the other side of the fabric over so that the pumpkin is now glued together on all sides.

Using your thrifted blanket, you will cut out a small circle in the fabric.
Lay your fabric pumpkin on the table so that the bottom hole is facing up at you.

Apply glue around the edges of your fabric circle and then press firmly on top of the bottom hole of your pumpkin.


Next, flip your fabric over so that the opening is facing you.

Now it is time to stuff your pumpkin with pillow stuffing.
I used a cheap pillow from Walmart and repurposed the stuffing into my pumpkin. However, any pillow stuffing will work!
Tip: Make sure all of your glue is dry before you stuff the pumpkin so that the fabric does not fall apart.

You will want to stuff the pumpkin so that it has a nice round shape.
The way that the fabric is glued together makes for a cute raw edge. I like to take sandpaper to the edges to give the pumpkin more of a distressed rustic look.


To finish, I went and found a small branch in my yard to use as the stem of the pumpkin.

Use your hot glue gun and glue around the edge of your fabric.

Next, set your branch into the opening and apply pressure so that the glue sticks to the branch.

I like to wrap jute twine around the base of the stem to clean up the edges.
You could also use a piece of scrap fabric, as well!

Lastly, I like to use burlap leaves from Dollar Tree to embellish my pumpkin.
You could also use thrifted leaves from other Fall decor that you already have in your collection.

And that’s it! What do you think?
Comment below and share how many pumpkins you plan to make this fall!
Remember that you can make them different sizes! Below you will see what an 8-piece pumpkin looks like next to a 5-piece pumpkin.
They look so good together!

As always, subscribe to my YouTube channel so you never miss one of my DIY videos.
You can watch me create this project and many others like it here: https://youtu.be/bMlHB7BuW5A

Don’t forget to join the Colors of the Month Club where you can receive (4) sample Fusion Paint colors picked by me that are perfect for the current season! → Click here to learn more
Like what you see? Be sure to join our mailing list for weekly DIY Ideas, thrift flips, new product alerts, video announcements, live events & more!
DISCLAIMER: This blog post may contain affiliate links. If you purchase a product or service with the links provided I may receive a small commission. There is no additional cost to you. Thank you for supporting my blog so I can continue to provide you with free content each week!