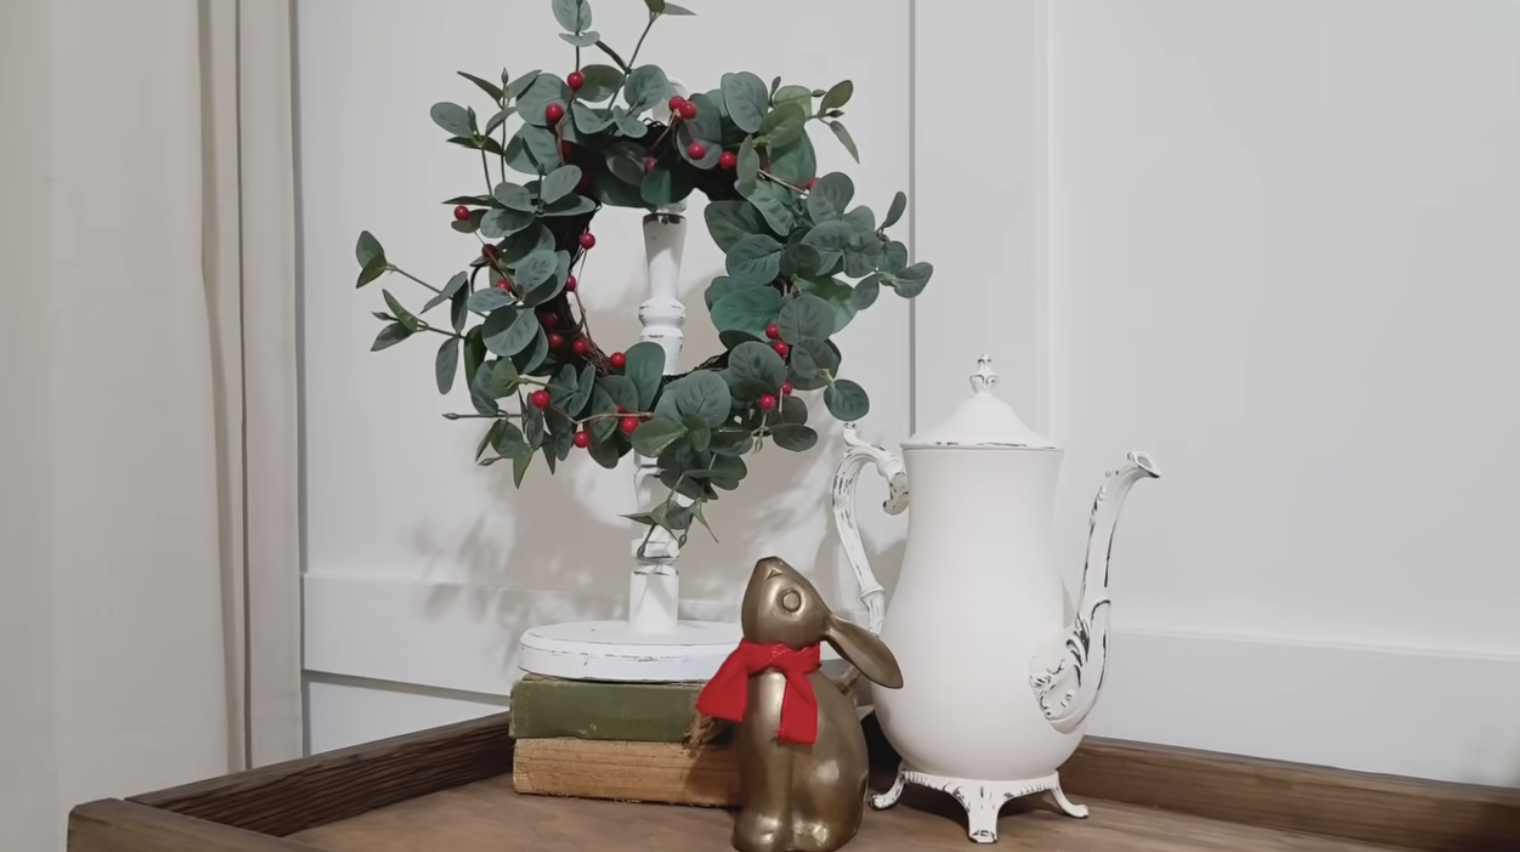
Crafting a Festive DIY Christmas Wreath Holder: Step-by-Step Guide
**This post contains affiliate links for your convenience. I may earn a small commission if you make a purchase from these links.**
Are you ready to create cozy holiday decor on a budget?
In this step-by-step guide, I'll take you through the art of crafting your very own DIY Christmas wreath holder. Whether you're a seasoned DIY’er or just starting your crafting journey, these wreaths will not only embellish your space but also spread joy to all who visit your home.
Also, don’t forget that we now sell greenery on our website at www.JuliesDesignsAndSigns.com, so CLICK HERE to order your wreath for this project today!
In this blog, I will show you step-by-step How To DIY A Christmas Wreath Holder.
Below is a list of the items you will need to recreate this project:
Thrifted Paper Towel Holder
220 Grit Sandpaper
Pencil
Cordless Drill
Screwdriver
*Product can be purchased directly through my website [www.juliesdesignsandsigns.com]
I thrifted this paper towel holder because I loved the spindle design on it!
First, I spray-painted the paper towel holder white with my sprayer.
You can also use Dixie Belle Chalk Paint in the color Cotton and a STAALMEESTER Painted Sash Brush to achieve a similar look.
Once the paint was dry, I distressed it using 220-grit sandpaper.
Next, I took a baby wipe to wipe off the areas that I had sanded.
You can find these Mini Double Hole Wall Mounted Single Hooks on Amazon!
I painted mine white to blend in with the painted paper towel holder.
Then, I placed the mini hook on the paper towel holder and utilized a pencil to indicate the positions of the two holes.
Since the hook has tiny screws, I recommend pre-drilling your holes beforehand.
Next, I utilized a screwdriver to fasten the hook onto the paper towel holder.
Once the hook is attached, it is time to DIY my green wreath!
[I now sell greenery on my website! You can find all of our unique greenery options here: https://www.juliesdesignsandsigns.com/homedecor/greenery]
Lastly, I enhanced the holiday appearance of my wreath by incorporating red artificial berries into my design!
One of my favorite things about this project is that you can turn this wreath and wreath holder into a year-round home decor piece.
After the holiday season, all you have to do is remove the red berries, and you still have a beautiful wreath with a neutral holder.
Are you ready to try this one for yourself?
This blog is all about How To DIY A Christmas Wreath Holder.
Click Image To Shop
What Is The Colors Of The Month Club?
Don’t forget to join the Colors of the Month Club to receive (4) sample Fusion Paint colors I picked that are perfect for the current season! → Click here to learn more
Like what you see? Be sure to join our mailing list for weekly DIY Ideas, thrift flips, new product alerts, video announcements, live events & more!
DISCLAIMER: This blog post may contain affiliate links. If you purchase a product or service with the links provided I may receive a small commission. There is no additional cost to you. Thank you for supporting my blog so I can continue to provide you with free content each week!
Other posts you might like:
> How To DIY Christmas Snow Globes
> 9 Easy DIY Projects For Fall
> How To Use IOD Paint Inlays To Thrift Flip A Vintage Wooden Tote


