Simple & Easy Soup Can DIY Floral Hanging Project
**This post contains affiliate links for your convenience. I may earn a small commission if you make a purchase from these links.**
Everyone has a soup can at home, right? This project is budget friendly and a great option for DIY beginners. You will get to use different materials and tools that will expand your DIY skills!
In this blog, I will show you How To Create A Simple & Easy Soup Can DIY Floral Hanging Project!
Below is a list of the items you will need to recreate this project:
Tin Soup Can
Can Opener
Rubber Mallet
Drop Cloth
To Hang Your Project:
Ribbon, Jute Twine, Beaded Hanging Material
*Product can be purchased directly through my website [www.juliesdesignsandsigns.com]
This tin can project is really popular so I decided to recreate my own!
First, you want to remove the paper on the can and then remove the bottom of the can. I used a regular can open to do this.
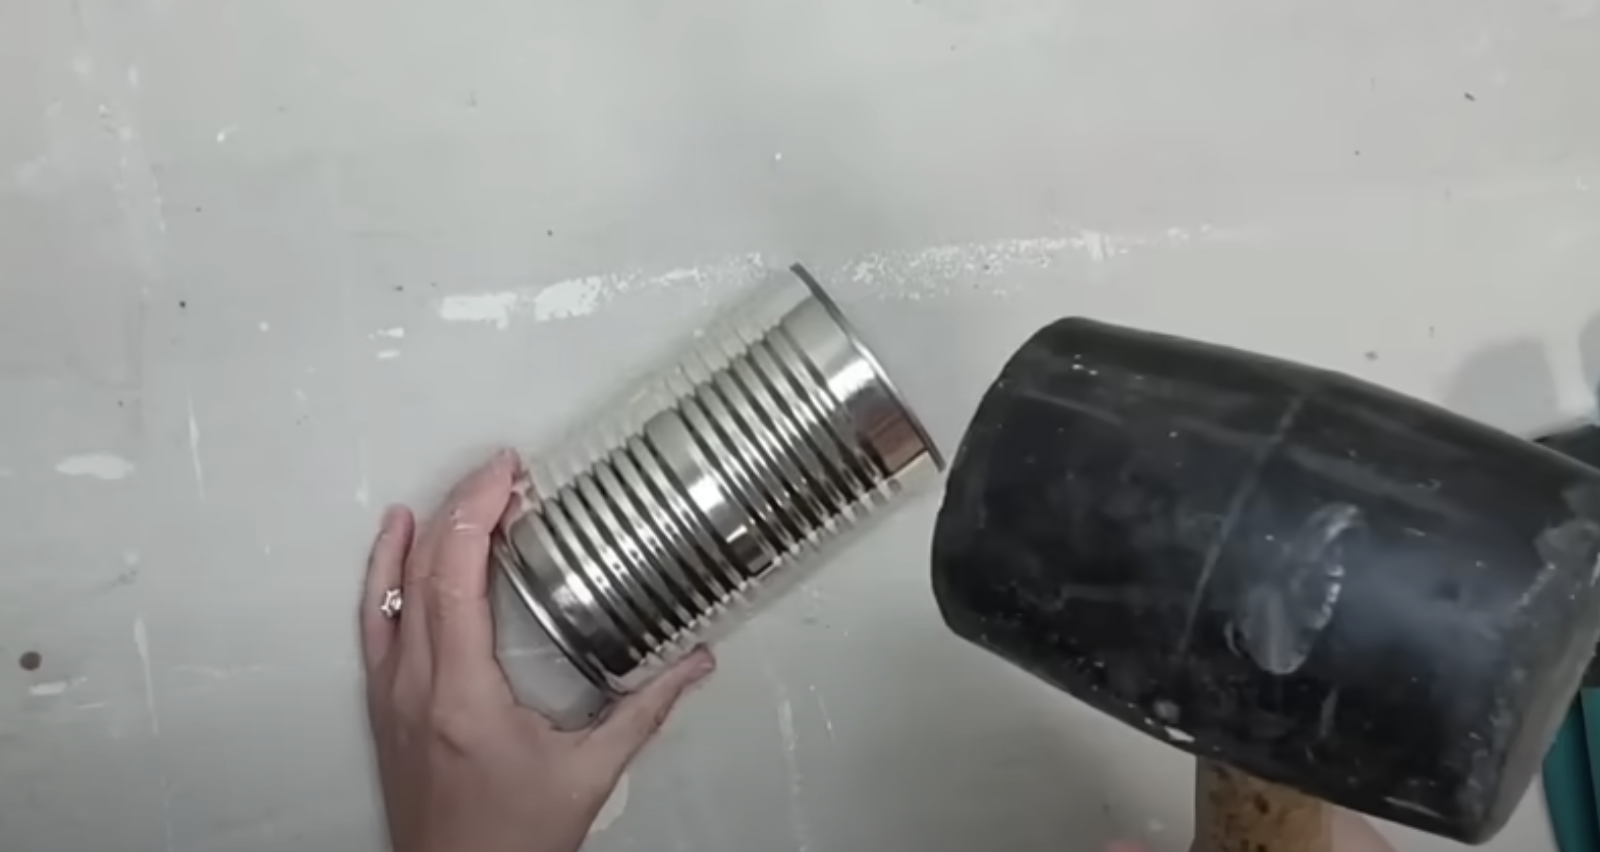
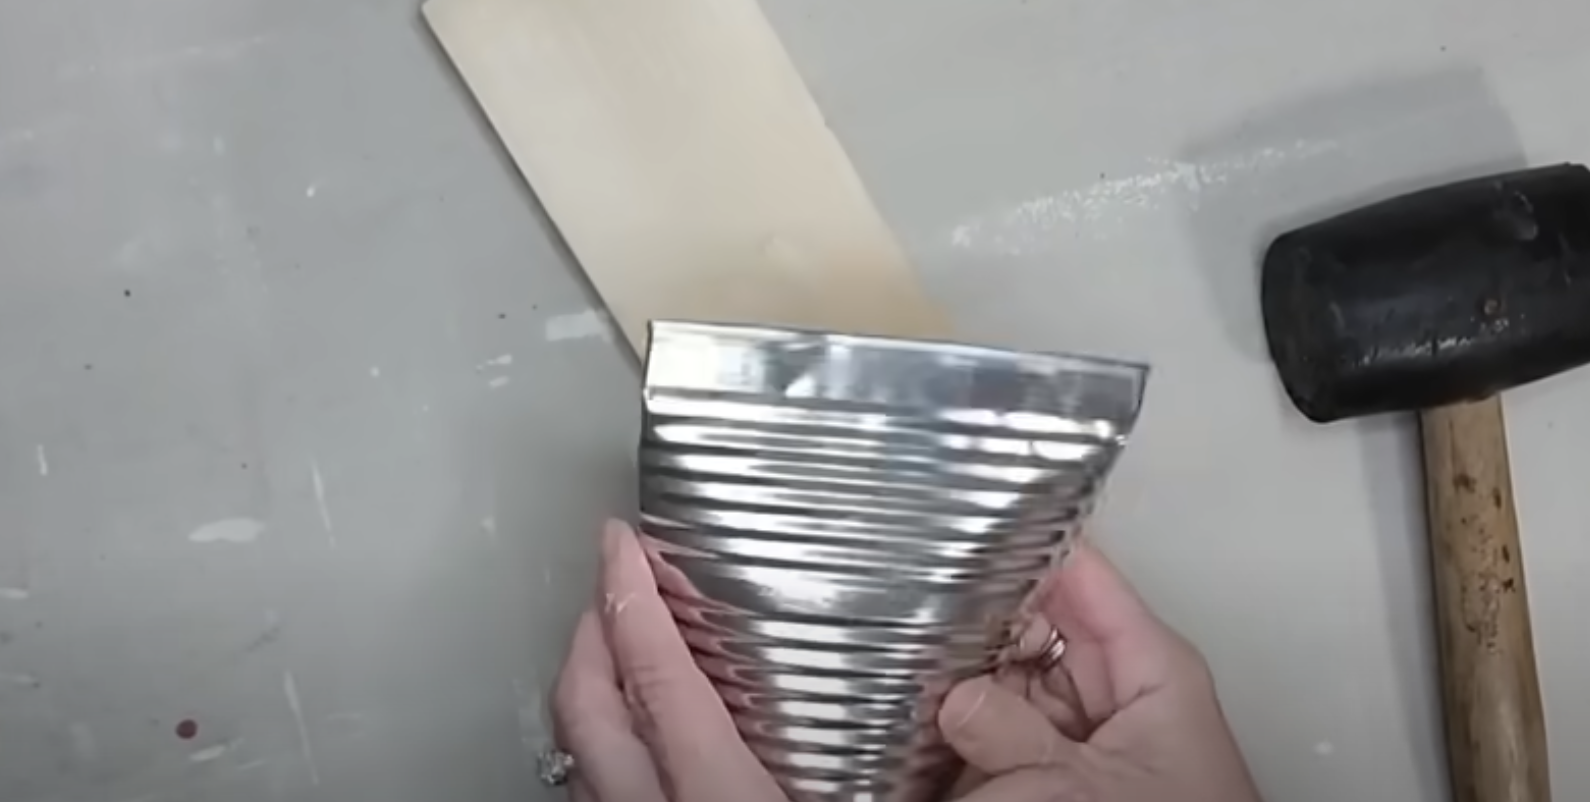
Then, I took a rubber mallet and I lightly hit one end of the tin can so that it closes up.
I added a piece of wood underneath to protect the table while using the rubber mallet.
As you can see below, one side is closed up perfectly.
Next, I used a cordless drill to drill a small hole in each side of the can so that I can hang it up.
Also, make sure you have a piece of wood underneath your can so you don’t drill into your work surface.
Next, I knew I wanted to add drop cloth fabric to my project.
I started with spray adhesive so that some of the ridges on the can would still show through the drop cloth.
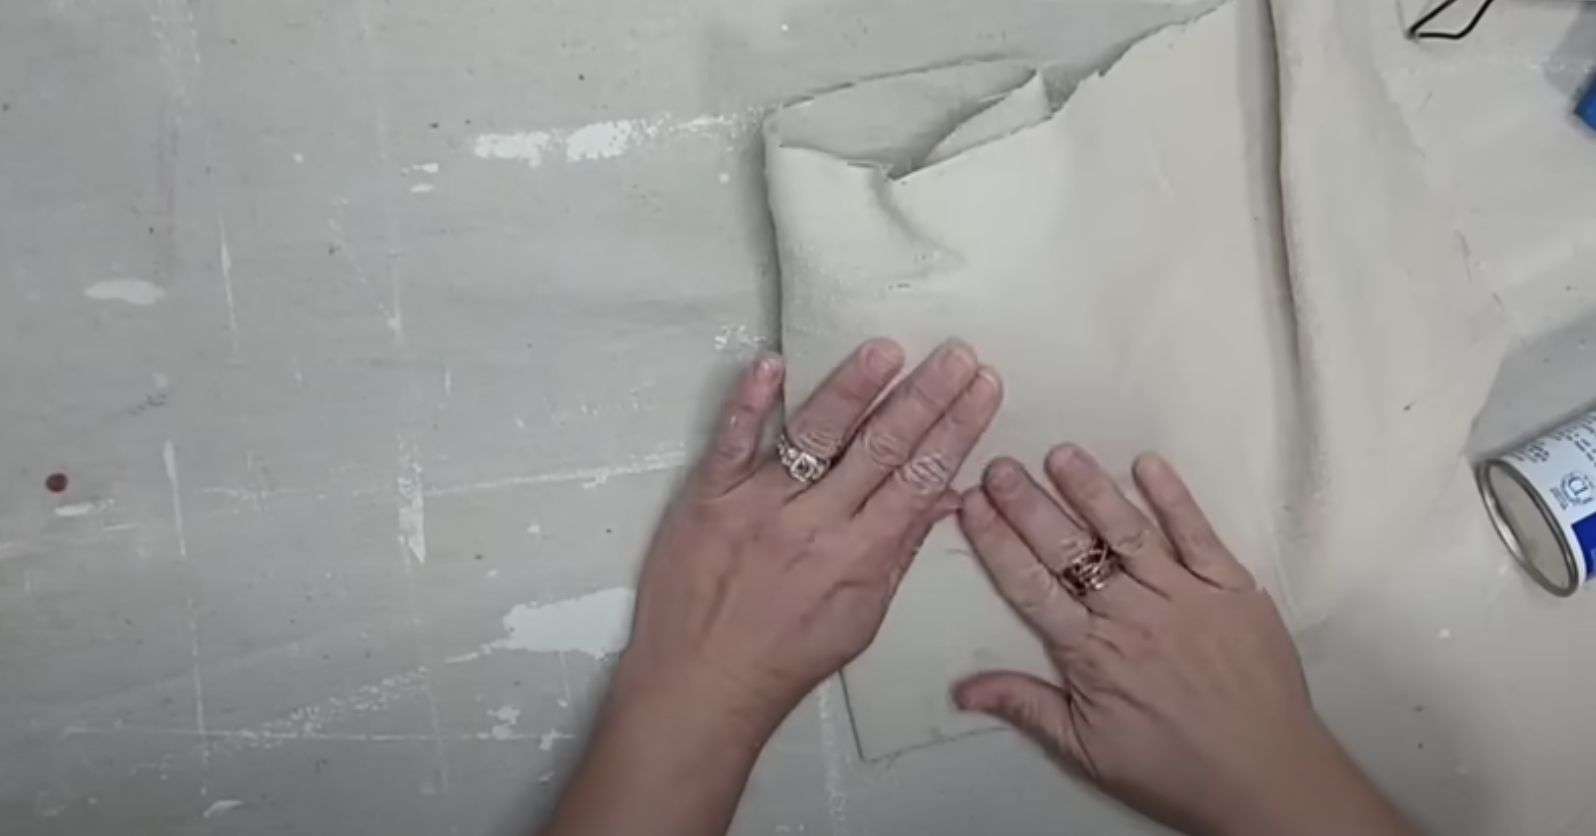
Next, I wrapped drop cloth material around the can and hot glued the pieces together in the back.
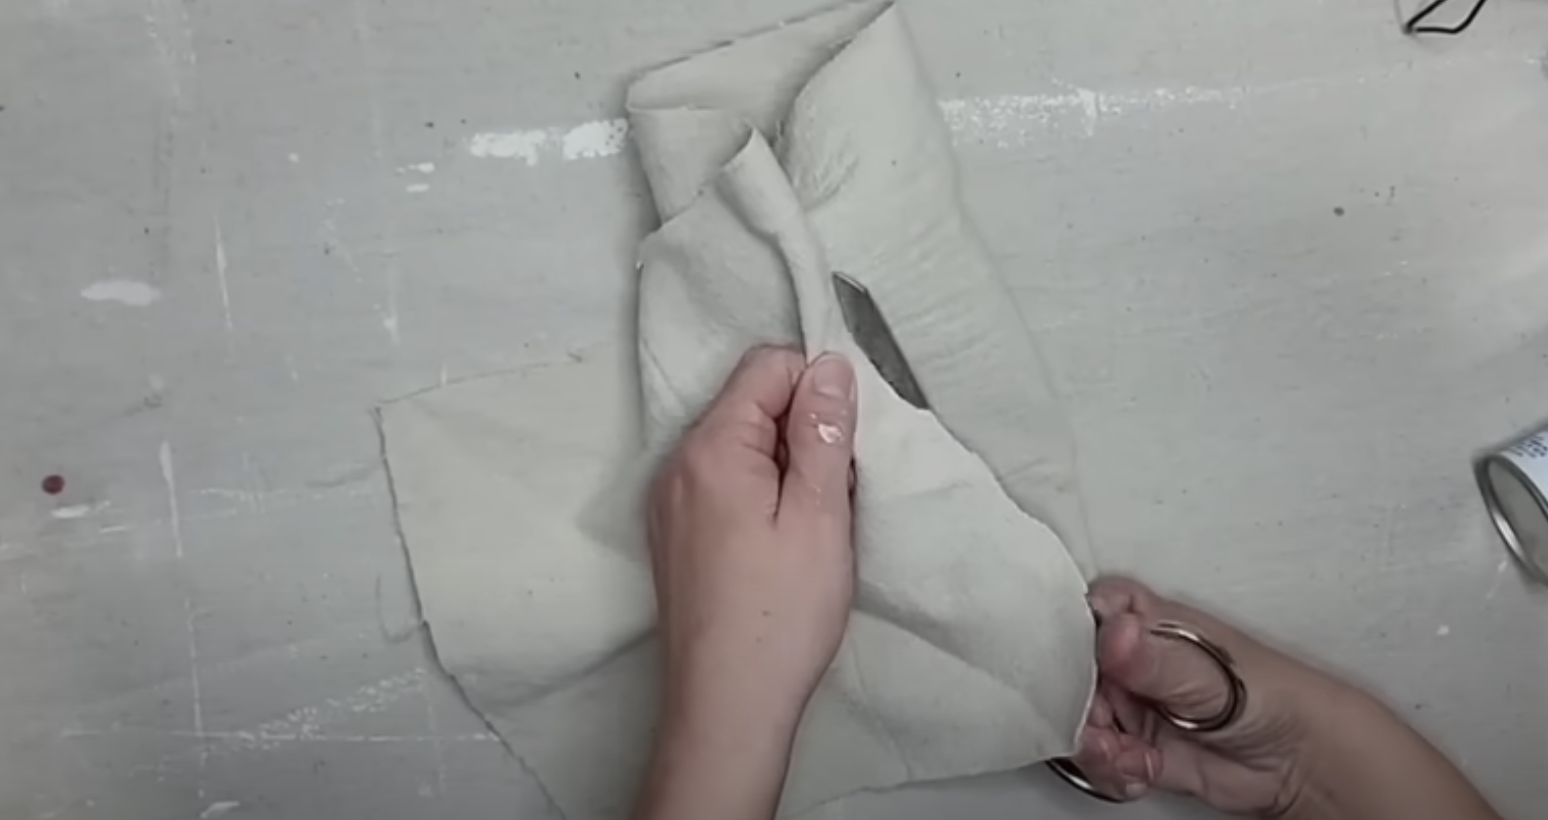
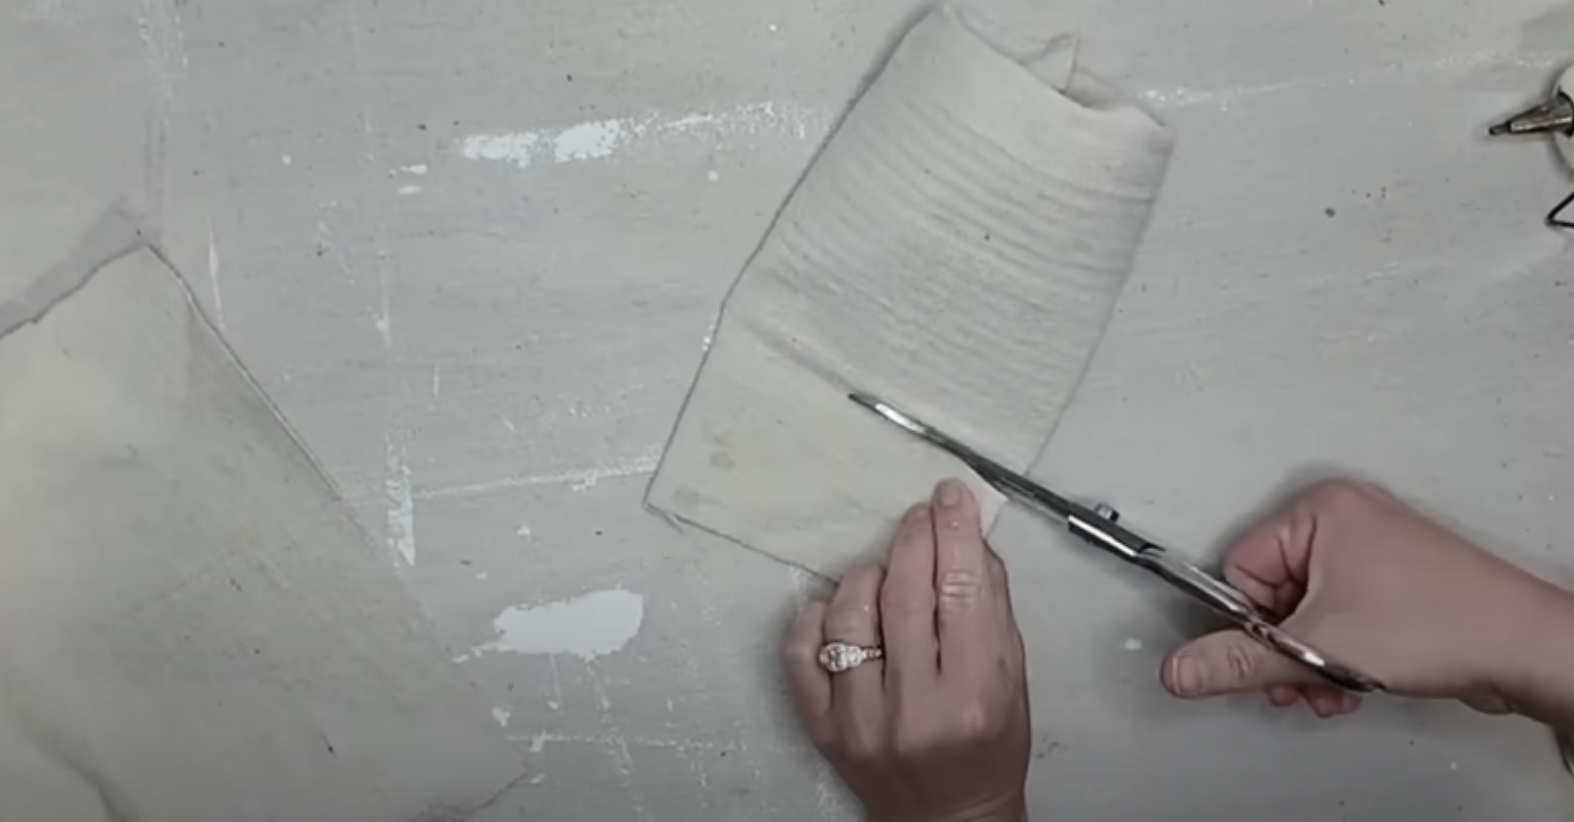
Then, I used scissors to cut the excess drop cloth fabric off of the can.
After cutting the fabric I went back in and glued down the fabric pieces that weren’t fully glued down.
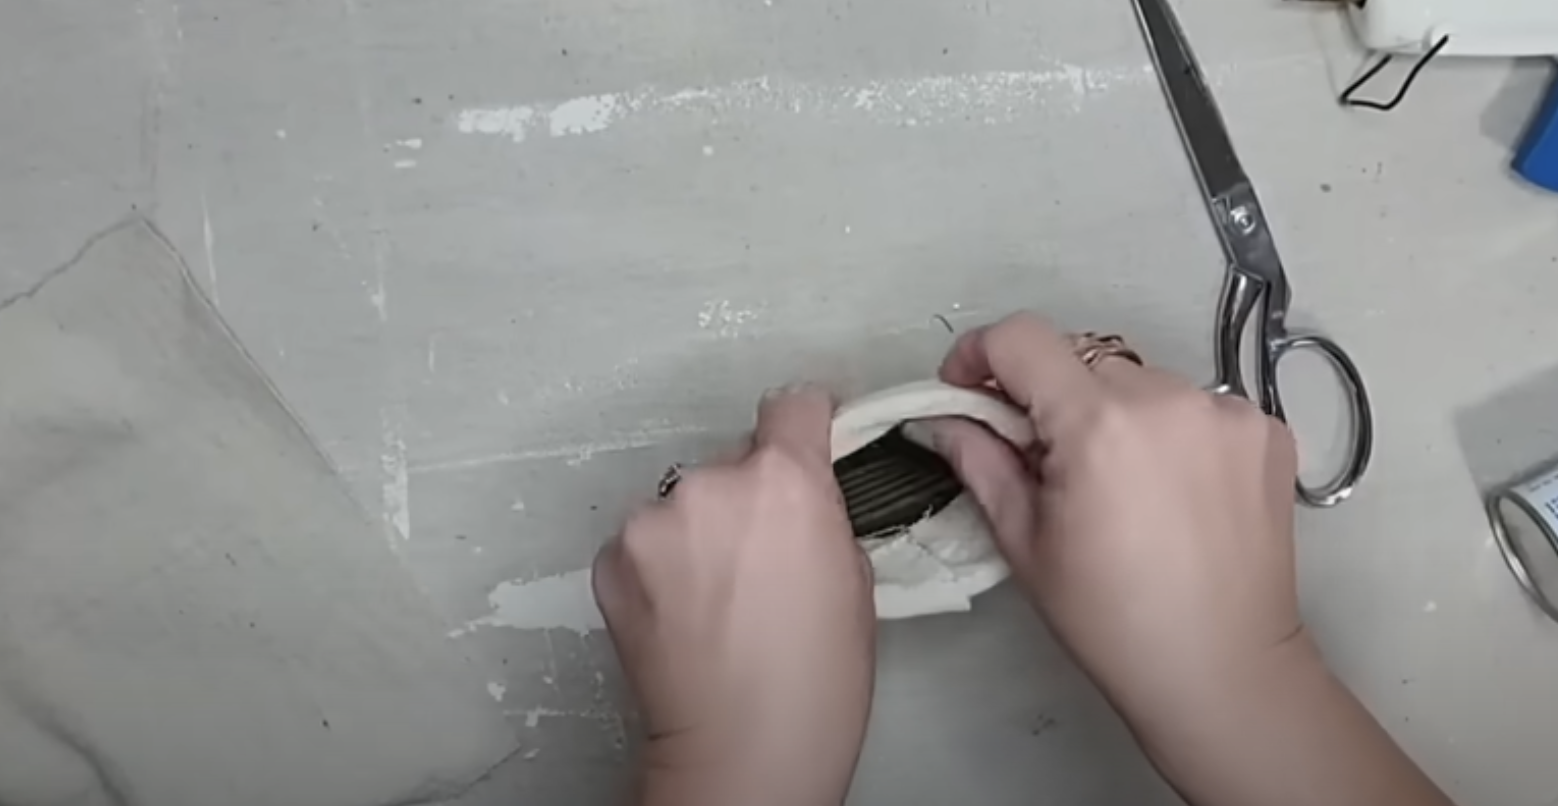
Then, I added glue on the inside and pressed the drop cloth into the inside of the can.
And then I cut off the excess fabric on the bottom of my can.
Once again, I used my hot glue gun to glue the drop cloth fabric together on the bottom of my can so that the fabric stays.
I used my scissors to cut a hole in the drop cloth where the holes are on the can.
While I was doing this I realized that I didn’t have to drill the holes in either side. You could easily just hot glue your hook to the backside of this project and hang it up that way.
I always save the hemmed edges of drop cloth in case I want to add it to future projects.
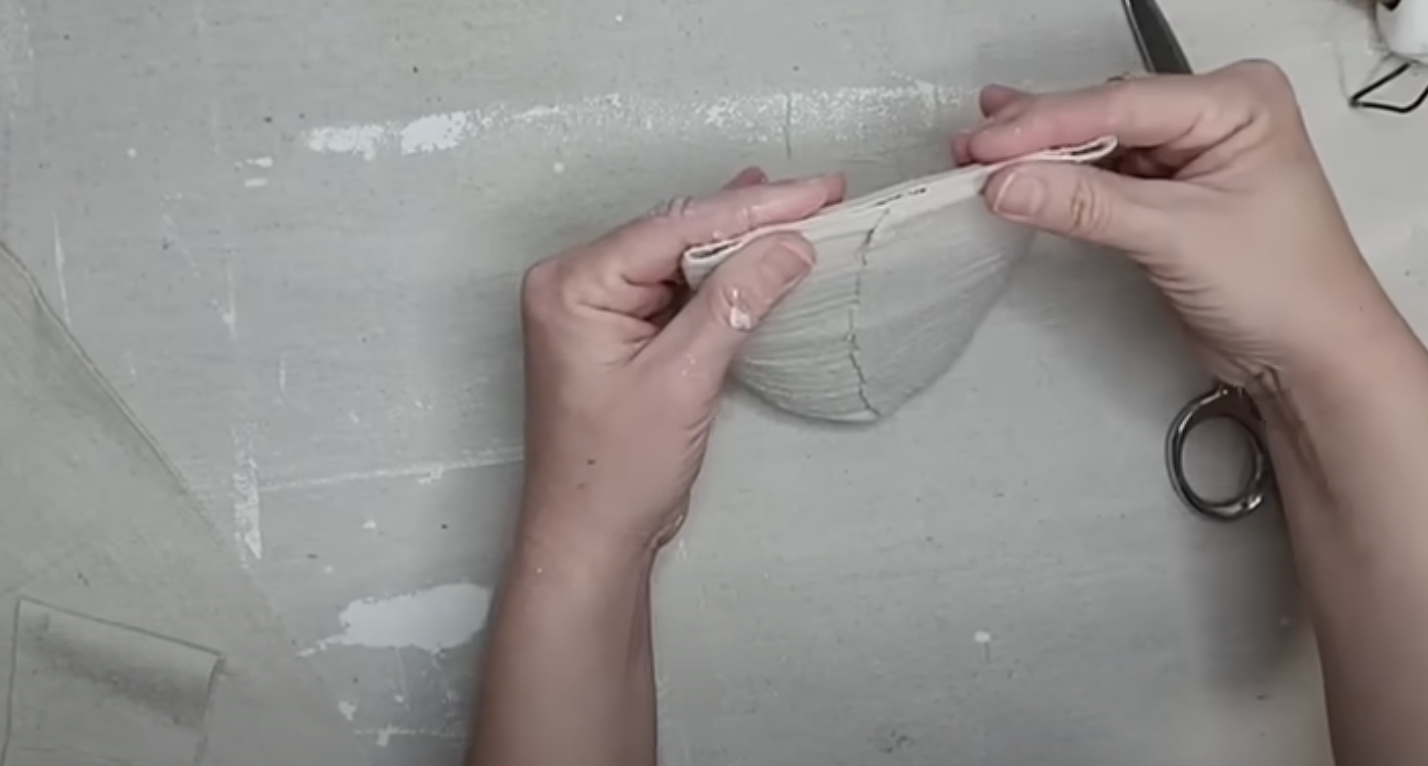
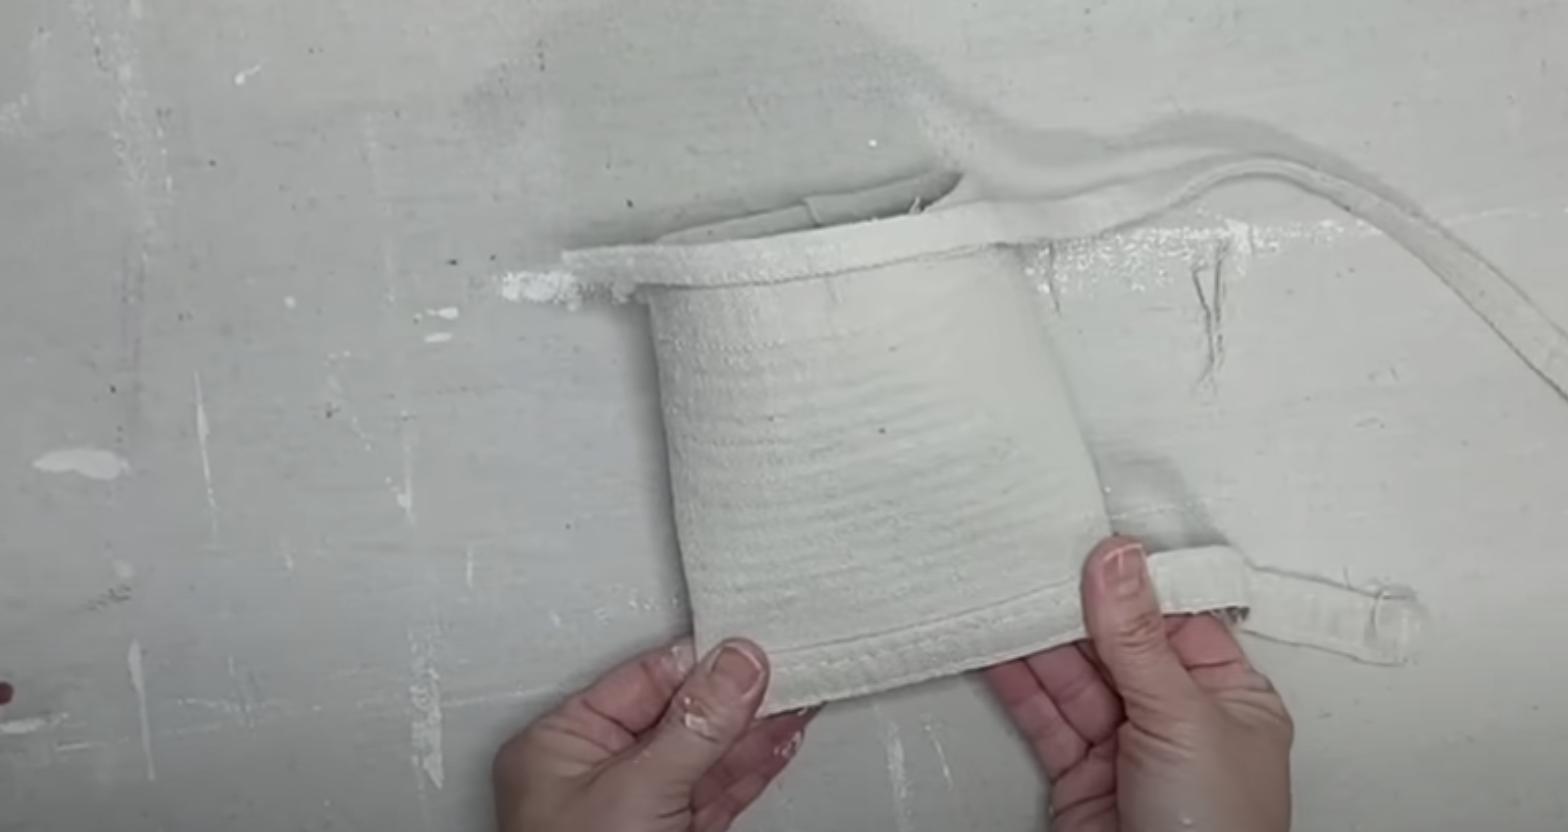
I decided to add a little extra detail by adding those pieces to the top and bottom of my can.
This gave the project a clean finished look.
Once I knew where I wanted to attach the hemmed edges, I used my hot glue gun to glue the material down all the way around the can.
For the last part, I decided to use a beaded hanger because it looks so good with the drop cloth.
How cute is that?
This project turned out so good!
I decided to take it one step further and add an IOD Transfer to my project.
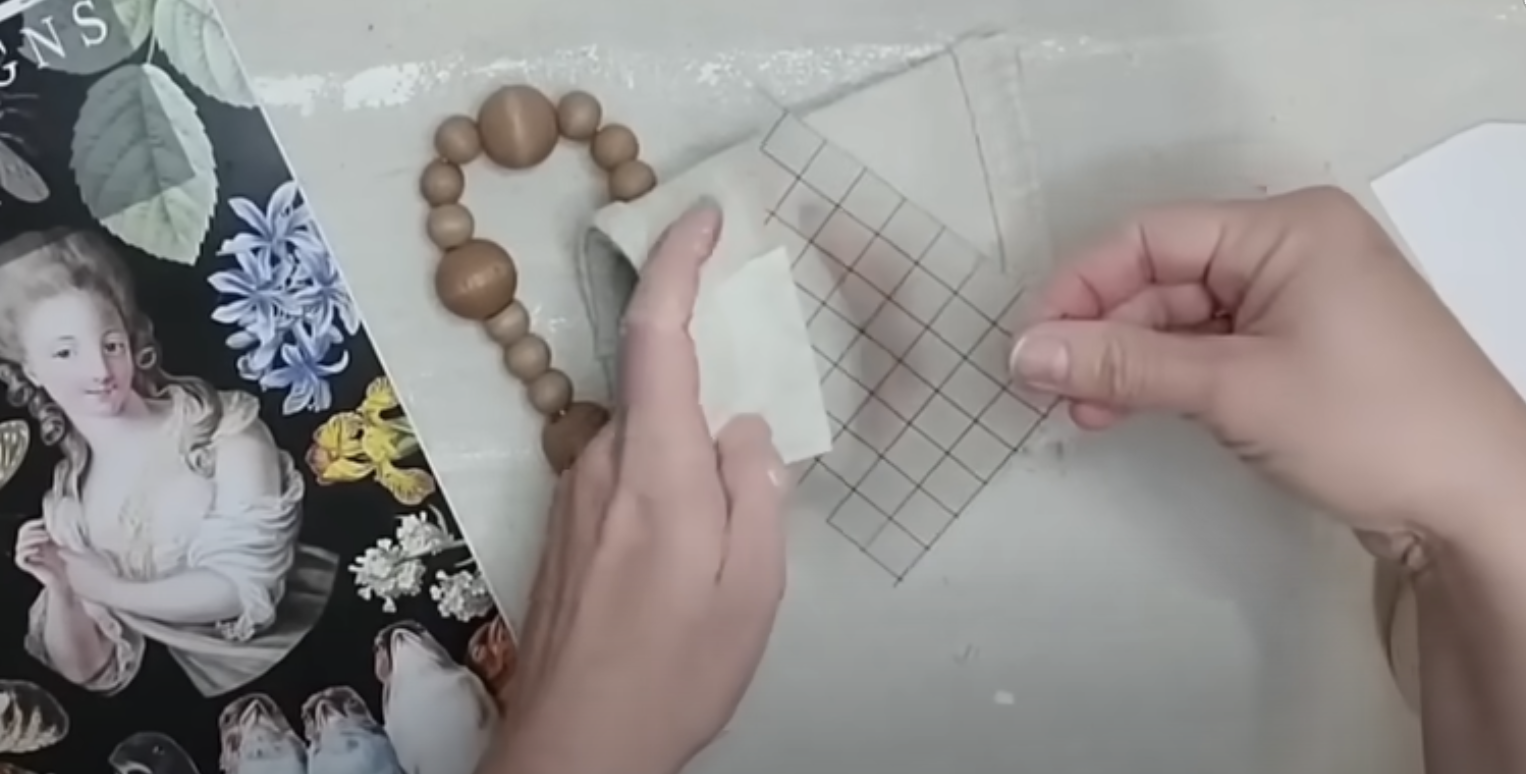
First, I cut out a beautiful butterfly IOD transfer that I wanted to use. I used the IOD Brocante Transfer book.
I removed the white backing sheet and laid the butterfly down onto the center of my project.
Then, I used my transfer tool to press the butterfly into the drop cloth.
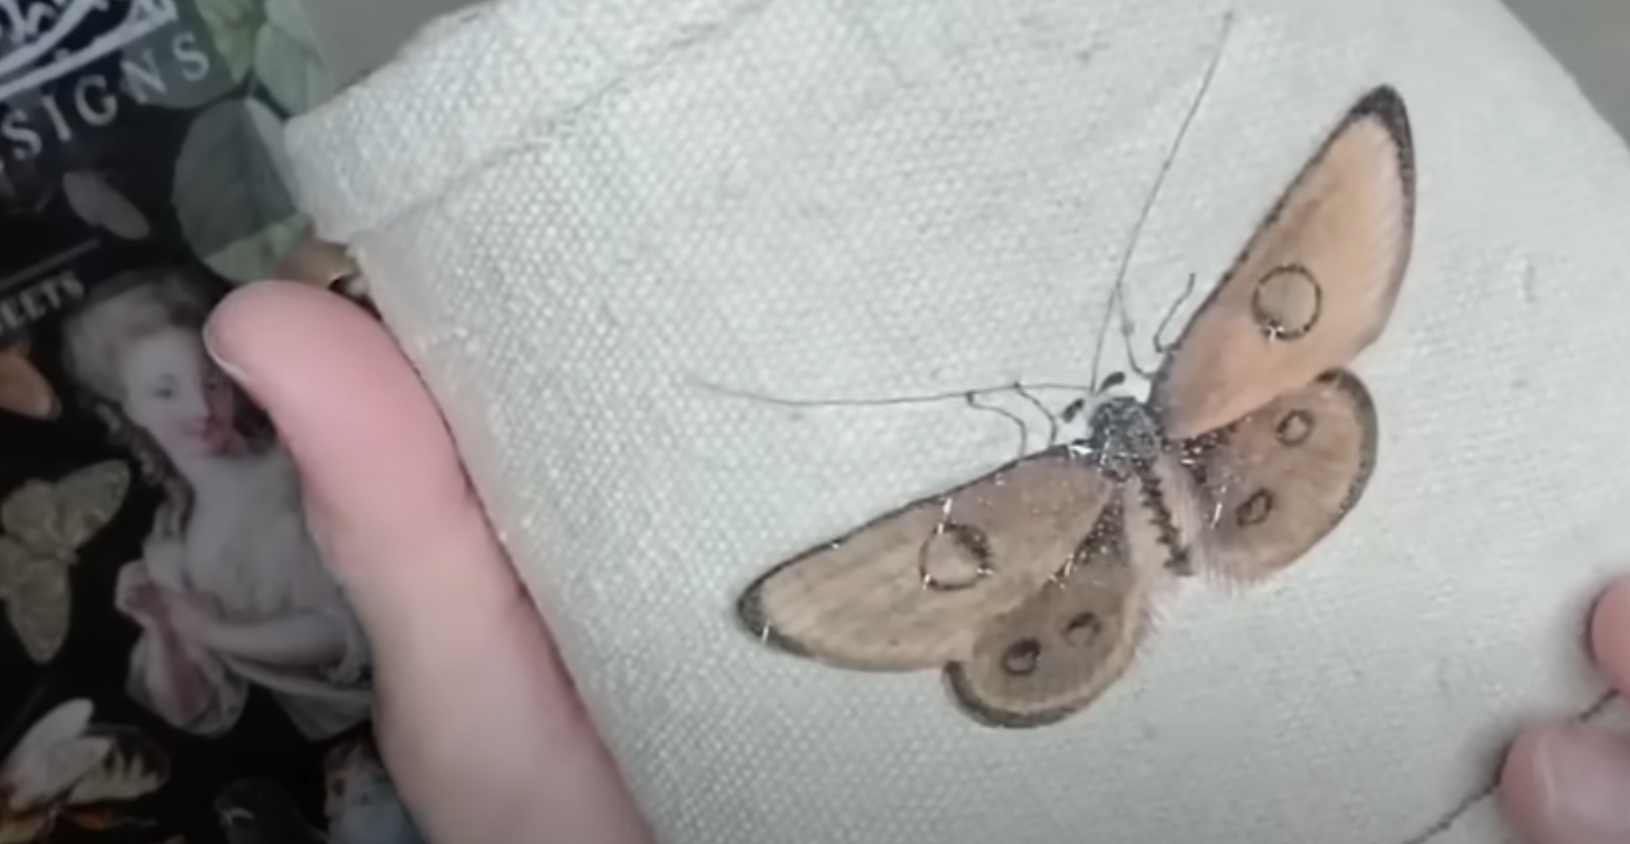
Next, I peeled the transfer tape up making sure the butterfly does not lift.
IOD transfers peel off so easily on this drop cloth - even the tiny little antenas transfer perfectly!
What do you think? Are you ready to recreate this look? I know you have a can at your house and you can grab an IOD transfer from my website!
Be sure to share a photo and tag me on social media [@juliesdesignsandsigns] so I can see what you create.
This blog is all about How To Create A DIY Floral Hanging Project With A Soup Can!
Click Image To Shop
What Is The Colors Of The Month Club?
Don’t forget to join the Colors of the Month Club to receive (4) sample Fusion Paint colors I picked that are perfect for the current season! → Click here to learn more
Like what you see? Be sure to join our mailing list for weekly DIY Ideas, thrift flips, new product alerts, video announcements, live events & more!
DISCLAIMER: This blog post may contain affiliate links. If you purchase a product or service with the links provided I may receive a small commission. There is no additional cost to you. Thank you for supporting my blog so I can continue to provide you with free content each week!













Transforming Your Thrift Store Finds Into High End Decor With The New Spring IOD Stamps and Moulds