
Transforming Your Thrift Store Finds Into High End Decor With The New Spring IOD Stamps and Moulds
**This post contains affiliate links for your convenience. I may earn a small commission if you make a purchase from these links.**
I was so excited to use items from the new Spring IOD Collection for this project! I used IOD Stamps and IOD Moulds but if you haven’t checked out the new paint inlays from this release…you will definitely want to check them out too!
Check out all three products in action here: Julies Designs and Signs YouTube Channel
In this blog, I will show you How To Transform Your Thrift Store Finds Into High End Decor With The New Spring IOD Collection.

Below is a list of the items you will need to recreate this project:
2 Small Planting Pots
Paper Towel
*Product can be purchased directly through my website [www.juliesdesignsandsigns.com]
I used the Conservatory Labels Mould to create a label on this project. This mould comes with 9 different labels!
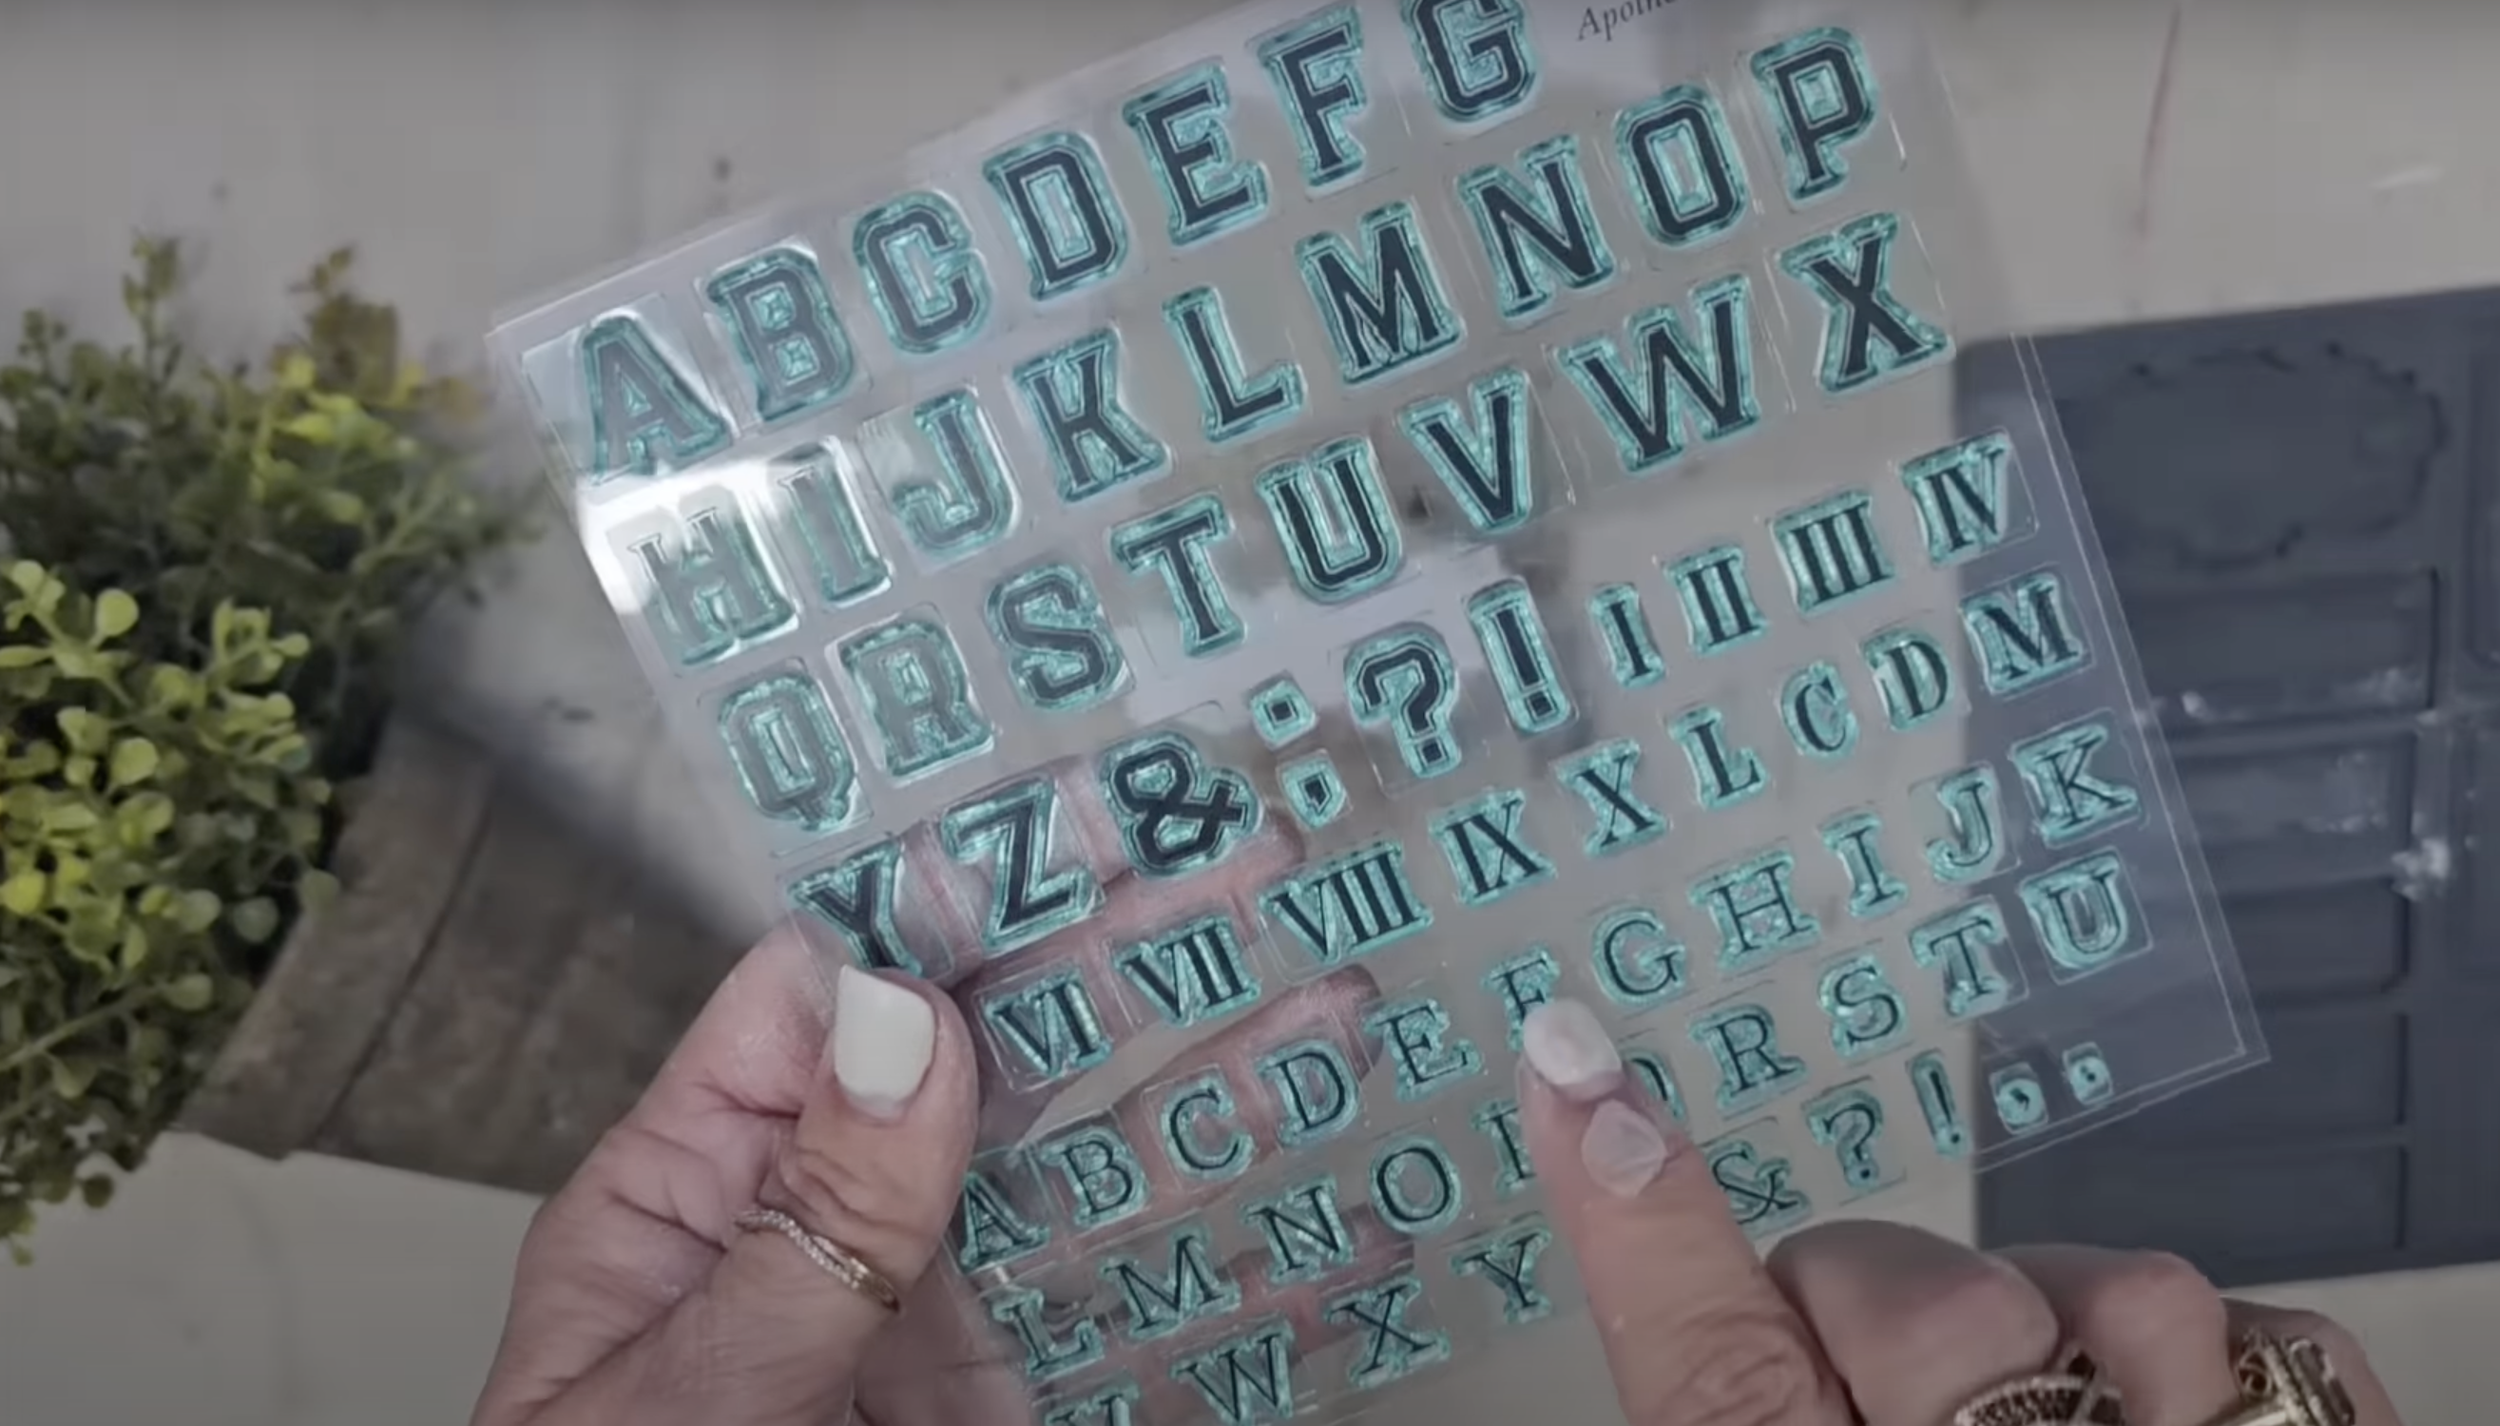
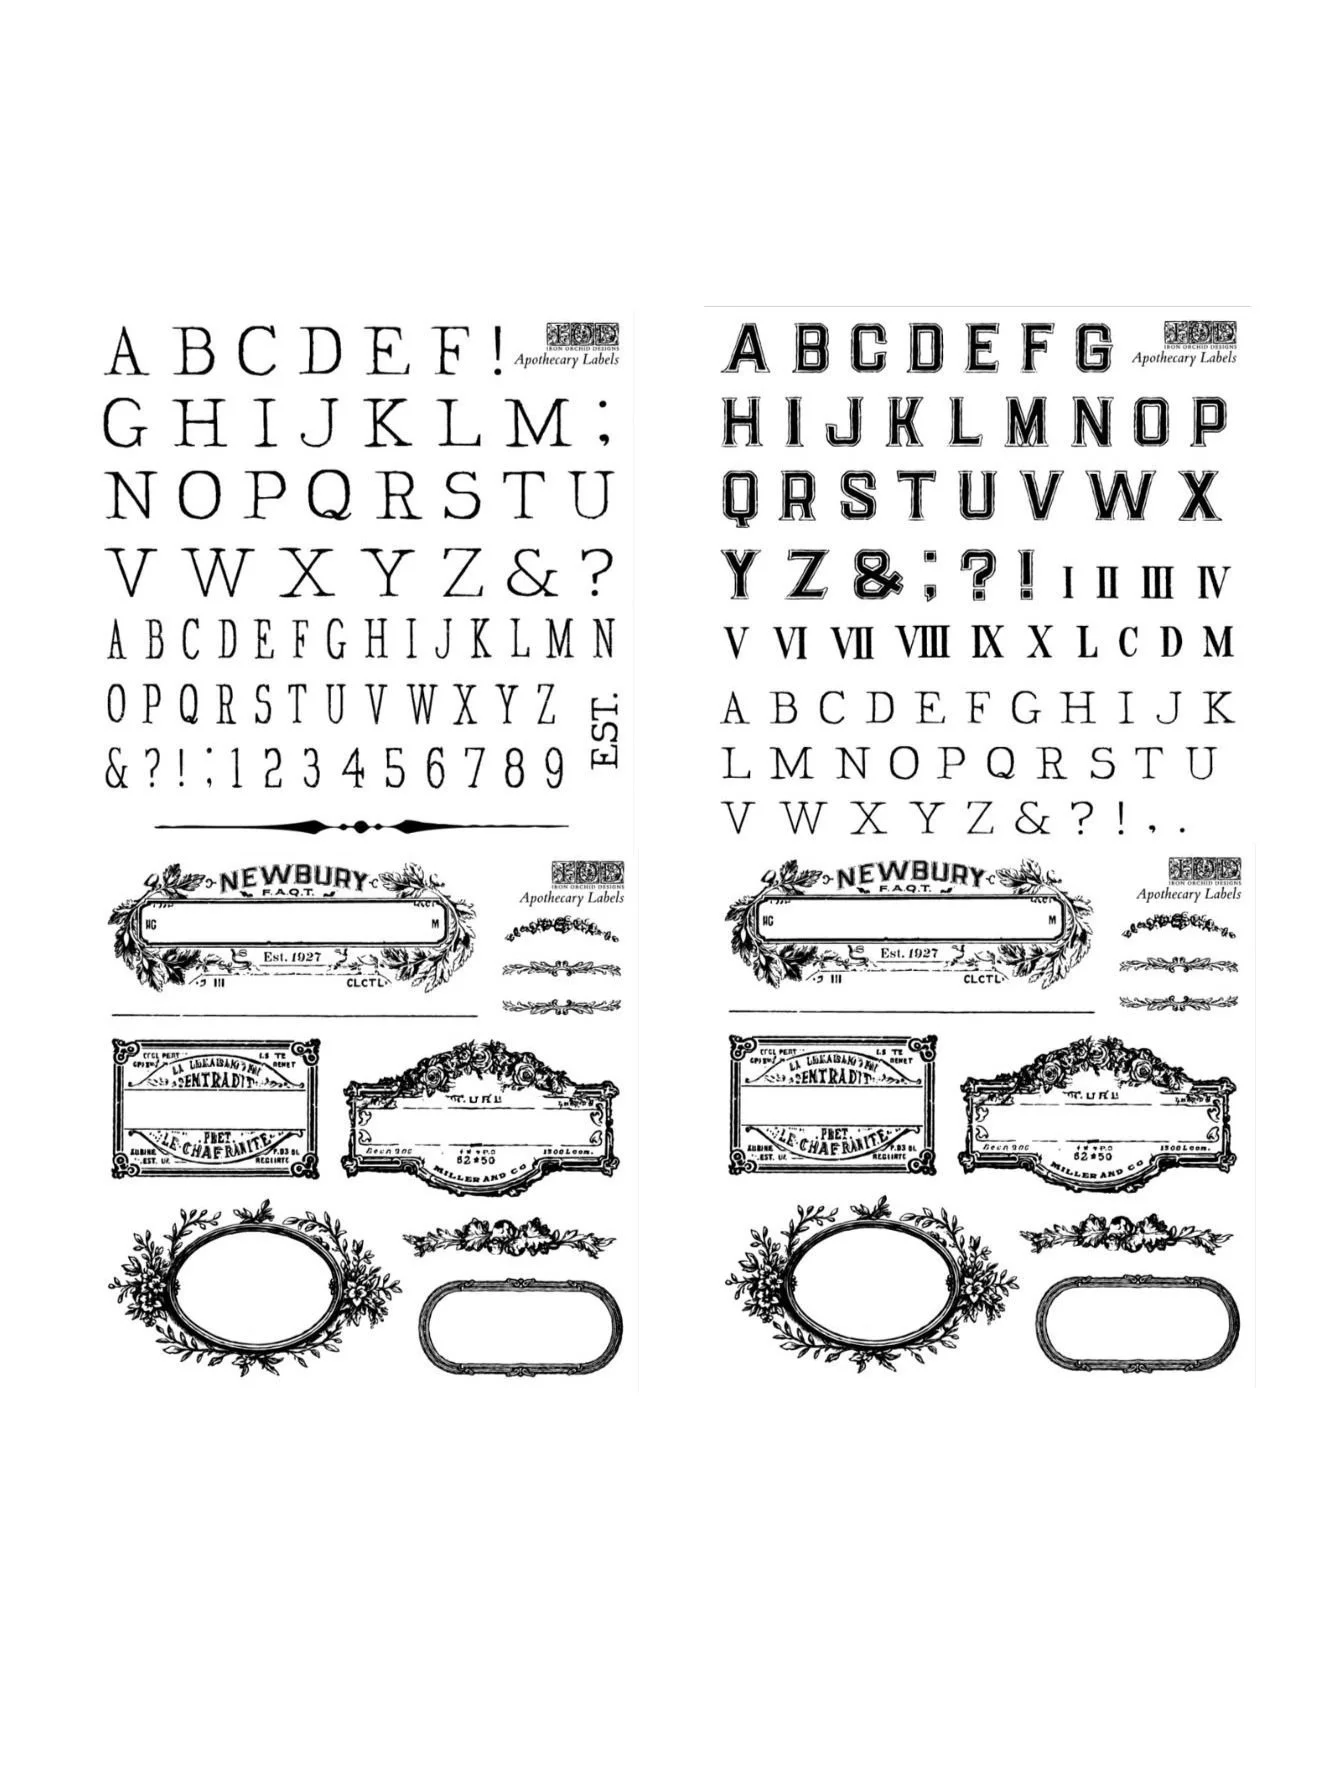
This mould pairs perfectly with the Apothecary Labels Stamps.


To get started, I pressed IOD Air Dry Clay into the mould and smoothed it out with my fingers.
I typically use resin or clay with IOD Moulds. When using clay, I recommend putting a little bit of corn starch into the mould so that the clay doesn’t stick.
Fun fact: if you are into baking you can even use food products!

Then, I used the micro rim edge to wipe off the excess clay.

Next, I bent the mould a little bit so that I could easily peel the clay out of the mould.
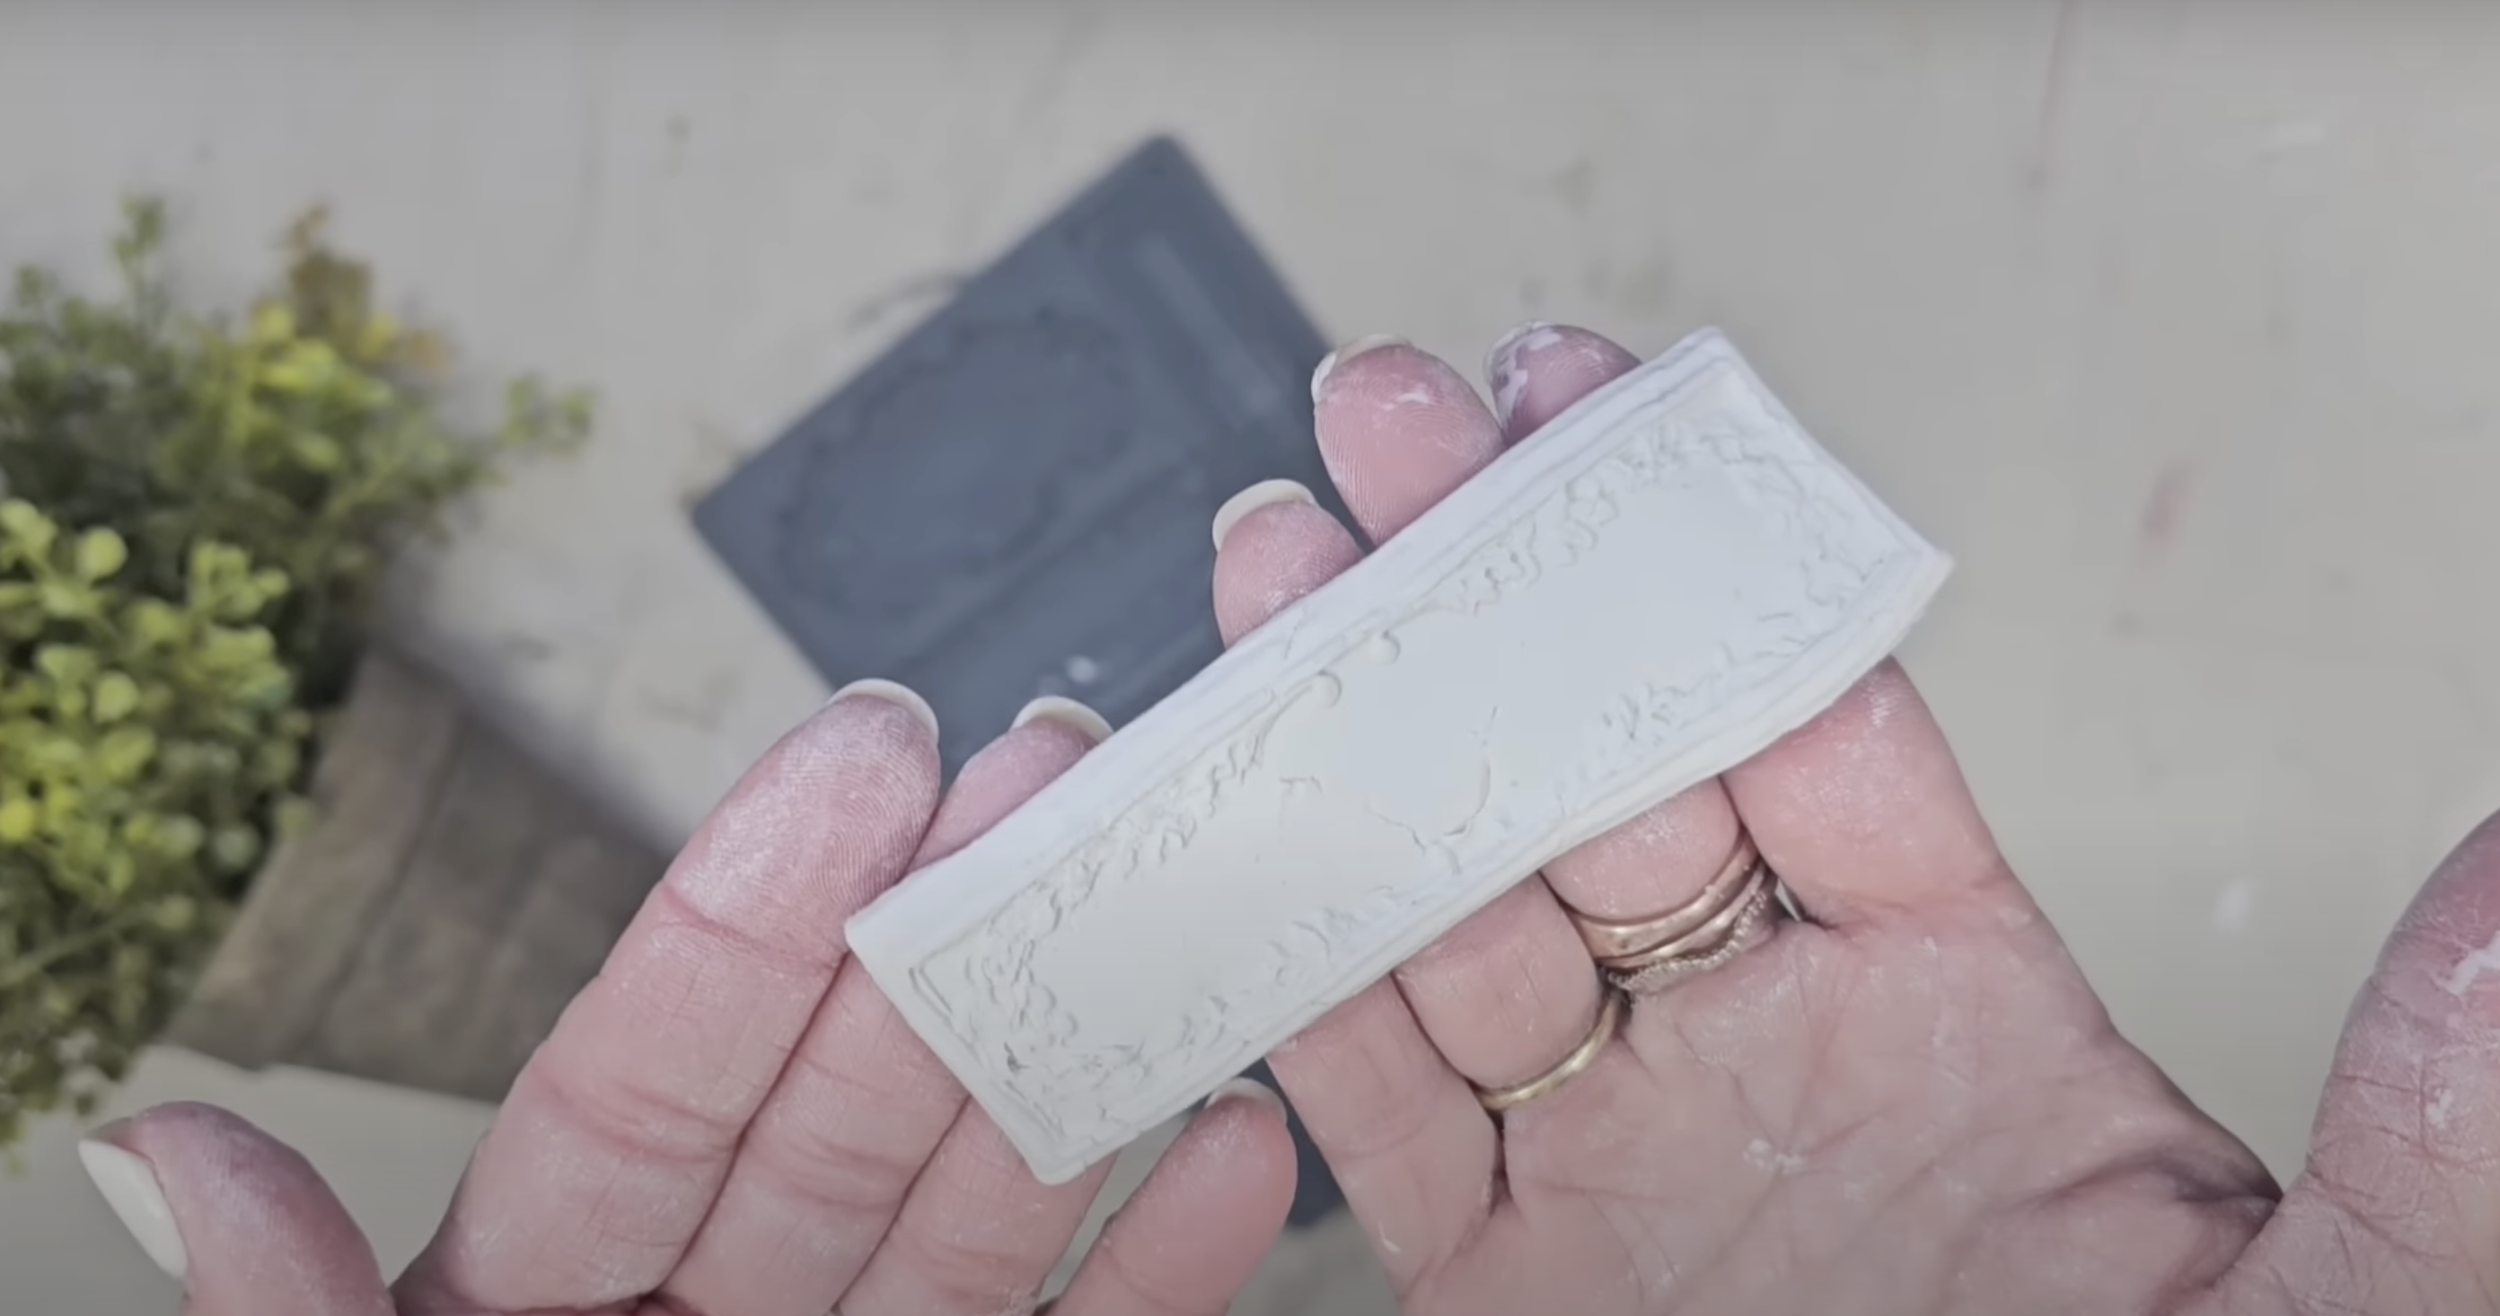
While the clay was still wet, I used the smaller apothecary labels to create an impression on the clay.
I applied a roman numeral onto the thin mount and then lightly pressed it into the clay label.

I love how this turned out but I knew I wanted the label to match the aging on the pot a little bit more.

Next, I grabbed a STAALMEESTER Artist Round Brush and Fusion Antiquing Glaze so that I could apply 1 coat onto the clay.
This technique will give the label an aged, rustic look.


After I applied 1 coat of Antiquing Glaze, I used a dry paper towel to wipe off the excess.

Once the glaze dried, I flipped the label over and applied gorilla glue all over the back.

Then, I centered the label onto my pot and pressed down so that the glue adhered to the pot.

The antiquing glaze looks SO good in the little details of this label. I was so happy with how this turned out.

I had another pot so I decided to try another technique with the IOD Apothecary Stamps.
First, I picked a label and laid it on my thin mount.

Then, I inked up my stamp with IOD white ink.

Next, I centered the stamp onto the pot so that the ink transferred onto the pot.

Next, I picked out the word P-L-A-N-T and followed the same steps as above.
Lay stamps on thin mount
Ink up with the white ink
Press the thin mount into the pot

And this is how it turned out - SO cute!

Which one is your favorite? Let me know in the comments below.


Are you ready to create your own? Be sure to share a photo and tag me on social media [@juliesdesignsandsigns] so I can see what you create.
This blog is all about How To Transform Your Thrift Store Finds Into High End Decor With The New Spring IOD Stamps and Moulds!
Click Image To Shop


What Is The Colors Of The Month Club?
Don’t forget to join the Colors of the Month Club to receive (4) sample Fusion Paint colors I picked that are perfect for the current season! → Click here to learn more
Like what you see? Be sure to join our mailing list for weekly DIY Ideas, thrift flips, new product alerts, video announcements, live events & more!
DISCLAIMER: This blog post may contain affiliate links. If you purchase a product or service with the links provided I may receive a small commission. There is no additional cost to you. Thank you for supporting my blog so I can continue to provide you with free content each week!


Transforming Your Thrift Store Finds Into High End Decor With The New Spring IOD Stamps and Moulds