
DIY Holiday Decor Ideas: Creating A Budget-Friendly Christmas Bucket Using IOD Transfers
**This post contains affiliate links for your convenience. I may earn a small commission if you make a purchase from these links.**
Are you looking to create simple and easy DIY Christmas decorations this year?
You are in the right place! This DIY Project will take you less than 5 minutes and leave you with a unique Christmas bucket that you can display in your home. You will only need 3 items to complete this project.
In this blog, I will show you How To Create A Budget-Friendly Christmas Bucket Using IOD Transfers.

Below is a list of the items you will need to recreate this project:
Thrifted Enamel Bucket (Large)
IOD Transfer - Candy Cane Cottage* (SOLD OUT)
For a similar pot label design -
Transfer Tool (comes with your IOD Transfer collection)
Tape
*Product can be purchased directly through my website [www.juliesdesignsandsigns.com]
Today’s project can be recreated for all seasons! However, I want to show you a simple and easy DIY Christmas Decor idea with Christmas coming up!

If you were able to grab one of the Candy Cane Cottage IOD Transfers during our sale last month, then you are in luck! You can create this project with only a few extra supplies.
Unfortunately, this transfer SOLD OUT quickly - I was shocked! Another excellent option for this type of project would be the Traditional Pots IOD Transfer collection.

First, you will want to find a large bucket. I am using a thrifted enamel bucket in white for my project.
Next, once you have chosen your IOD Transfer image, you will line it up to ensure that it fits on your bucket.
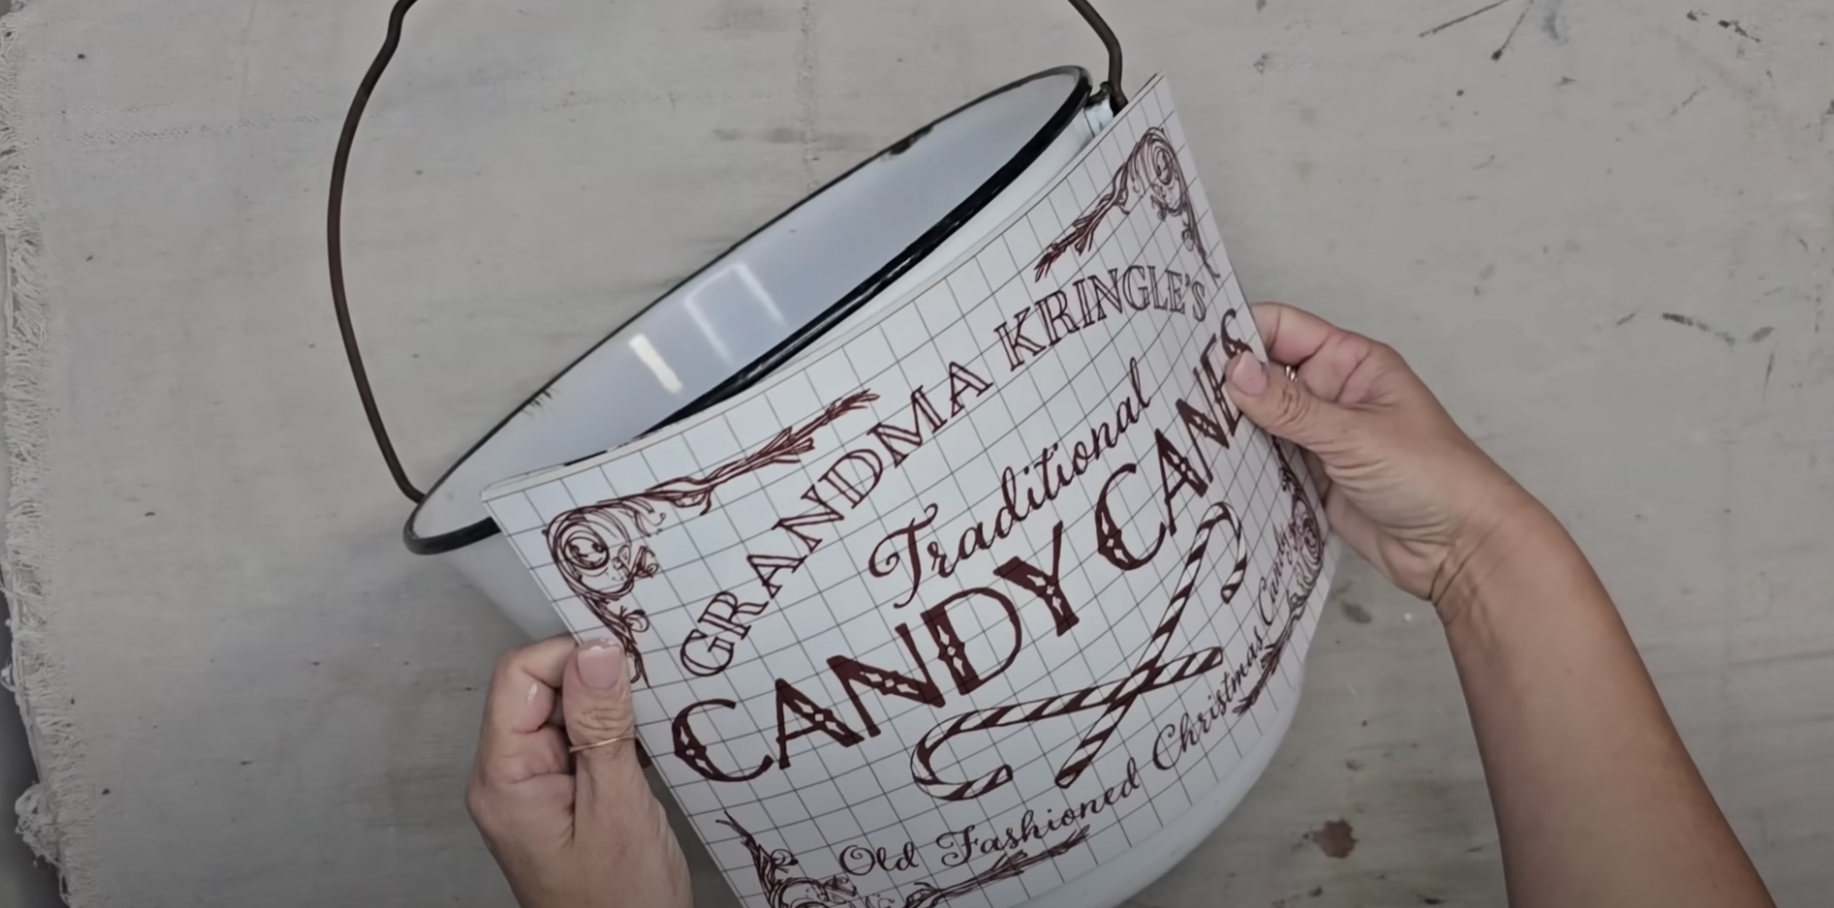
Once you decide where to place your transfer - you can peel the transfer off the paper backing.

You will then lay the transfer directly onto the bucket.
When you lay a transfer onto a curved surface - I recommend centering the middle and then using your hands to firmly press the rest of the transfer to the left side and then the right side. This will help to avoid bubbles in the transfer.
I recommend taping the transfer to the bucket so that it does not slide around while transferring the image.

Your IOD Transfer will come with a transfer tool.
Holding this tool in one hand, you will firmly rub the transfer onto the bucket.

You can see an example of how I do this below:

Once you have rubbed the entire transfer onto the bucket, you can peel off the top transfer sheet.
If the transfer starts to lift, you can lay the transfer sheet back down over that area and rub your transfer tool over it again.


I told you this one was simple & easy!

To style my bucket, I added a small Christmas pine tree. You could style yours with a Christmas poinsettia or use it to store little Christmas flannel blankets.
If you want to recreate this project for another season -you can turn the bucket around and apply a different IOD transfer on the other side!
This blog is all about How To Create A Budget-Friendly Christmas Bucket Using IOD Transfers.
Click Image To Shop


What Is The Colors Of The Month Club?
Don’t forget to join the Colors of the Month Club to receive (4) sample Fusion Paint colors I picked that are perfect for the current season! → Click here to learn more
Like what you see? Be sure to join our mailing list for weekly DIY Ideas, thrift flips, new product alerts, video announcements, live events & more!
DISCLAIMER: This blog post may contain affiliate links. If you purchase a product or service with the links provided I may receive a small commission. There is no additional cost to you. Thank you for supporting my blog so I can continue to provide you with free content each week!


DIY GUIDE: How to personalize your throw pillows with IOD stamps