
How To Thrift Flip An Old Ice Cream Bucket Into An Elegant DIY Christmas Decoration
**This post contains affiliate links for your convenience. I may earn a small commission if you make a purchase from these links.**
What is a Christmas DIY Project? A Christmas DIY project refers to a creative do-it-yourself project during the holiday season to craft, decorate, or customize, often with a festive theme, to enhance the holiday spirit! Most DIY’s are created from thrifted items or old decor that needs to be brought back to life. Trust me, you can DIY new home decor on a very small budget!
In this blog, I will show you How To Thrift Flip An Old Ice Cream Bucket Into An Elegant DIY Christmas Decoration.

Below is a list of the items you will need to recreate this project:
Sandpaper
Baby Wipes
Painters Tape
*Product can be purchased directly through my website [www.juliesdesignsandsigns.com]
I found this at the Goodwill bins! I have wanted to create a DIY with this thrifted ice cream bucket for a while now.

Using my STAALMEESTER Pointed Sash Brush I applied 2 coats of Dixie Belle Chalk Paint in the color Dropcloth to the entire bucket.


As you can see, I left the top and inside of the bucket as originial wood and did not paint it.

Don’t worry if it is not perfect - you will sand off some of the paint to give the bucket a distressed look.

Once the paint was dry, I rubbed sandpaper up and down all the way around the bucket to get this distressed look.


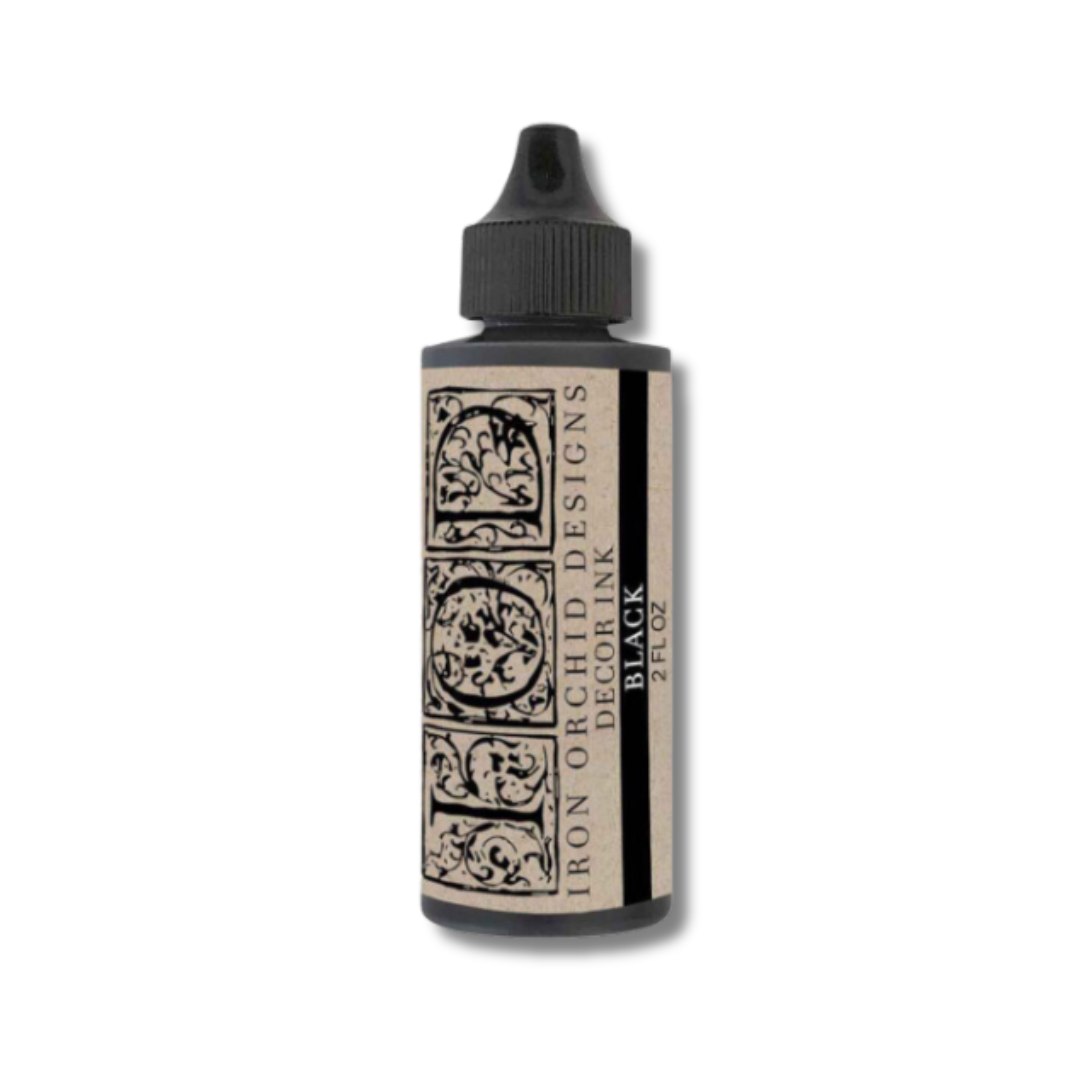
Next, I pulled out my IOD stamps and IOD ink. For this project, I chose to use the IOD Winter Adornment collection.

Did you know that you can create your own IOD Ink Colors?
IOD sells empty ink bottles in packs of 3!
By mixing colors together, you can create your own colors.
I wanted a deeper red than what the IOD Tomato Red ink offered for this project so I combined 4 part Red ink and 1 part Black ink to create a deeper red color.


For this new color, I titled it Holiday Red so that I would know what it is for future use. The best thing about IOD ink is that it lasts forever - I can use this color for a very long time.
Next, I applied the new Holiday Red ink to my empty ink pad.


You will see on the bottle that there is even a spot to write the new custom color name.


To prep for stamping, I applied a piece of painter’s tape around the upper portion of the bucket. This will ensure that all of my stamps lay evenly around the bucket.

To apply the stamp, you will choose which sprig of greenery stamps you want to use.
Place that stamp onto your thin mount, then dab the holiday red ink pad all over your stamp.
Then, flip the thin mount over and transfer your stamp onto the painted bucket.
You can watch how I did this by starting this video at 6:10,

When you lift up the thin mount - don’t worry if the stamp is not transferred perfectly. The more distressed it looks - the better!
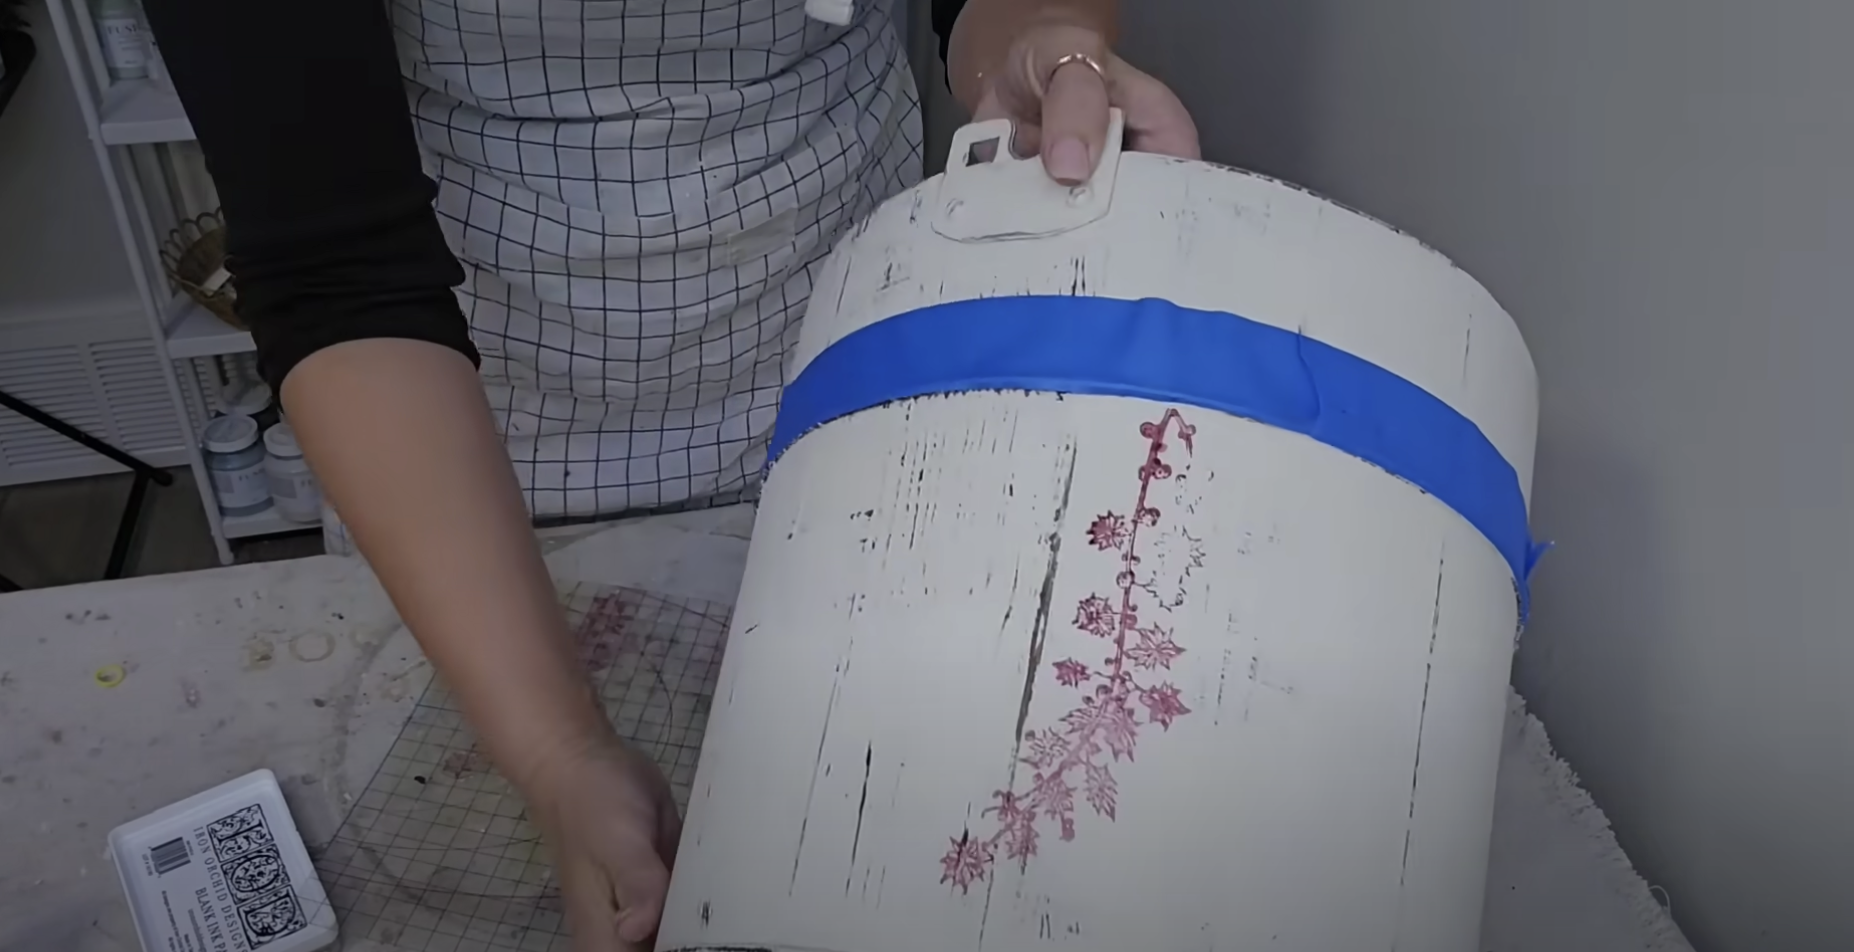
I continued to switch between different sprigs of greenery stamps as I worked my way around the bucket.


Once you go all the way around - you will want to remove the painters tape.
As you can see, this stamp collection has a ton of different sprigs of greenery options. I actually only used a few of the options. I LOVED how this design turned out!

Lastly, I used Dixie Belle Gator Hide and a STAALMEESTER Pointed Sash Brush to seal the entire bucket.
As the name implies, this polyacrylic topcoat is tough as Gator's Hide. This product is water-resistant and non-yellowing. Add Gator Hide to your chalk-painted projects for long-lasting durability.


As you may or may not know, the IOD Holiday collection is a limited release. If you are unable to purchase this exact stamp collection - don’t worry! I have a wide variety of IOD stamp options on my website. You can always find a similar style that works well with your home decor!
SHOP HERE: https://www.juliesdesignsandsigns.com/iod-products/stamps

This blog is all about How To Thrift Flip An Old Ice Cream Bucket Into An Elegant DIY Christmas Decoration.
Click Image To Shop


What Is The Colors Of The Month Club?
Don’t forget to join the Colors of the Month Club to receive (4) sample Fusion Paint colors I picked that are perfect for the current season! → Click here to learn more
Like what you see? Be sure to join our mailing list for weekly DIY Ideas, thrift flips, new product alerts, video announcements, live events & more!
DISCLAIMER: This blog post may contain affiliate links. If you purchase a product or service with the links provided I may receive a small commission. There is no additional cost to you. Thank you for supporting my blog so I can continue to provide you with free content each week!


DIY GUIDE: How to personalize your throw pillows with IOD stamps