
How To DIY Unique White and Gold Wooden Christmas Tree Decorations
**This post contains affiliate links for your convenience. I may earn a small commission if you make a purchase from these links.**
This is one of my favorite Christmas DIY’s that I have completed this year.
In this DIY guide, I'll walk you through the step-by-step process of transforming simple wooden Christmas trees into beautifully detailed, holiday-inspired decor. From applying Fusion Mineral paint to adding intricate details with gold tissue paper, these DIY trees offer a perfect blend of sophistication and festive charm.
These handmade creations will add a personal touch to your stylish holiday home decor!
In this blog, I will show you How To DIY Unique White and Gold Wooden Christmas Tree Decorations!

Below is a list of the items you will need to recreate this project:
Large Wooden Christmas Tree Craft Kit
Gold Tissue Paper
Sandpaper
Corn Starch
*Product can be purchased directly through my website [www.juliesdesignsandsigns.com]
Project 1 - Stamped White & Gold Christmas Tree
To start, I used a large wooden Christmas tree craft kit equipped with slots, allowing two pieces to seamlessly fit together and create a dimensional 3D tree.

The first step is to apply a coat of Fusion Mineral paint in the color Victorian Lace using a STAALMASTER Pointed Sash Brush.
Then, I let the paint dry completely.


Next, I decided to use the Kindest Regard stamp collection from IOD to add detailing to my trees.

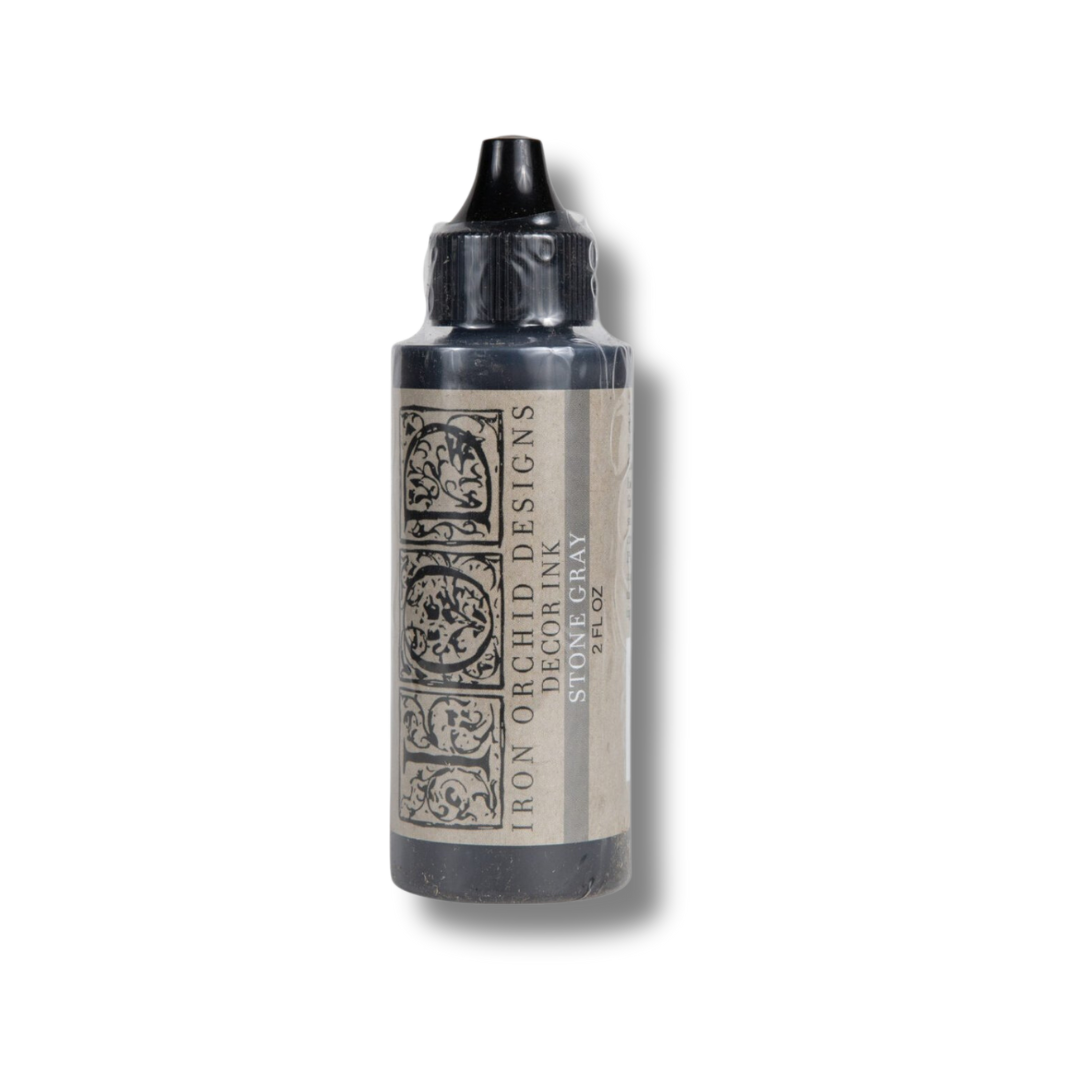
I applied IOD gray ink to an IOD empty ink pad and then I inked up the backside of the stamp.
I decided to use gray ink so that it was a little more subtle than a harsh black.

Next, I flipped the stamp over and firmly pressed it into the painted wooden tree.

To make sure the stamp transfers evenly, I pressed my IOD brayer over the top of the stamp.

LOOK at how beautiful that is!

Since my tree is larger than my stamp — I had to do a separate stamp transfer to the bottom.
You can follow the same exact steps as above to stamp that section.


After the ink has dried, I used gold tissue paper to decoupage it onto the edges of my tree!

To start, I cut out thick strips of the tissue paper. I made sure the strip was slightly wider than the side of the tree.

Then, I used a STAALMEESTER Fitch Artist Brush to apply Fusion Decoupage & Transfer to the side of the tree.


Following that, I took a strip of gold tissue paper and placed it over the area where I applied decoupage and transfer.
I tried to smooth the tissue paper as much as possible to avoid wrinkles, but it's okay if some wrinkles remain.

Then, I ran a small piece of sandpaper along the edges so that it would tear the tissue paper with a clean line.
I decided I wanted to create a distressed look so I ran the sandpaper over the tissue paper too!

I also ran my sandpaper over the stamped fronts to distress the entire piece.

Lastly, I applied a final coat of Fusion Decoupage & Transfer to seal the tree!

Project 2 - IOD Clay Detailed Christmas Tree
For the next tree, I put the two wood pieces together to start!
I really wanted to embellish the edges and make them stand out so I used IOD Air Dry Clay to achieve this look.

I decided to use the IOD Trimmings mould to create a beautiful textured design on the edge of the trees.

I started by adding a little bit of corn starch into my IOD moulds. This helps make sure the clay does not stick.

Then, I pressed IOD Air Dry Clay into the mould.
Because IOD moulds have a micro rim, you can easily use your thumb to remove the excess clay from around the edges.

To ensure that the clay lays flat, I used my IOD brayer to smooth the clay out.

Then, I bent the mould so that I could gently remove the clay.

Next, I applied gorilla glue so that I could glue the clay to the wood tree.
I like to glue my clay down when it is not completely dry. This allows the clay to bend around the tree more easily.

I cut the bottom of my piece so that I would have a straight edge.
The top piece is still detailed on the edge. This is because IOD moulds have the same edges and allows multiple strips of clay to be pieced together like a puzzle seamlessly.


After I put the gorilla glue onto the wood — I applied the clay all the way around all four sides of the Christmas tree.

To avoid gaps between the c;ay and the wood, I ran my finger along the edge and pressed the clay round the edge. It will look like the clay is permanently attached.

The clay started to stiffen up but it was still a little wet so I wanted to get a coat of paint applied to it.
I like to paint my clay when it is still wet — this helps with shrinking and cracking!
I used a STAALMEESTER Pointed Sash Brush and Fusion Paint in the color Victorian Lace to paint my trees.


Once my tree was all painted, I waited for it to dry! It was looking SO good!
I decided to apply a strip of hot glue to the inner corner edges of my tree so that it is permanently glued together.

Lastly, I decided I wanted to apply textured paint all over the tree to make it look like one cohesive piece.
I used Dixie Belle Sea Spray mixed with Victorian Lace paint.

The more texture you want - the more sea spray you use. The less texture you want - the less sea spray you use!
I recommend keeping your brush strokes up and down so that the texture moves in the same direction.

You could leave your trees entirely white, however, I wanted to add a little touch of gold to match mine.


Using Gilding Wax in Gold, I added a touch of gold to the edge of my tree.
This brush is the perfect size for the edge so it is very easy to quickly apply!

And that’s it! Now you have two beautiful white and gold wooden Christmas trees to style inside your home.
Which tree is your favorite?

This blog is all about How To DIY Gold & White Wooden Christmas Tree Decor!
Click Image To Shop


What Is The Colors Of The Month Club?
Don’t forget to join the Colors of the Month Club to receive (4) sample Fusion Paint colors I picked that are perfect for the current season! → Click here to learn more
Like what you see? Be sure to join our mailing list for weekly DIY Ideas, thrift flips, new product alerts, video announcements, live events & more!
DISCLAIMER: This blog post may contain affiliate links. If you purchase a product or service with the links provided I may receive a small commission. There is no additional cost to you. Thank you for supporting my blog so I can continue to provide you with free content each week!


DIY GUIDE: How to personalize your throw pillows with IOD stamps