
DIY Vintage Home Decor | How To Upcycle Picture Frames With IOD Transfers
**This post contains affiliate links for your convenience. I may earn a small commission if you make a purchase from these links.**
I'm super pumped to share this cool project with you – turning thrifted picture frames into absolutely beautiful aged wall art using IOD transfers.
In this blog, I will show you How To Upcycle Picture Frames With IOD Transfers!

Below is a list of the items you will need to recreate this project:
Thrifted Picture Frames
Sandpaper
Scissors
Cordless Drill
Pencil
*Product can be purchased directly through my website [www.juliesdesignsandsigns.com]
For this project, I am using these gold frames that I thrifted.

For the first step, I unscrewed all of the screws and removed the backs of the picture frames.

I set the gold frames to the side so that I could paint the cardboard backgrounds.
I wanted to make the background of my frame look like a dropcloth, so I used Fusion Paint in the color Chateau.
You could also use Dixie Belle Chalk Paint in the color Drop Cloth.

I used my STAALMEESTER Pointed Sash Brush to paint the back board of my picture frame.
In order to give the background a little bit of texture, in the first coat, I painted all strokes vertically. On the second coat, I painted all strokes horizontally.


Then, I painted the frames.
I used Fusion Mineral Paint in the color Ash and added a little bit of Fusion Fresco. I didn’t want to add texture but when you add 2 parts paint to 1 part fresco powder - it gives your fusion paint a matte flat chalk finish.
Since Fusion has a satin sheen to it - the fresco will tone that down and give your paint a more chalky, flat finish.
Plus, you still get the added bonus of the sealer already being in the paint.

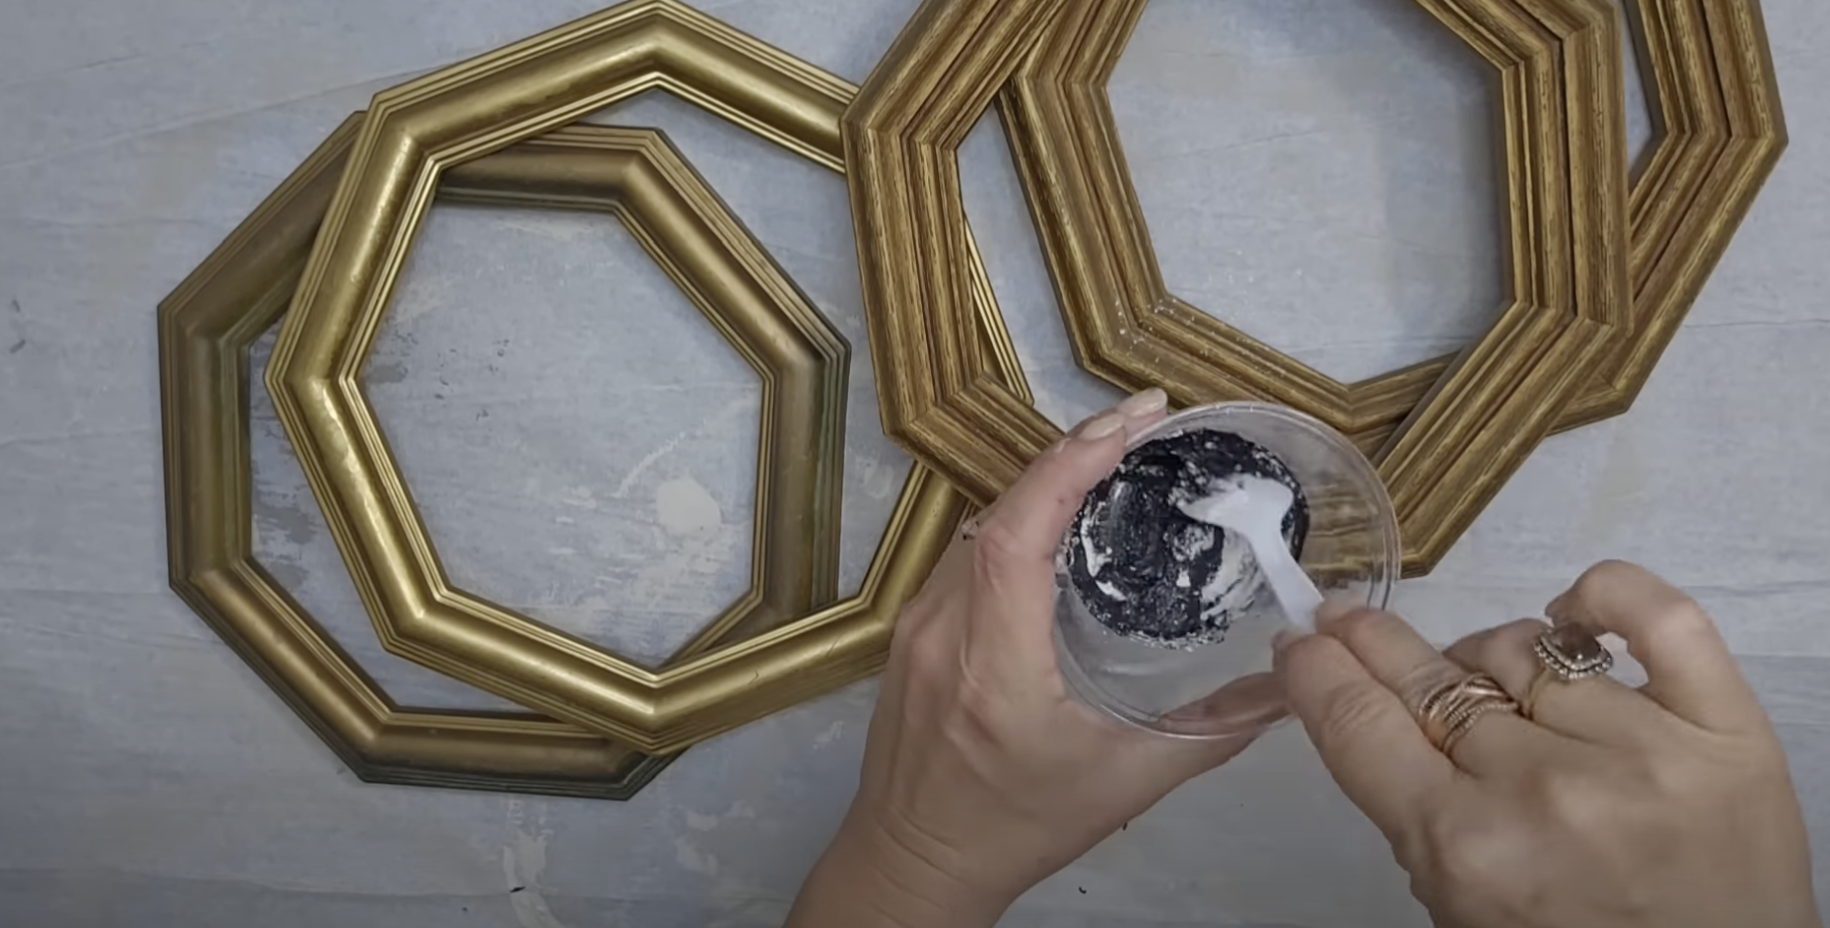


Once the frames were completely painted and dried, I used a small piece of sandpaper to distress the edges. This helps bring out the details of the frame!

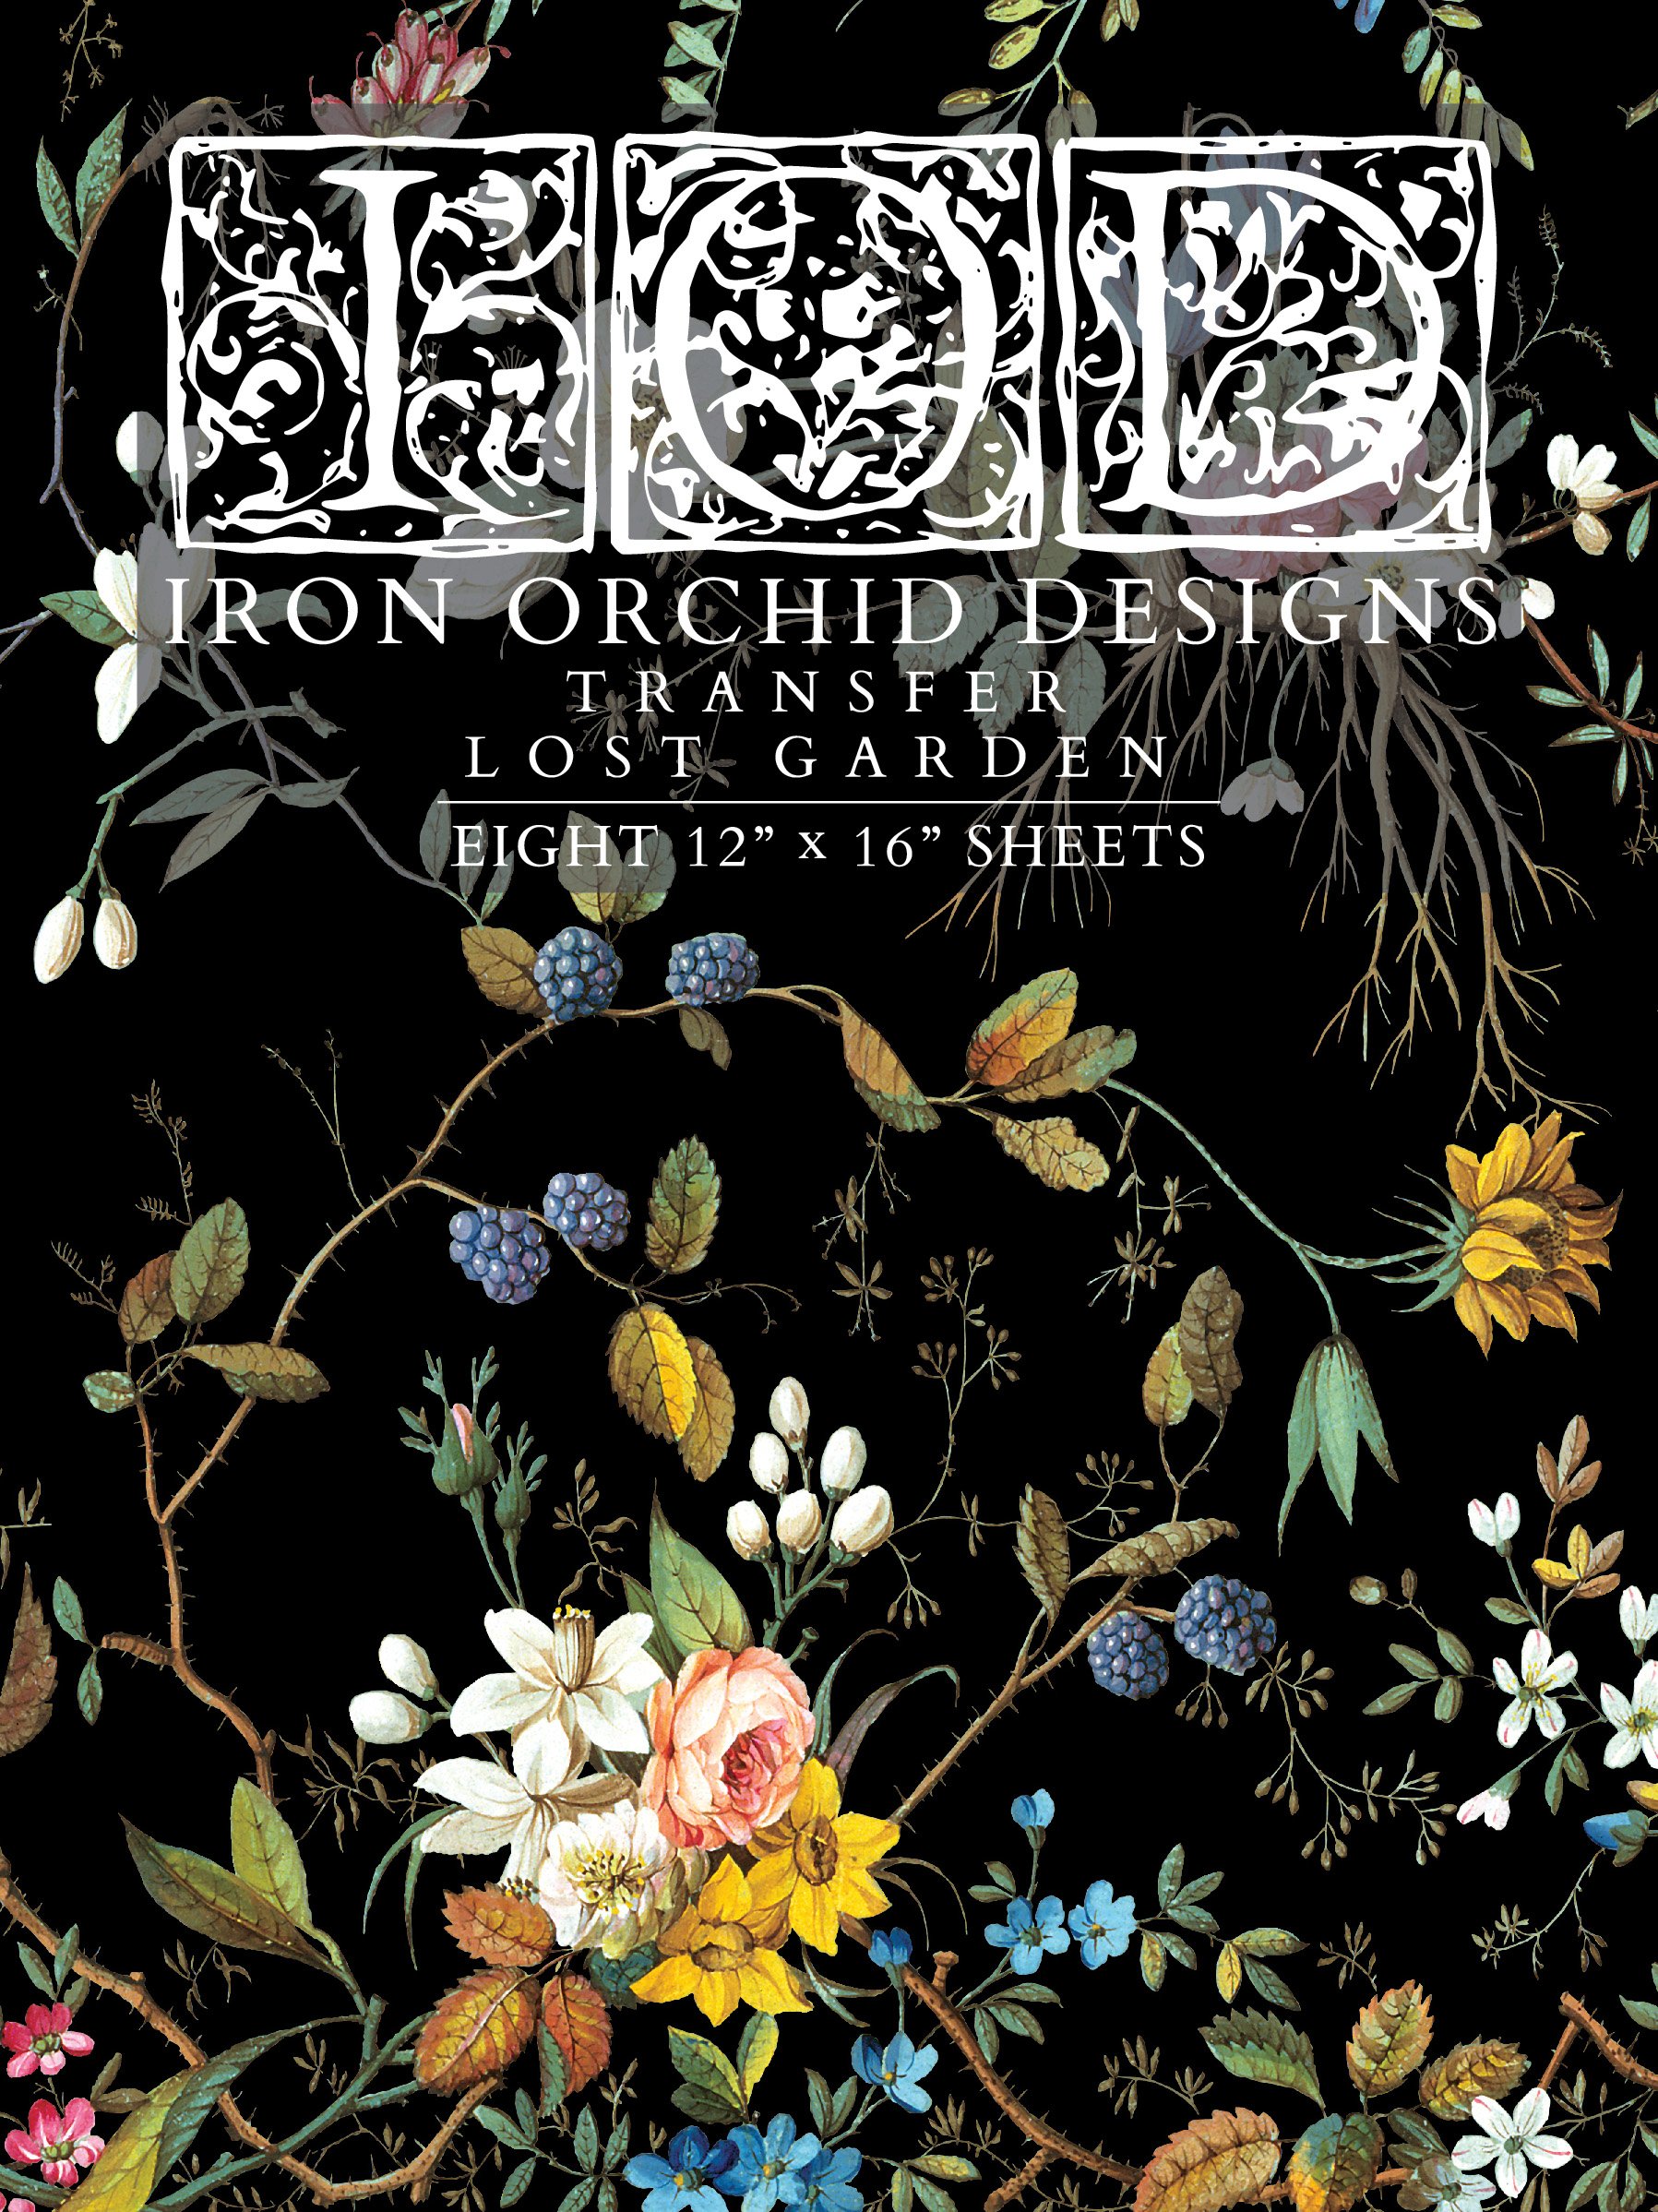
Once the painting was done, I decided to use IOD Transfer Fronds Botanical to embellish the background of the frames.
Fun Fact: IOD also has a Fronds Botanical Stamp — You can check it out here: FRONDS 12×12 DECOR STAMP

I went through the book and picked out some transfer images that I thought would go well together.
Feel free to cut up different parts and pieces of the transfers to create the design you would like!
To apply your transfer to your painted board, follow these steps:
Select your transfer images
Remove the white backing and stick the transfer images to your painted background
Use your transfer tool to rub the transfer into the painted background
Slowly peel the clear transfer sheet up. You may have to continue to rub in places that the transfers haven’t completely adhered to.

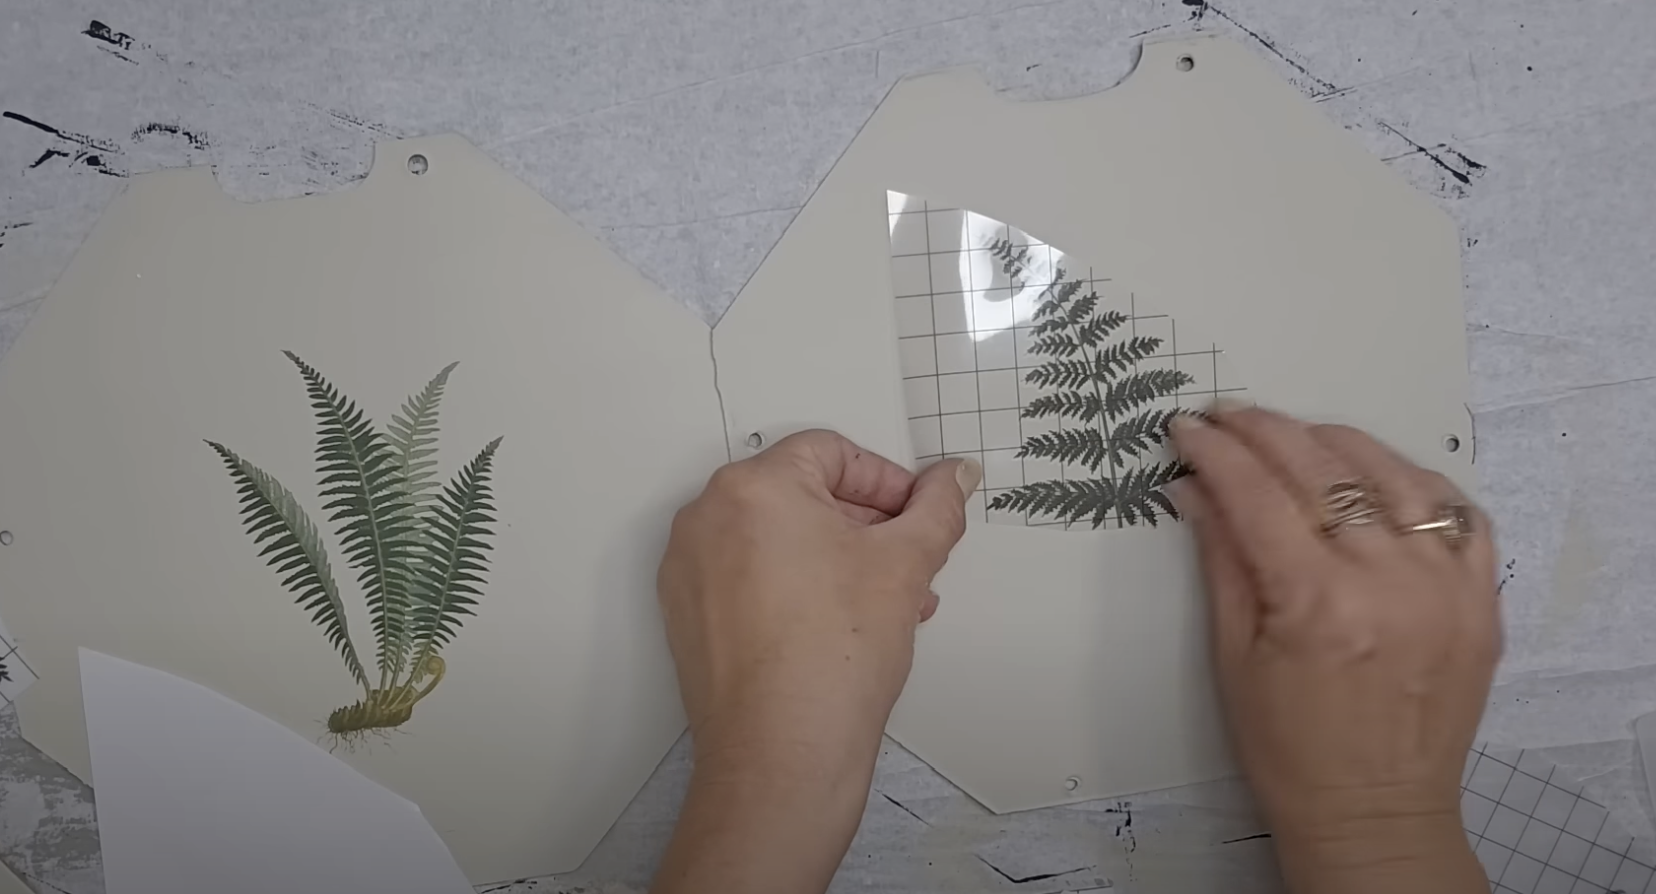


In the below image, I cut one piece of greenery and then reattached the root. I bet you didn’t even notice!
WATCH HERE (go to min 3:00) to see how I did that!

Here is another example of how I applied transfers to my frame backgrounds.
You can see that I followed the same steps as the above images.


For the last step, I screwed my new framed artwork back into the picture frame so that I could find a place to hang them in our home!

How beautiful is that?
You can always find frames at thrift stores so order a pack of IOD transfers today and don’t forget to share your final results with me!


This blog is all about How To Upcycle Picture Frames With IOD Transfers!
Click Image To Shop


What Is The Colors Of The Month Club?
Don’t forget to join the Colors of the Month Club to receive (4) sample Fusion Paint colors I picked that are perfect for the current season! → Click here to learn more
Like what you see? Be sure to join our mailing list for weekly DIY Ideas, thrift flips, new product alerts, video announcements, live events & more!
DISCLAIMER: This blog post may contain affiliate links. If you purchase a product or service with the links provided I may receive a small commission. There is no additional cost to you. Thank you for supporting my blog so I can continue to provide you with free content each week!


Introducing Countryside Memoirs, a beautiful set designed with paper craft treatments in mind, featuring an enchanting collection of foliage wreaths adorned with crumbly, vintage bows, delicate butterflies, birds in flight, and darling vignettes.
Consider pairing the Insignia Stamp set with frames from Countryside Memoirs to create sophisticated compositions reminiscent of vintage parchment stationery. We were generous with intricate detail in this set, and it will have your mind spinning with project ideas! 😉