
How to DIY Resin Candy Cane Christmas Decorations
**This post contains affiliate links for your convenience. I may earn a small commission if you make a purchase from these links.**
Whether you're a seasoned crafter or just starting your DIY journey, this project can be created by anyone. Plus, it will add a touch of handmade holiday spirit to your festive home.
For this project, I used white resin, IOD moulds and paint to create beautifully detailed candy canes. I plan to tie them onto gifts this season but you could use them for so many different things. Consider hanging them on your Christmas tree for a whimsical touch, styling them in pots for a festive centerpiece, or even incorporating them into your stocking display.
In this blog, I will show you How To DIY Resin Candy Cane Christmas Decorations!

Below is a list of the items you will need to recreate this project:
Mixing Cup
Painters Tape
*Product can be purchased directly through my website [www.juliesdesignsandsigns.com]
For this project, I used the IOD Trimmings 2 mould to create unique candy cane decorations!

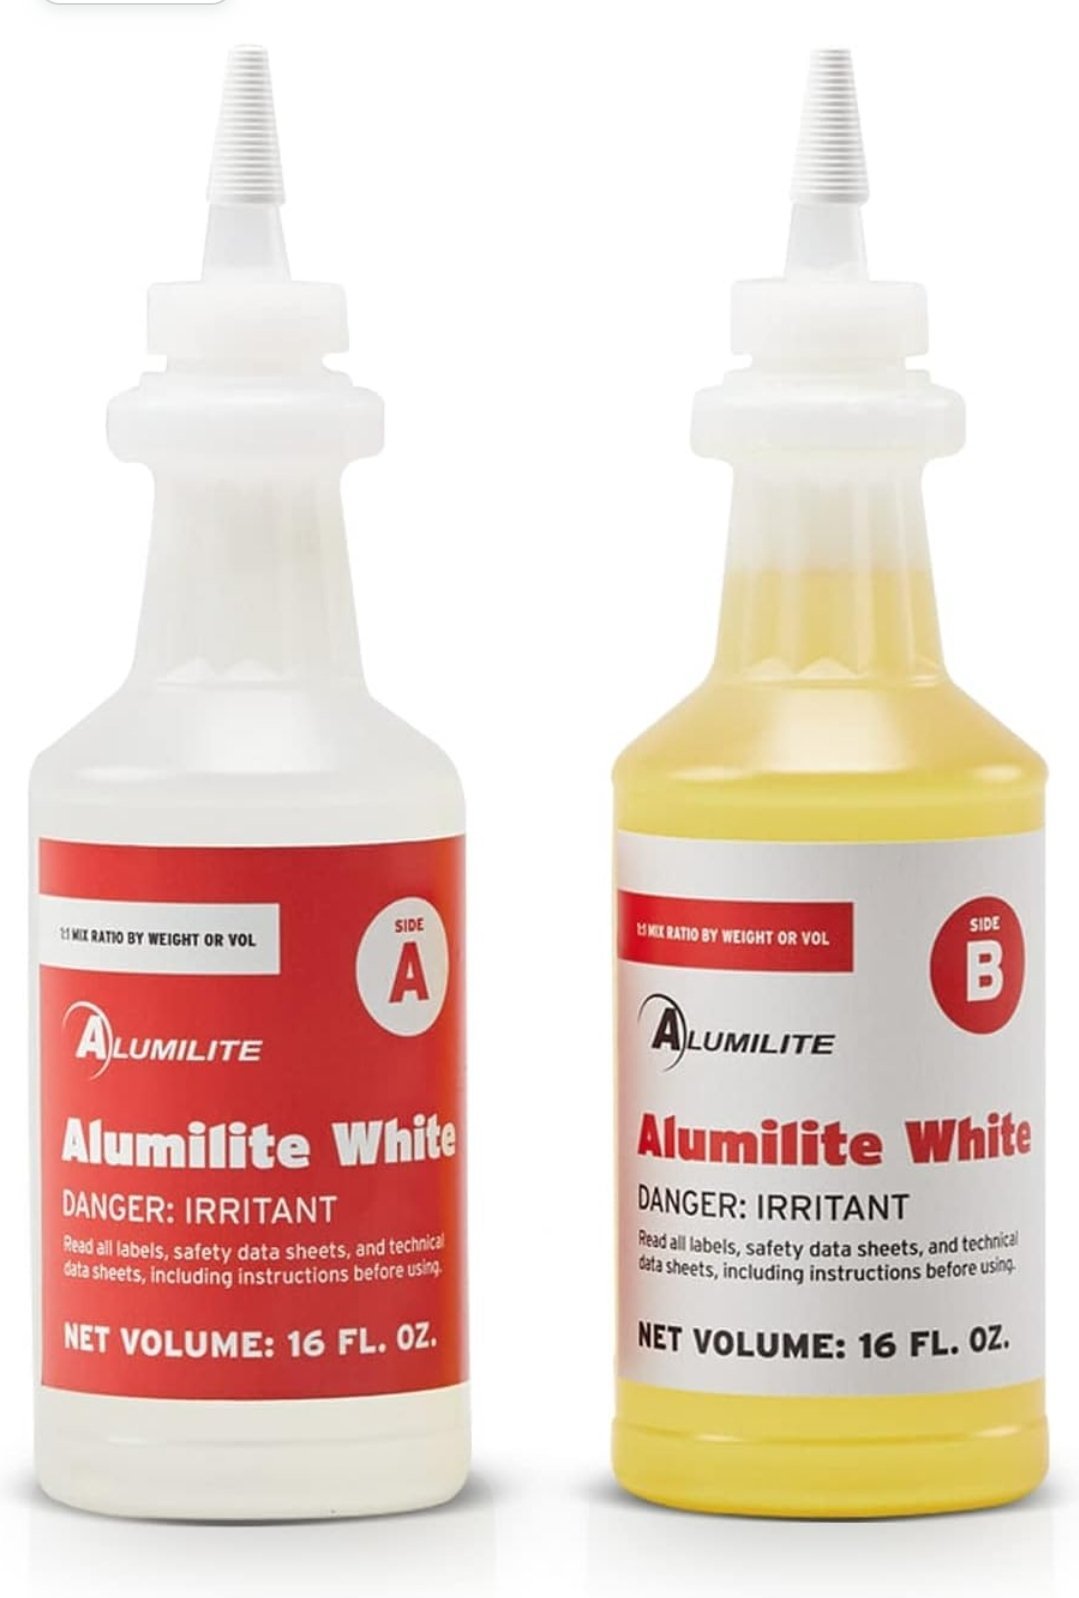
I used white resin to create these candy canes!
This resin comes in 2 bottles - bottle A and bottle B.
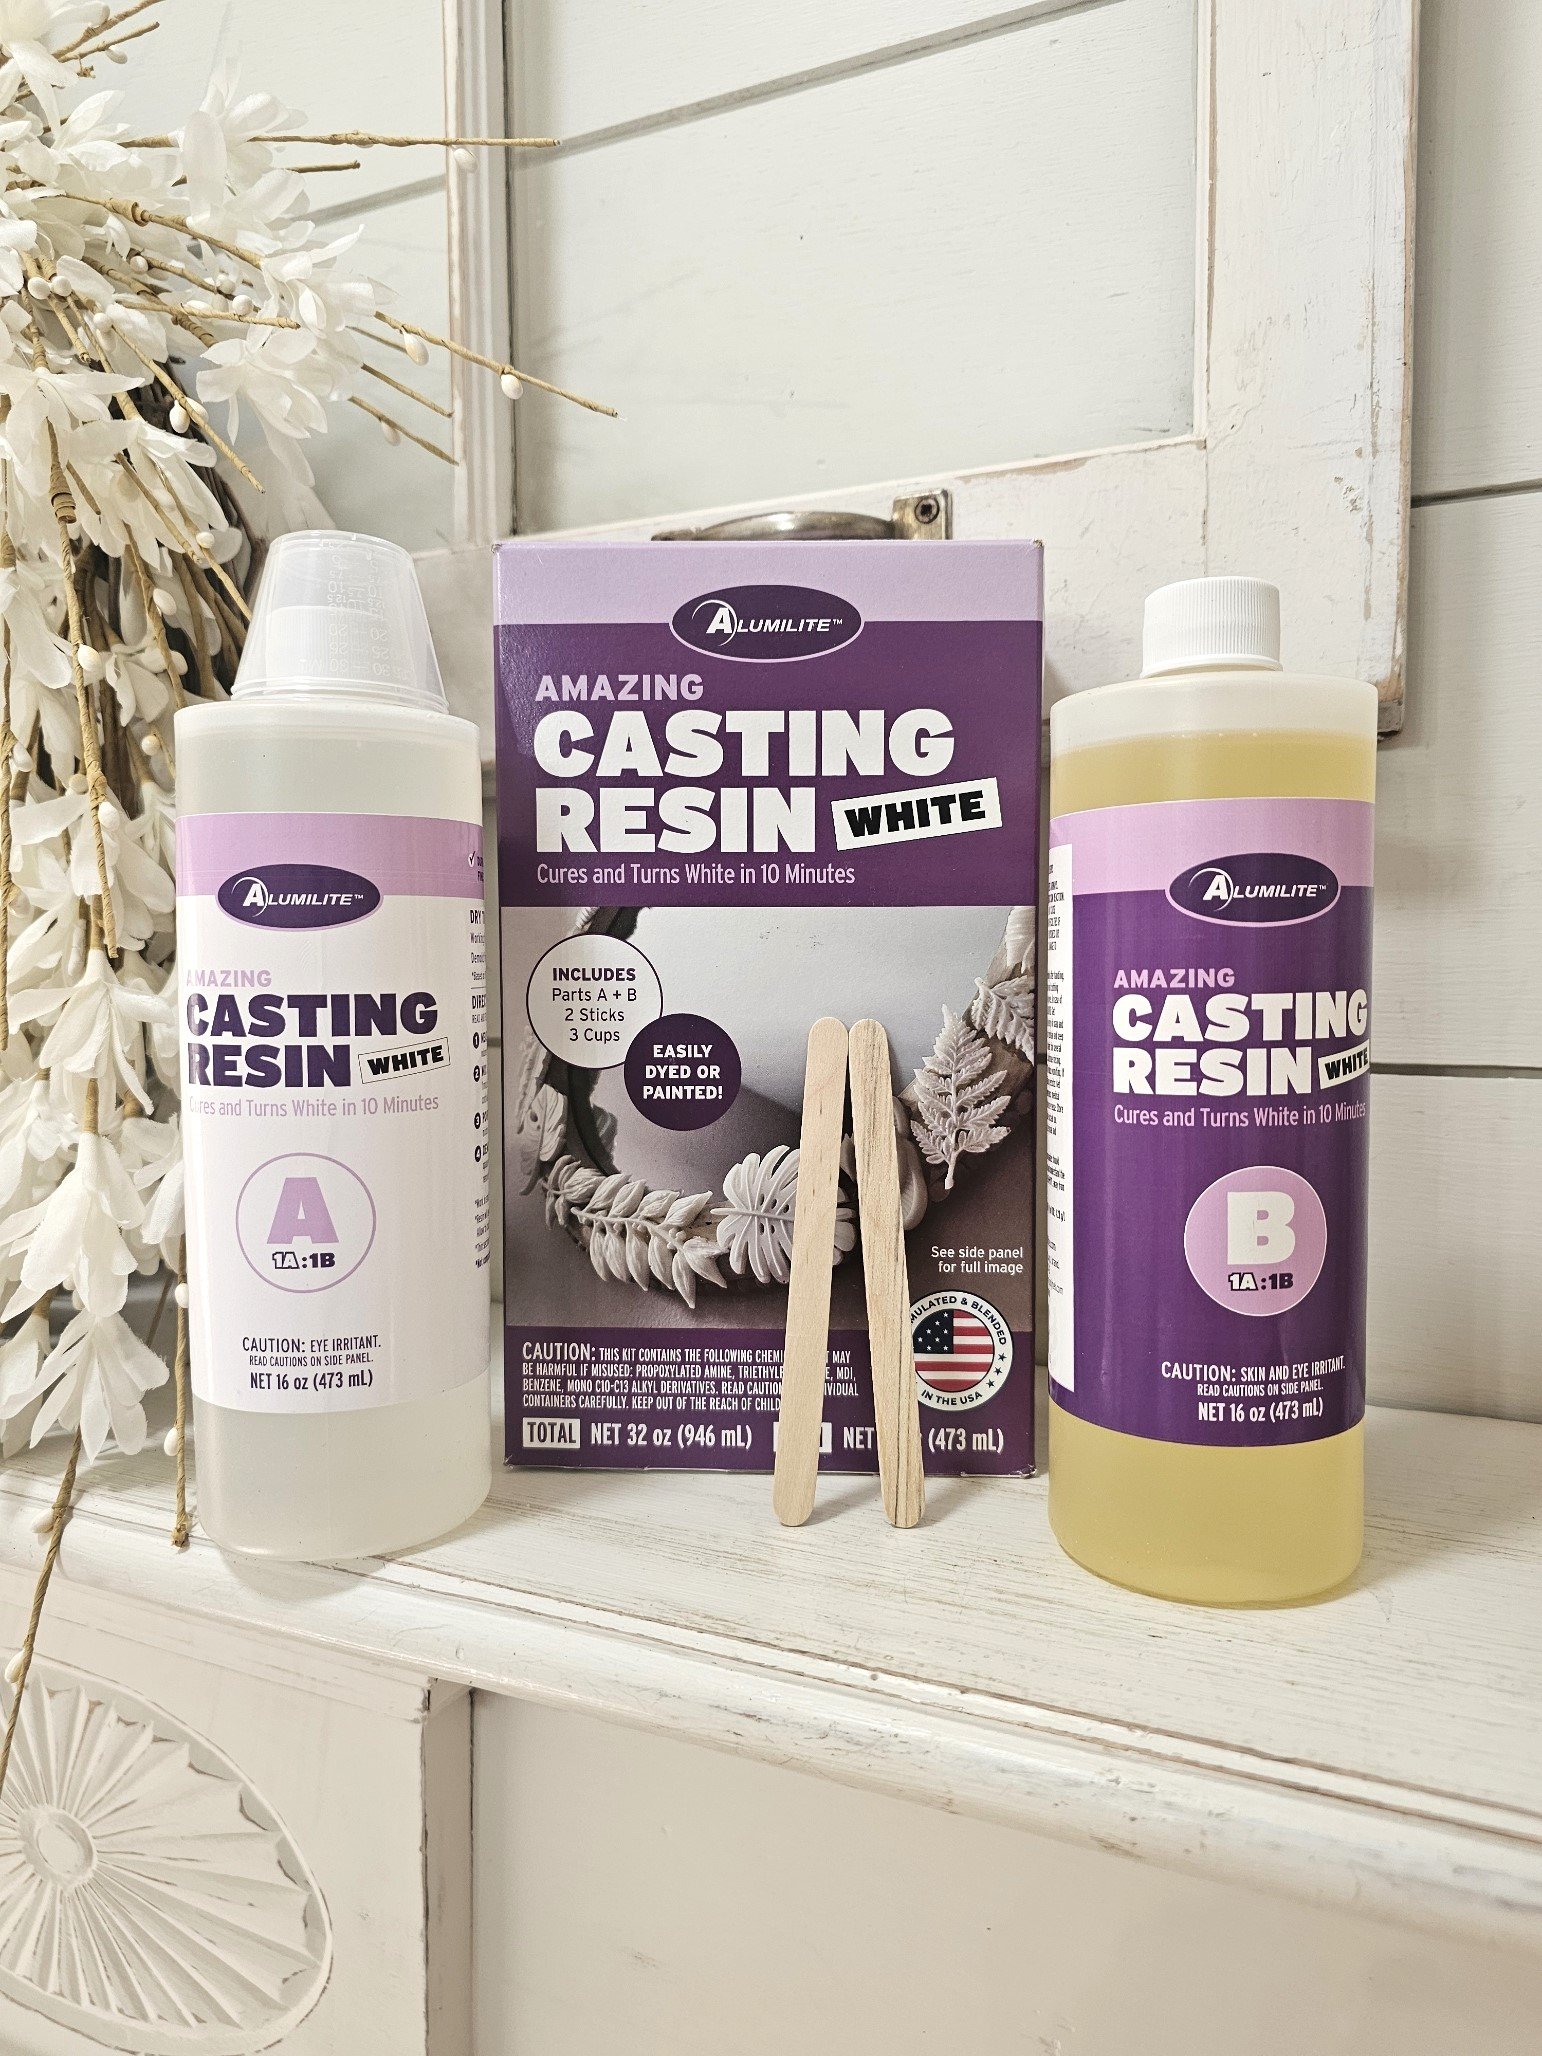

I measured equal parts from bottle A and bottle B by pouring the resin into clear cups. Then I mix them in one cup.


This resin has a quick dry time, so once it is mixed, you want to start pouring it into your moulds.

With this resin, you will know it is fully dry when it turns white.
It takes approximately 10 minutes to cure and 30 minutes before it is completely hard.


For this project, I wanted to remove the resin before it was completely hard so that the resin was flexible enough to bend before drying.

I did this because I wanted to be able to bend my resin into a candy cane shape.

Next, I laid my candy canes down onto my thin mount.
I molded the candy canes into the desired shape and secured them with painter's tape to ensure they dried in that form.

Then, I patiently waited for an hour to ensure that the candy canes were thoroughly dry before carefully removing the painter's tape.

Next, I used my STAALMEESTER Artist Round Brush and my favorite Christmas paint colors to paint my candy canes.
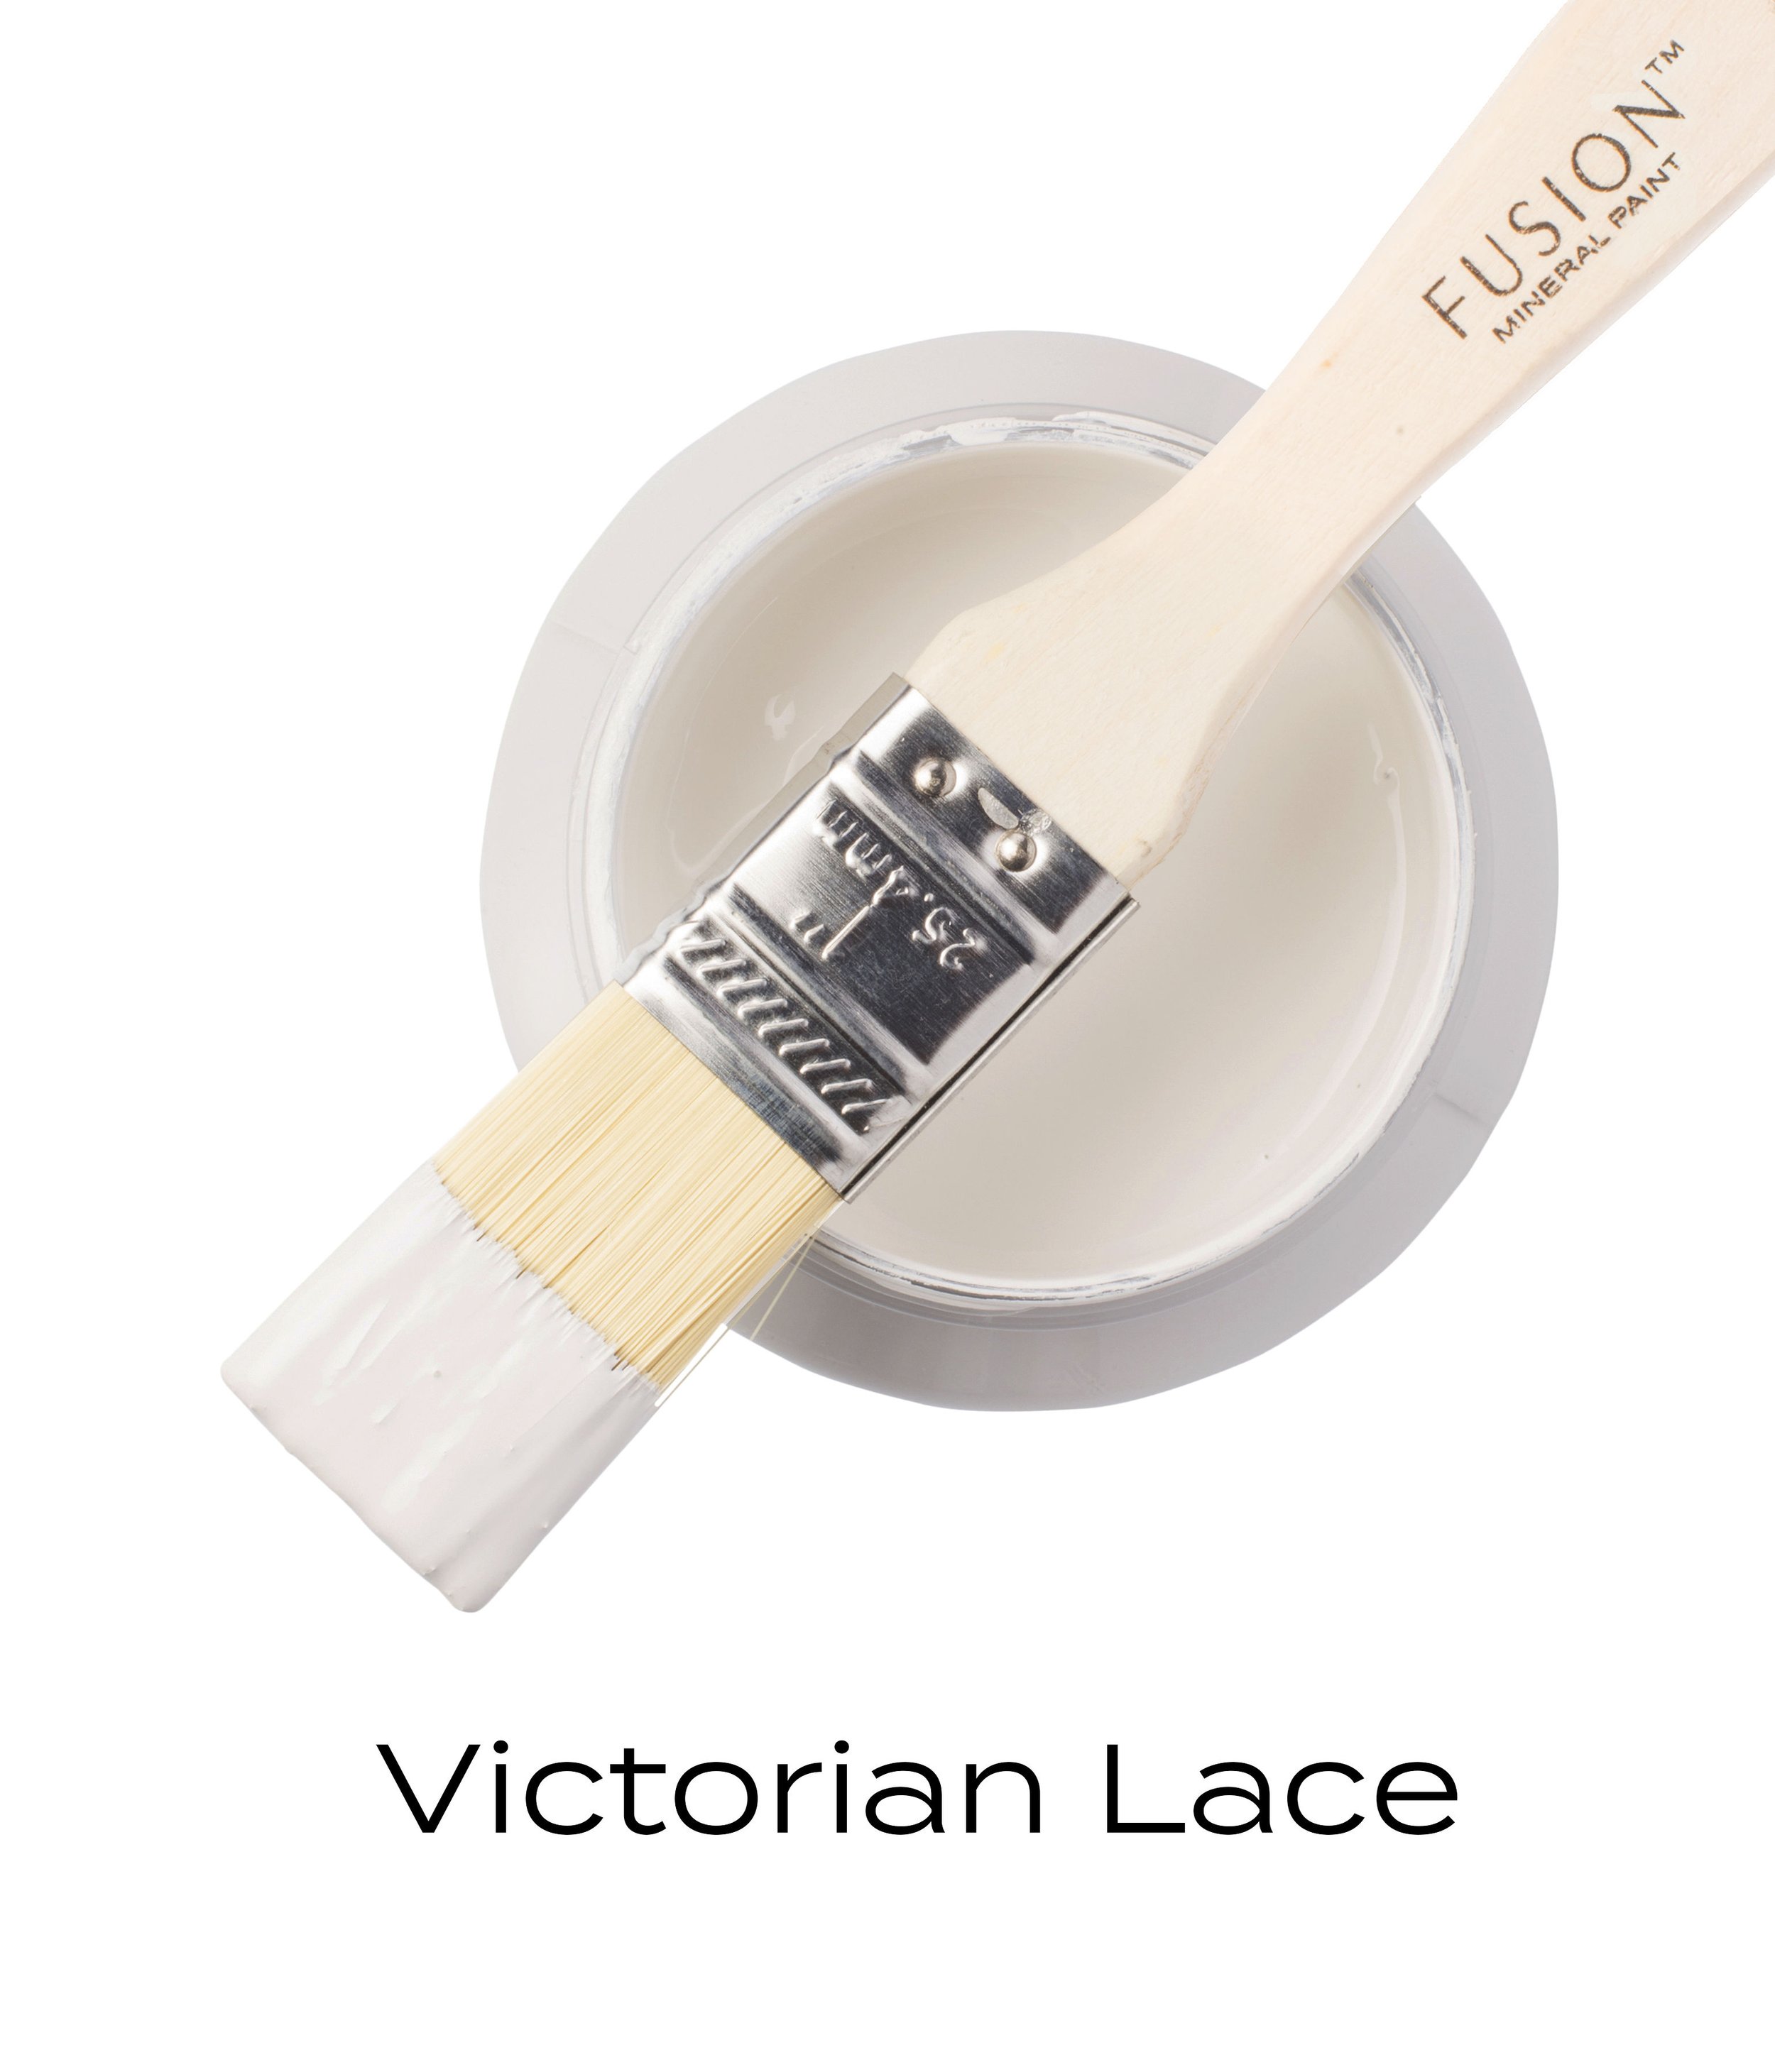
I used Fusion Mineral Paint in the colors:
Manor Green - traditional, deep Christmas green!
Highlander - absolutely beautiful dark red that I think is perfect for the holiday season!
Victorian Lace - this white is a little more warm that pairs so well with my decor!


After painting each piece, I allowed all the them to dry thoroughly.
For my holiday decor, I love to embellish with a touch of gold! This added layer of gold enhances the festive charm and brings a luxurious touch to the overall aesthetic.
I used Dixie Belle Gilding Wax in Gold to achieve this extra detailed look.

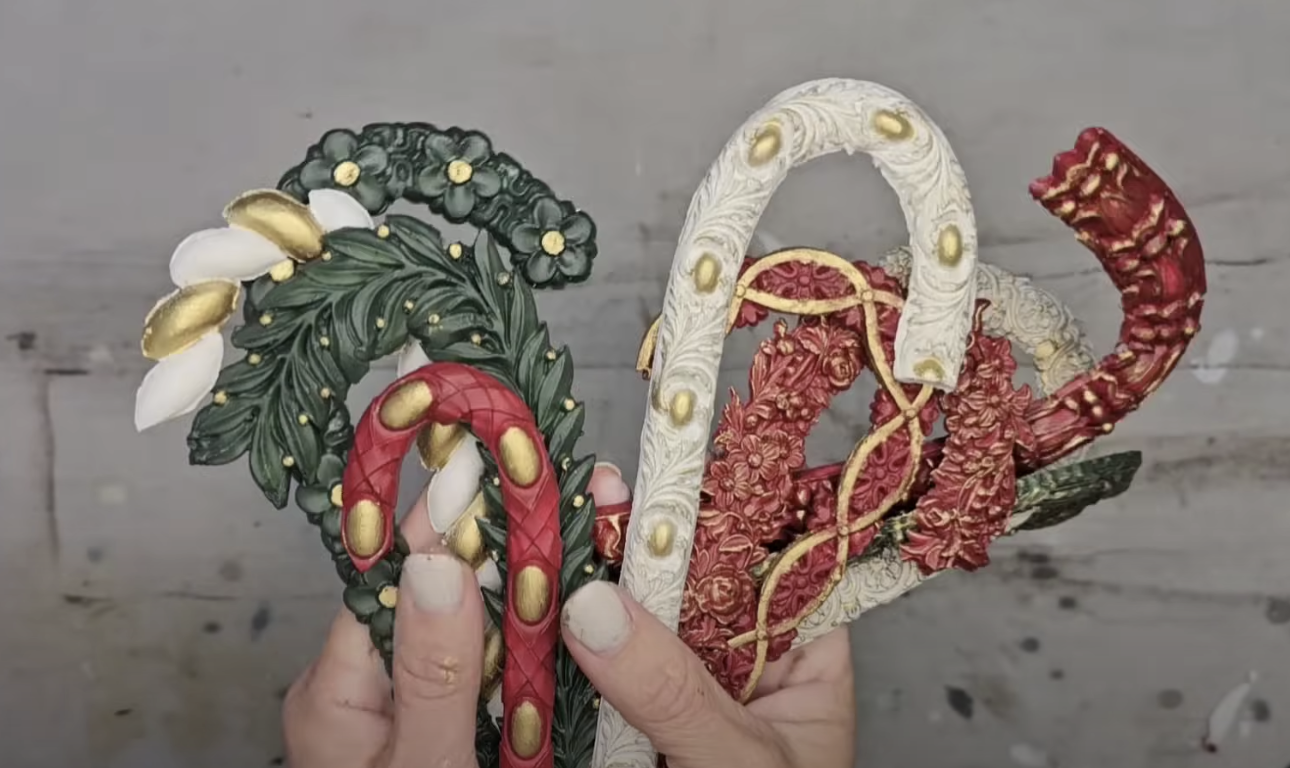
You can see in the below images how I decided to apply gold in a few different ways.
On the green candy cane, I utilized the back of my paintbrush to add gold to the small dots.
For the red candy cane, I used a dry brushing technique, brushing the gold over the candy cane. This method allows the gold to adhere to the textured parts, accentuating the intricate design.
Lastly, I used a conventional painting technique to apply gold to the white candy cane.


Enjoy the versatility of these candy canes and infuse holiday magic into various aspects of your holiday home decor!
Consider hanging them on your Christmas tree for a whimsical touch or using them as detailed tags to wrap your gifts with a personalized touch.
Create a charming Christmas display by incorporating these candy canes into your decor arrangement.
For a creative twist, hot glue them onto a frame and transform them into a unique wall ornament, adding a festive and photo-like element to your space.
The possibilities are endless – how will you uniquely style your candy canes this holiday season? 🎄✨

This blog is all about How To DIY Resin Candy Cane Christmas Decorations!
Click Image To Shop


What Is The Colors Of The Month Club?
Don’t forget to join the Colors of the Month Club to receive (4) sample Fusion Paint colors I picked that are perfect for the current season! → Click here to learn more
Like what you see? Be sure to join our mailing list for weekly DIY Ideas, thrift flips, new product alerts, video announcements, live events & more!
DISCLAIMER: This blog post may contain affiliate links. If you purchase a product or service with the links provided I may receive a small commission. There is no additional cost to you. Thank you for supporting my blog so I can continue to provide you with free content each week!


