
Trash To Treasure DIY | Using Pickle Jar Lids to Create Christmas Ornaments
**This post contains affiliate links for your convenience. I may earn a small commission if you make a purchase from these links.**
If you're excited to fill your home with a cozy and festive atmosphere without breaking the bank, you're in for a treat!
I’ll guide you through the step-by-step process of creating charming snowflake ornaments. No need to splurge on store-bought decorations – with just a handful of simple materials and some creativity, you'll soon have a collection of ornaments to hang on your tree!
In this blog, I will show you step-by-step How To DIY Christmas Ornaments Using Pickle Jar Lids.

Below is a list of the items you will need to recreate this project:
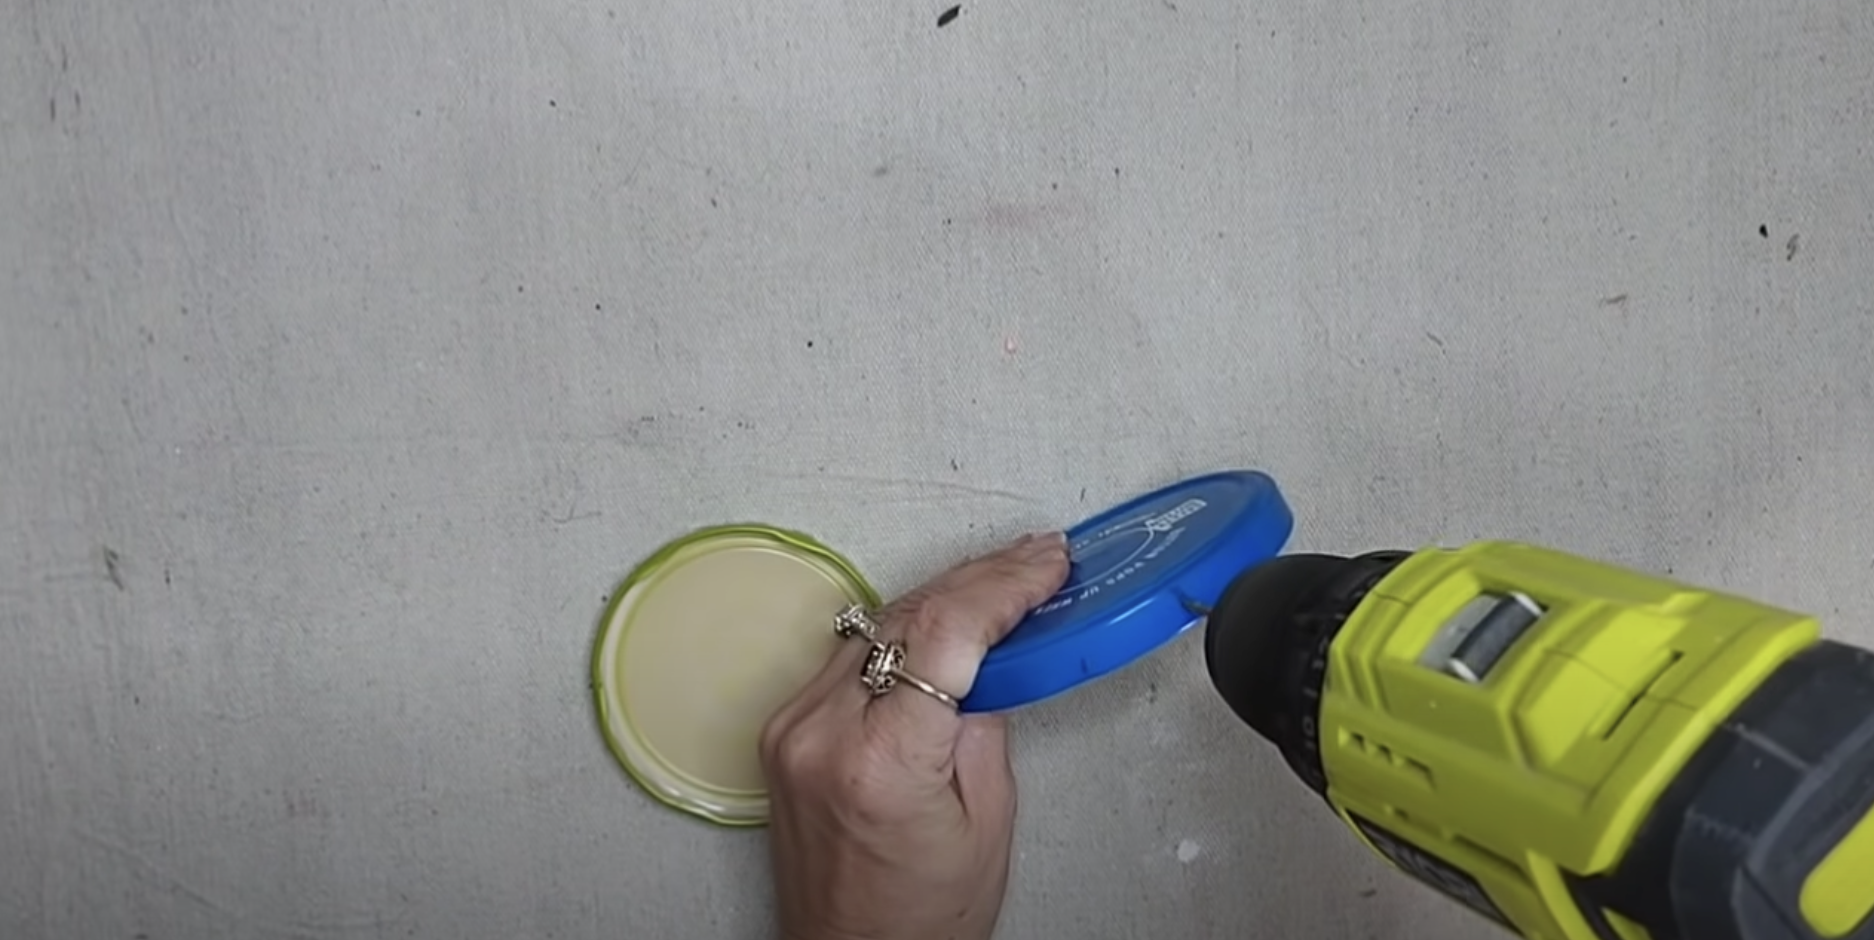
Cordless Drill
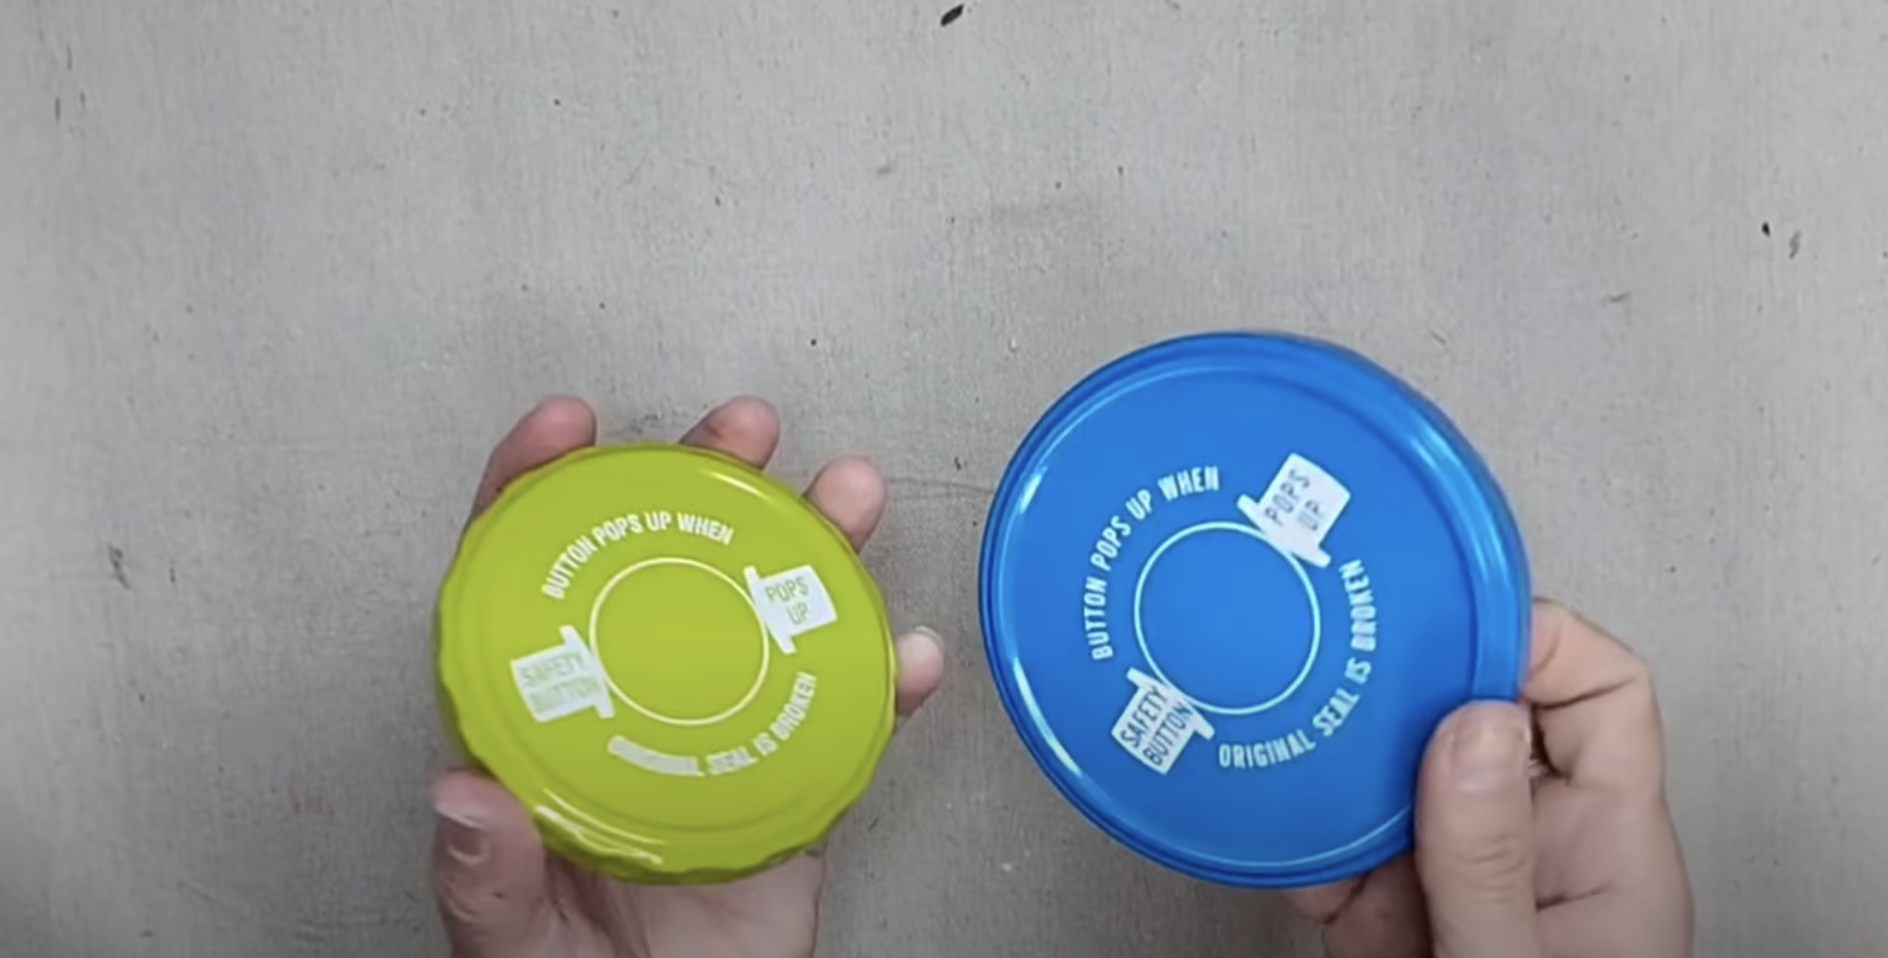
Pickle Jar Lids
Paper Towel
Jute Twine
*Product can be purchased directly through my website [www.juliesdesignsandsigns.com]
In the last DIY, I used Pickle Jars to create beautiful brown paper bag stamped containers.
Since this is a trash to treasure, I didn’t want to throw away anything!
For my next project, the pickle jar lids were the perfect thing to create DIY Snowflake Ornaments.
First, I used my cordless drill to put 2 holes an inch or so apart into the edge of the lid.
Next, I used Fusion Mineral Paint in the color Coal Black and a STAALMEESTER Painted Sash Brush to paint the lids.
I painted both the front and the back of the lid.
Before I moved on to the next steps, I let the painted lids completely dry.

Once the lids were dry, I used clear Gorilla Glue to adhere the resin snowflake to the painted lid.
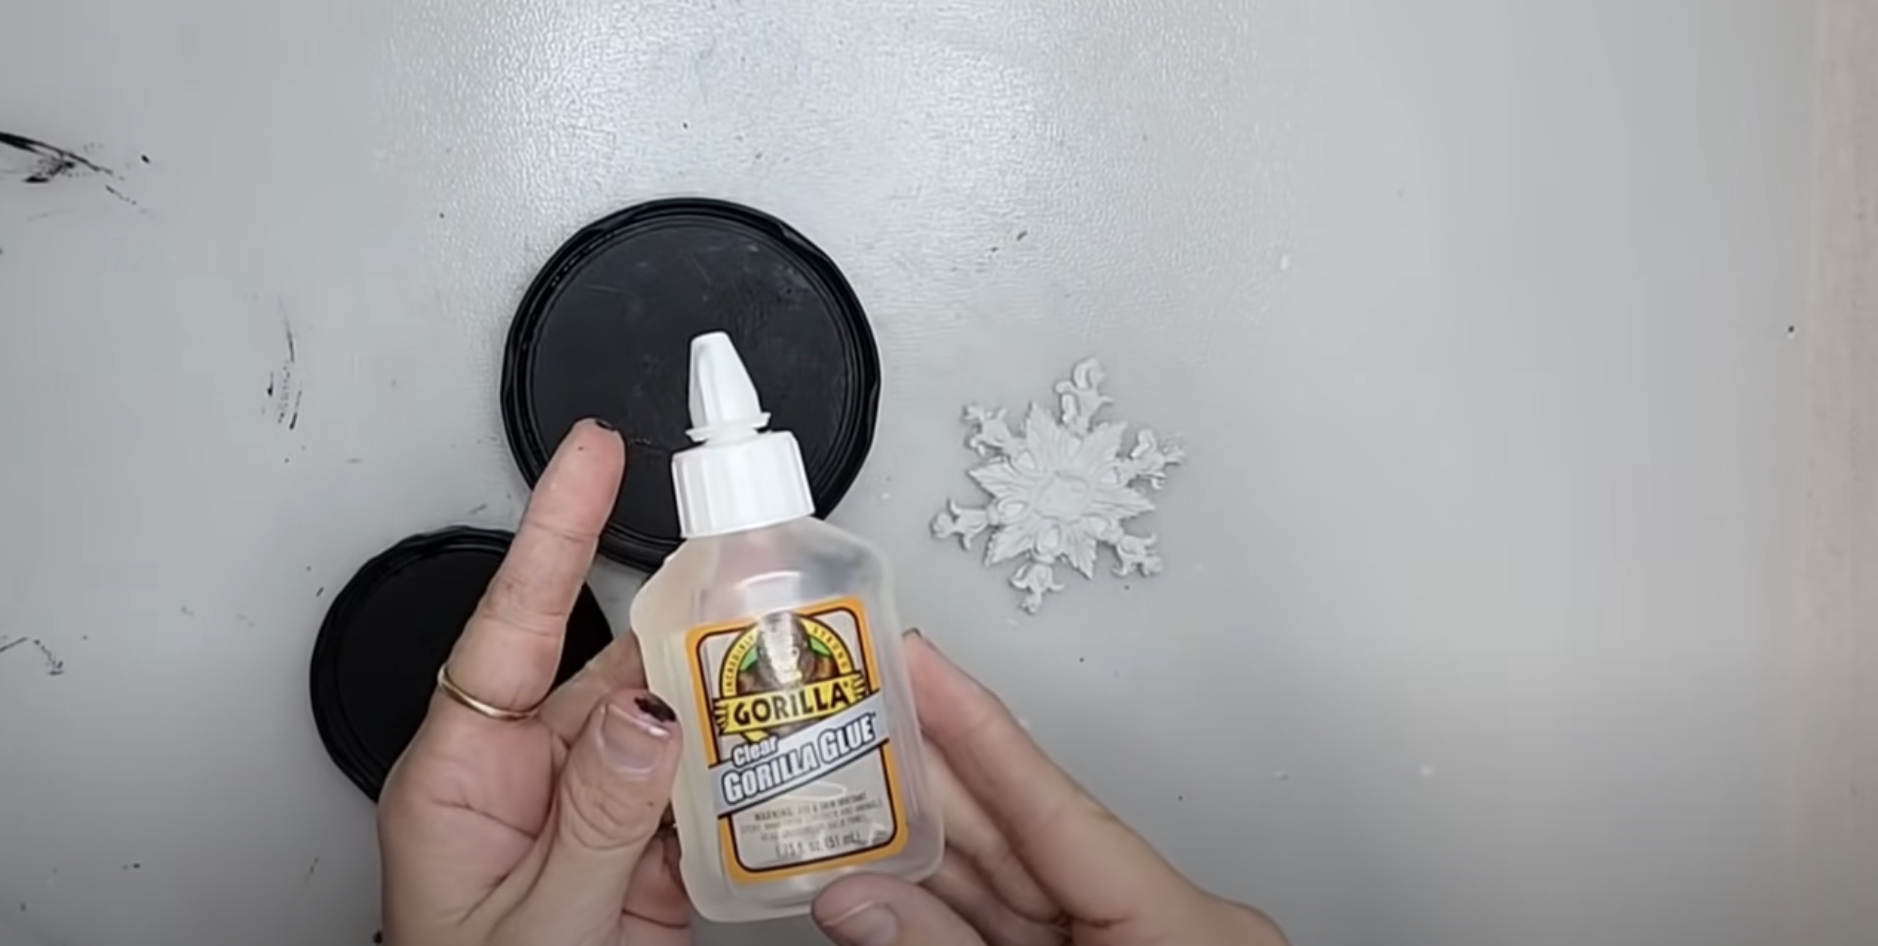

I placed the resin snowflake directly in the middle of the lid.

Using a STAALMEESTER Pointed Sash Brush I coated the lid and the resin snowflake in Dixie Belle White Wax.

Then I used a dry paper towel to wipe off the wax from the lid.

The paper towel didn't remove the wax as effectively as I had hoped.
I decided to use a dry brush to brush off some of the excess wax from the lid.

Lastly, I threaded jute twine through the two holes so that I could hang the ornaments onto my tree!

This blog is all about a Trash To Treasure DIY - Using Pickle Jar Lids to Create Christmas Ornaments!
Click Image To Shop


What Is The Colors Of The Month Club?
Don’t forget to join the Colors of the Month Club to receive (4) sample Fusion Paint colors I picked that are perfect for the current season! → Click here to learn more
Like what you see? Be sure to join our mailing list for weekly DIY Ideas, thrift flips, new product alerts, video announcements, live events & more!

DISCLAIMER: This blog post may contain affiliate links. If you purchase a product or service with the links provided I may receive a small commission. There is no additional cost to you. Thank you for supporting my blog so I can continue to provide you with free content each week!


Transforming Your Thrift Store Finds Into High End Decor With The New Spring IOD Stamps and Moulds