
How To DIY A Thrifted House Sign Into Home Decor
**This post contains affiliate links for your convenience. I may earn a small commission if you make a purchase from these links.**
When I saw this sign at Goodwill, I have to be honest…I didn’t love the current images and wording displayed on it. But you know what? I also knew, that if I brought it home, I could work some serious magic and transform it into something truly one-of-a-kind!
Whether you're just starting out on your DIY journey or you're a seasoned pro, I guarantee you'll enjoy recreating a sign of your own. Plus, you might learn a new DIY technique or two!
In this blog, I will show you How To DIY A Thrifted House Sign Into Home Decor!
Below is a list of the items you will need to recreate this project:
Thrifted House Sign
Plastic Mixing Cup
Water
2in Wood Planks (for roof & shutters)
Miter Saw or Wood Cutter
Mini Wood Drawers
Paper Towel
*Product can be purchased directly through my website [www.juliesdesignsandsigns.com]
Let’s get started!

First, I picked out this beautiful Fusion Paint in the color Blue Pine to paint the entire sign.

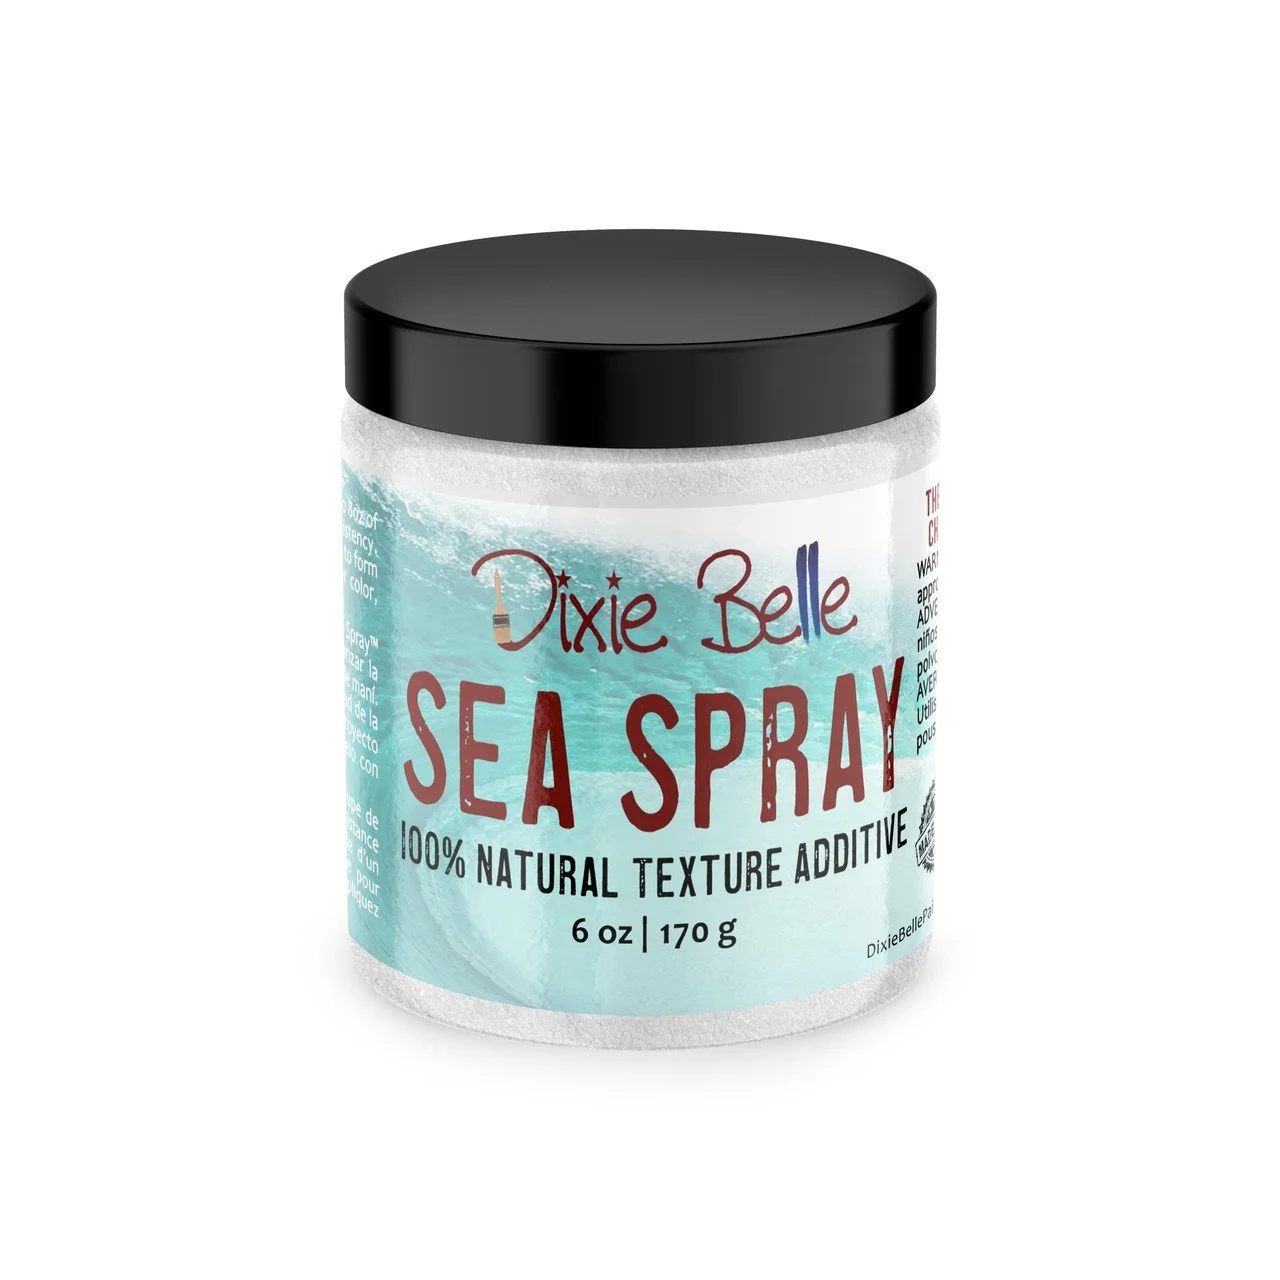
Since the material on the sign had colorful images and wording, I wanted to make sure the paint covered the sign so nothing poked through. The trick? Adding a texture additive.
I mixed Dixie Belle Sea Spray with Blue Pine Fusion Paint in equal parts. Want it thicker? Keep adding Sea Spray until you reach your desired consistency.

With the paint and Sea Spray all mixed up, it was time to get painting! I applied the mixture evenly over the entire sign.

As the paint dried, I shifted my focus to the next step: choosing the perfect stamp from my IOD Decor Stamp Collection to add a little bit of decoration onto the sign. For this project, I chose the Kindest Regards stamp.
You can purchase this collection on my website here: IOD Stamp Collection - Kindest Regards

I grabbed my IOD Stone Gray ink and coated an empty ink pad generously. Next, I inked up the entire stamp!


I picked up the stamp and laid it face down on the top section of the sign.
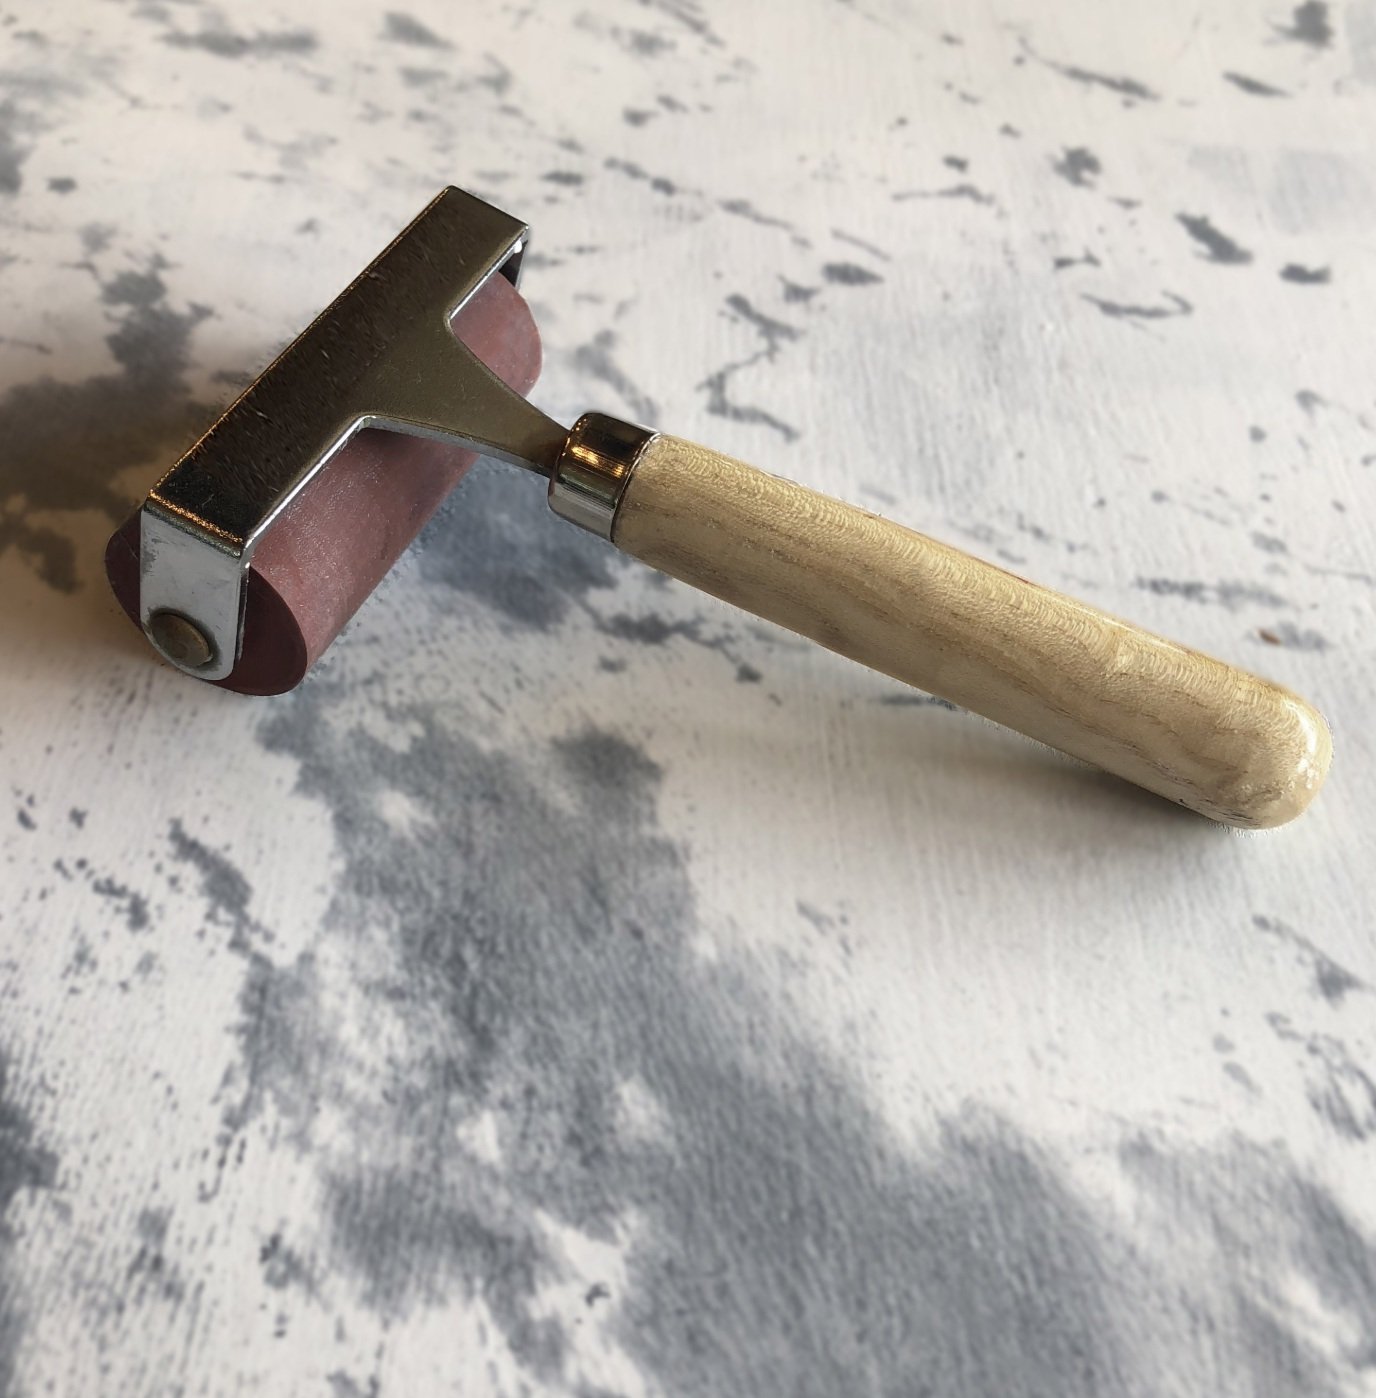
Then, using a Brayer, I gently pressed the stamp onto the wooden surface to ensure an even application of the ink.

I lifted the stamp and moved it to the bottom section of the sign.
With the brayer in hand once more, I pressed down gently, ensuring the ink transferred evenly onto the wood surface.

It looked like this piece did have a roof at one time but it was missing by the time I grabbed it at the bins.
Rummaging through my stash, I found some spare pieces of wood waiting to be put to good use.

First, I measured the size of the roof and used a pencil to mark where I needed to make cuts.


Off camera, I used my saw to cut the wooden pieces down to size.
I didn’t want the raw edges to show so I used a STAALMEESTER Artist Brush dipped into Fusion Paint in the color Chocolate to darken the wood edges so they matched.

It’s not a DIY without pulling out my hot glue gun!
And these Gorilla Brand extra long glue sticks? Total game-changer - they're my absolute favorite!
I applied glue to the backside of each wood piece, then placed them in their designated spots.


I noticed there was a lot of blank space on the bottom half of the sign so I found these adorable mini wooden drawers in my stash that would be perfect for styling this project!

Using my hot glue gun, I applied glue to the back of the mini drawers and then I pressed them into the sign.
I made sure to space them out strategically, leaving enough room between each drawer so I could later fill them with farmhouse inspired little decorations.


Now, you could call it a day at this point, but you know me—I'm all about those finishing touches. So, I decided to take it up a notch by adding some Dixie Belle White Wax to the entire sign.
I used a Dixie Belle French Tip brush to apply the wax - this is my favorite wax brush.
Full transparency, I am not sure if adding the wax was the right step. What do you think? Add a comment below and let me know!


Lastly, I used a dry paper towel to wipe away the excess wax.

How cute is this? I styled the sign with greenery, clothes pins and a few little farmhouse inspired trinkets.
Are you ready to create your own? Tag me on social media [@juliesdesignsandsigns] so I can see what you create.
This blog is all about How To DIY A Thrifted House Sign Into Home Decor!
Click Image To Shop


What Is The Colors Of The Month Club?
Don’t forget to join the Colors of the Month Club to receive (4) sample Fusion Paint colors I picked that are perfect for the current season! → Click here to learn more
Like what you see? Be sure to join our mailing list for weekly DIY Ideas, thrift flips, new product alerts, video announcements, live events & more!
DISCLAIMER: This blog post may contain affiliate links. If you purchase a product or service with the links provided I may receive a small commission. There is no additional cost to you. Thank you for supporting my blog so I can continue to provide you with free content each week!


Transforming Your Thrift Store Finds Into High End Decor With The New Spring IOD Stamps and Moulds