
How To DIY With IOD Paint Inlays
**This post contains affiliate links for your convenience. I may earn a small commission if you make a purchase from these links.**
Have you used IOD Paint Inlays yet? This project turned out incredible! Trust me, once you've experimented with this technique, you'll be tempted to apply paint inlays to every surface!
For this project, I created 2 beautiful and unique metal canisters that I styled in my home with faux floral using the IOD Lattice Rose collection. However, you can use ANY of the Paint Inlay options to recreate this project!
This collection sold out QUICK when it was first announced so feel free to explore ALL of the Paint Inlay options available to replicate this design!
Check out more of the IOD Paint Inlay options here:


In this blog, I will show you How To DIY With IOD Paint Inlays!


Below is a list of the items you will need to recreate this project:
Metal Cylinder
Water
Paper Towel
Sand Paper
*Product can be purchased directly through my website [www.juliesdesignsandsigns.com]
I was inspired to utilize the latest Spring collection of IOD Paint Inlays to create something with a little vintage charm! When I found this metal ice cream canister from Goodwill I knew I could create something unique with it.


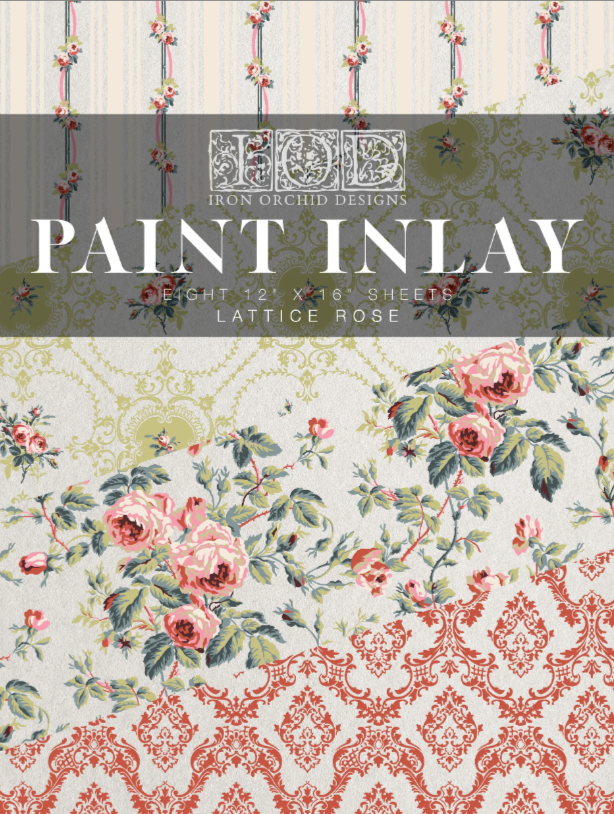
I chose the IOD Paint Inlay collection - Lattice Rose for this project!
I really like this inlay because it has 4 different patterns. Each pattern has 2 full pages in the collection. Plus, you can use paint inlays up to 3-4 times so you get lots of use out of each inlay.

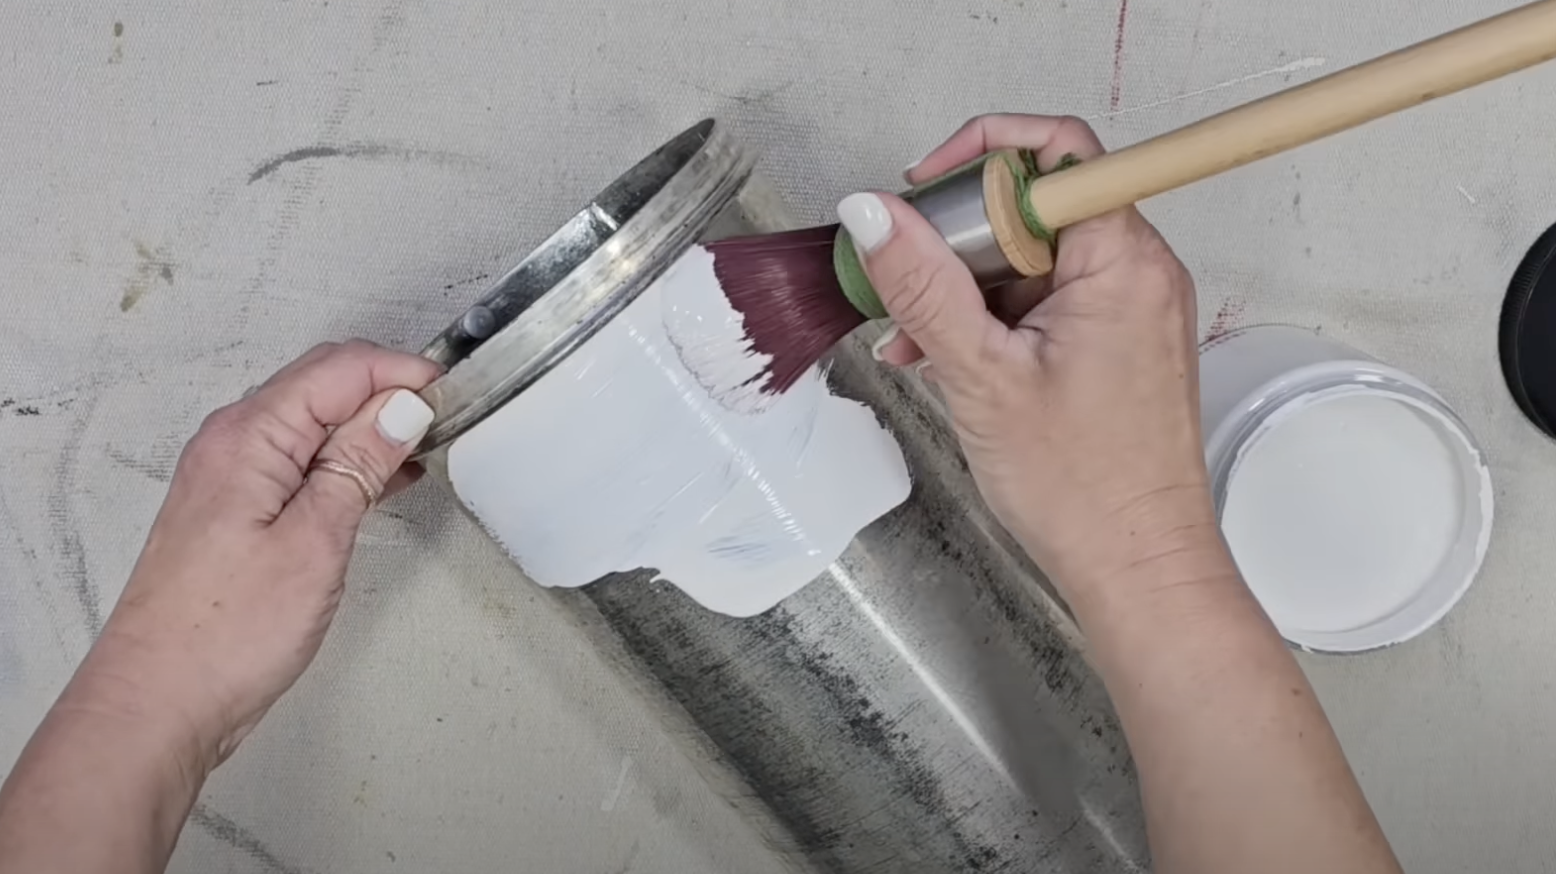
First, I applied 1 layer of chalk paint onto the metal canister.
I chose Dixie Belle Chalk Paint colors that would compliment the paint inlay designs.
For the first metal container, I chose the color Tea Rose!


I used a STAALMEESTER Pointed Sash Brush to paint the entire metal canister with the Dixie Belle Chalk Paint in Tea Rose.

While the paint dried on that canister, I grabbed the second canister and painted it with Dixie Belle Chalk Paint in the color Fluff! This is a beautiful pure white color.

Next, I cut out a vertical strip of the paint inlay that I could use 3 separate times on the paint canister. You can measure the width based on the product you are applying the inlay on.

Then, it was time to apply the paint inlay.
First, I applied 1 more coat of paint onto the area that I planned to lay the paint inlay (the top section). The chalk paint must be wet for the inlay to work.
Not Pictured: To make sure that everything is wet, I also like to take my Fusion Mister Spray Bottle and spray the fresh paint before I apply the inlay.

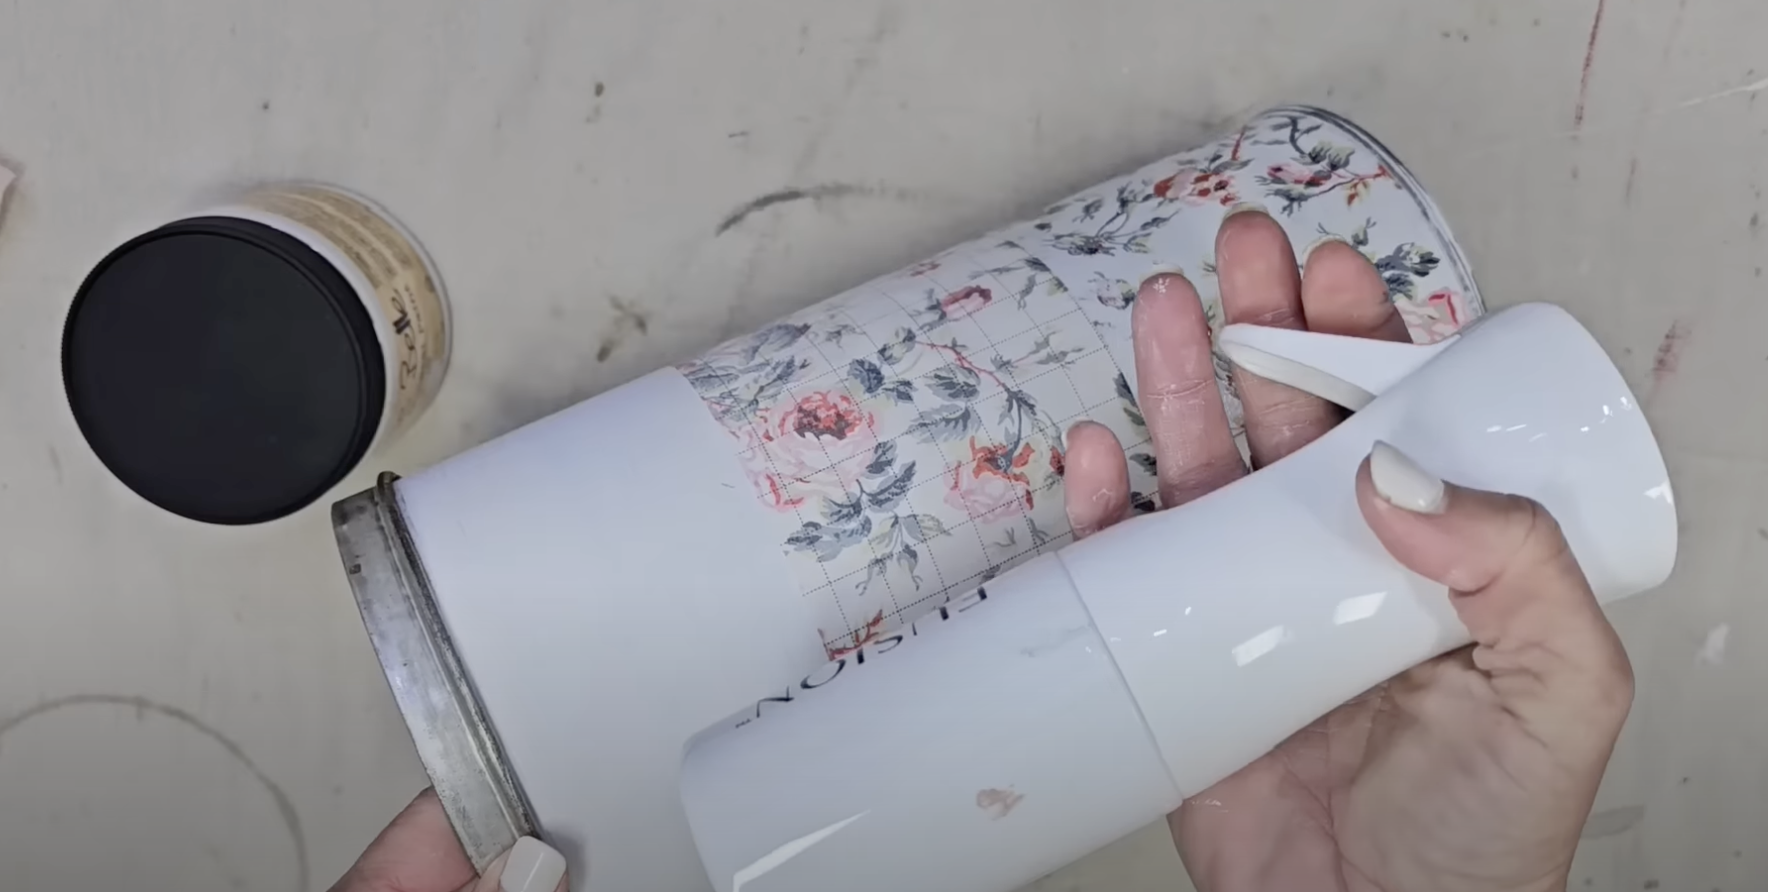
Then, I laid the paint inlay face down on the painted section and wrapped it around the canister.

Next, I used my Fusion Misting Spray Bottle to spray the product until the paint inlay was noticeably wet.


Next, I lightly pressed my hand on the paint inlay to ensure that the inlay is in the paint.
If you notice wrinkles, that is perfectly fine. This will add to the effect of the old distressed look.

Then, I let it dry!

Before I removed the paint inlay - I used the Fusion Misting Spray Bottle to rewet the paint inlay. The inlay must be wet before you remove it from the piece.
Then, I slowly removed the paint inlay sheet from the canister.

Next, I repeated the same process below where the first inlay was placed.
First, apply a fresh coat of wet paint
Second, spray the fresh paint with your fusion misting spray bottle
Place the paint inlay face down and wrap it around the canister
Mist again
Allow it to dry
Mist again
Slowly, peal the paint inlay off of the canister
I utilized this same technique on both the white painted canister and the tea rose painted canister.

Reminder: the top will look darker and it will fade as we get to the bottom since we are using the same paint inlay sheet for all three sections. Every time you use an IOD paint inlay it becomes lighter and has a more destressed vintage look! My favorite look is when it is used the second or third time!


Then, I repeated the same process on the bottom portion so the entire canister was covered.

Lastly, I used Dixie Belle Easy Peasy Wax to seal this project.
I definitely recommend a spray sealer for paint inlays because if you use a sealer and a brush it could smear your design. Remember that the paint inlays are actually paint so if they get wet before they are sealed, they could smear. You can also distress the inlay design with sandpaper just like you would normal chalk paint. Have fun and get creative with the IOD paint inlays.


Once the spray wax dries, style your designs in your home!
I chose to add faux floral to the opening and turn mine into beautiful shabby chic French floral containers.

Which one is your favorite? Let me know in the comments below.


Are you ready to create your own? Be sure to share a photo and tag me on social media [@juliesdesignsandsigns] so I can see what you create.
This blog is all about How To DIY With IOD Paint Inlays!
Click Image To Shop


What Is The Colors Of The Month Club?
Don’t forget to join the Colors of the Month Club to receive (4) sample Fusion Paint colors I picked that are perfect for the current season! → Click here to learn more
Like what you see? Be sure to join our mailing list for weekly DIY Ideas, thrift flips, new product alerts, video announcements, live events & more!
DISCLAIMER: This blog post may contain affiliate links. If you purchase a product or service with the links provided I may receive a small commission. There is no additional cost to you. Thank you for supporting my blog so I can continue to provide you with free content each week!


